Table of Contents
ToggleA covered patio with <a href="https://sunset.com/home/outdoor-living/outdoor-kitchen-ideas” target=”_blank” rel=”noopener nofollow”>outdoor kitchen isn’t just a luxury, it’s a practical extension of your home that adds real value and usable space. Whether you’re grilling on weekends or hosting dinners under the stars, this setup transforms your backyard into a genuine living area. The challenge is planning it right from the start: choosing materials that weather well, understanding what permits you’ll need, and laying out appliances for actual functionality rather than looks. This guide walks you through the essentials so you can build something that works as hard as you do.
Key Takeaways
- A covered patio with outdoor kitchen extends usable living space and recoup 50–75% of your investment while enabling year-round entertaining.
- Proper layout and spacing—at least 4 feet for counter-to-grill distance and 24–36 inches of counter space beside appliances—prevents cramped, underused designs.
- Choose durable, moisture-resistant materials like stainless steel appliances, sealed concrete or granite counters, and marine-grade cabinetry to withstand outdoor conditions and UV exposure.
- Install water lines for a prep sink, gas lines through a licensed professional, and GFCI-protected electrical circuits, all of which require permits and code compliance.
- Select a roof covering based on climate: metal roofing for rainy/snowy regions, polycarbonate for sunny areas, and ensure proper pitch (minimum 4/12) to prevent water pooling.
- Obtain building permits before construction starts to confirm setback requirements, height limits, and utility regulations, avoiding costly code violations and property sale complications.
Why A Covered Patio with Outdoor Kitchen Transforms Your Home
A covered patio with outdoor kitchen solves a real problem: most homeowners have underused backyards. The difference between “going outside to grill” and “hosting dinner outside” is shade, weatherproofing, and running water. When you add a sink, counter space, and protection from rain, your outdoor kitchen becomes an actual cooking space instead of a novelty.
You’ll recoup 50–75% of your investment when you sell, depending on quality and local market conditions. More importantly, you’ll use the space year-round. Summer barbecues, fall gatherings, winter covered cookouts, it all becomes possible. Best Outdoor Living Ideas to Transform Your Space shows that homeowners who invest in covered outdoor spaces report using them 8+ months per year versus 3–4 months for exposed patios.
The secondary benefits add up quietly: kids have a safe play zone under cover during light rain, your grill and appliances last longer protected from UV and moisture, and entertaining feels genuinely different when you’re not rushing back inside for supplies.
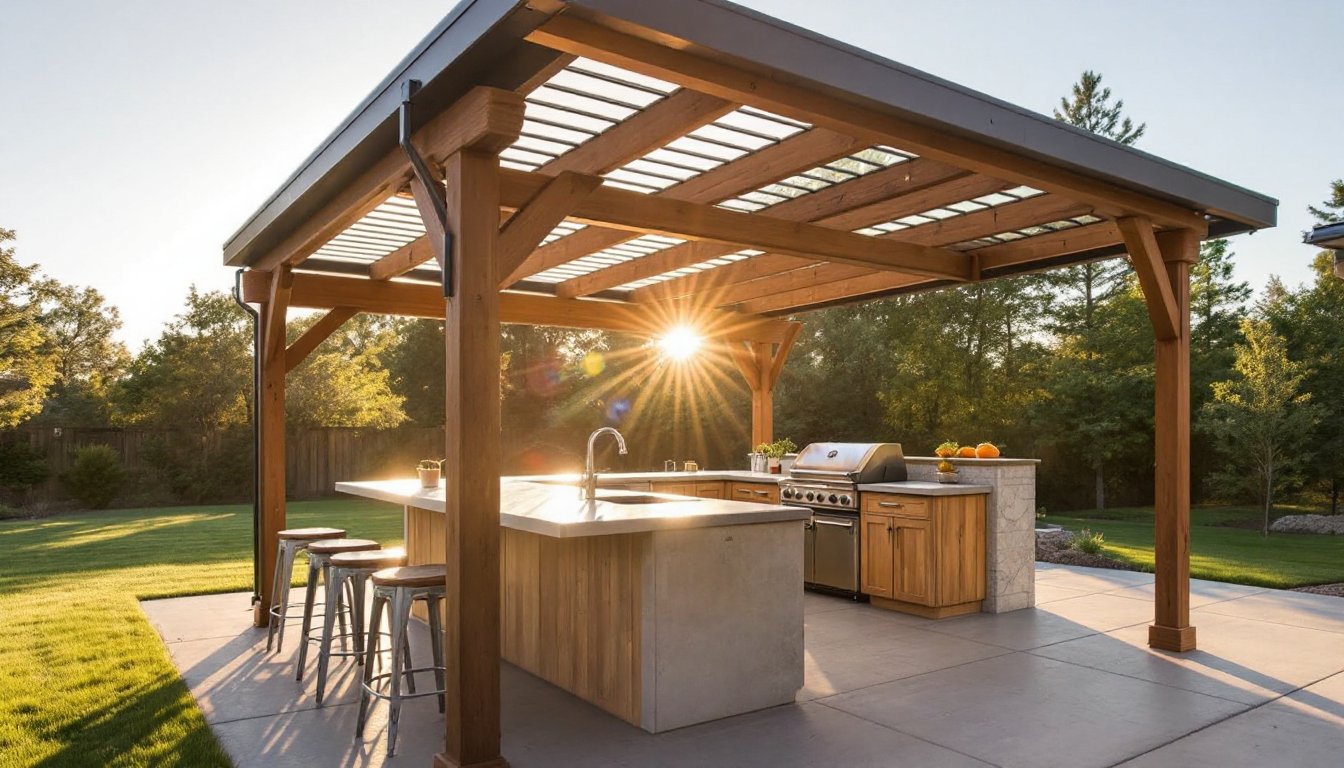
Planning Your Covered Patio and Outdoor Kitchen Layout
Assessing Your Space and Choosing the Right Location
Before you buy a single post or sink, spend time standing in your yard at different times of day. Where does the sun hit? Where are the shade trees? Morning sun might feel nice in winter but brutal in July. Consider prevailing winds, you don’t want smoke pouring into the kitchen window.
Check ground slope. A patio needs to drain, so slight downward slope away from the house (at least 1/8 inch per foot) prevents standing water. If your yard is very steep or has poor drainage, you’ll need a gravel base or French drain system, which adds cost and complexity.
Measure twice. A working outdoor kitchen needs minimum 4 feet deep for counter-to-grill distance, and 24–36 inches of counter space on either side of major appliances. If your space is small, consider a linear layout along one wall instead of an island. Outdoor Living Tips: Transform Your Backyard Into a Personal Retreat emphasizes that undersized kitchens feel cramped and get used less, cramped workspaces frustrate users fast.
Design Considerations and Material Selection
Outdoor kitchens must handle moisture, temperature swings, and UV exposure. Stainless steel appliances are standard because they don’t rust as fast, though high-grade stainless (304 or 316) outlasts standard 430-grade versions in salty or humid climates.
Counter surfaces matter. Sealed concrete, granite, or engineered stone all work, but avoid marble outdoors, it stains and weathers badly. Tile is affordable but grout lines trap debris and require re-sealing every 2–3 years. Stainless steel counters stay cleanest but show every fingerprint.
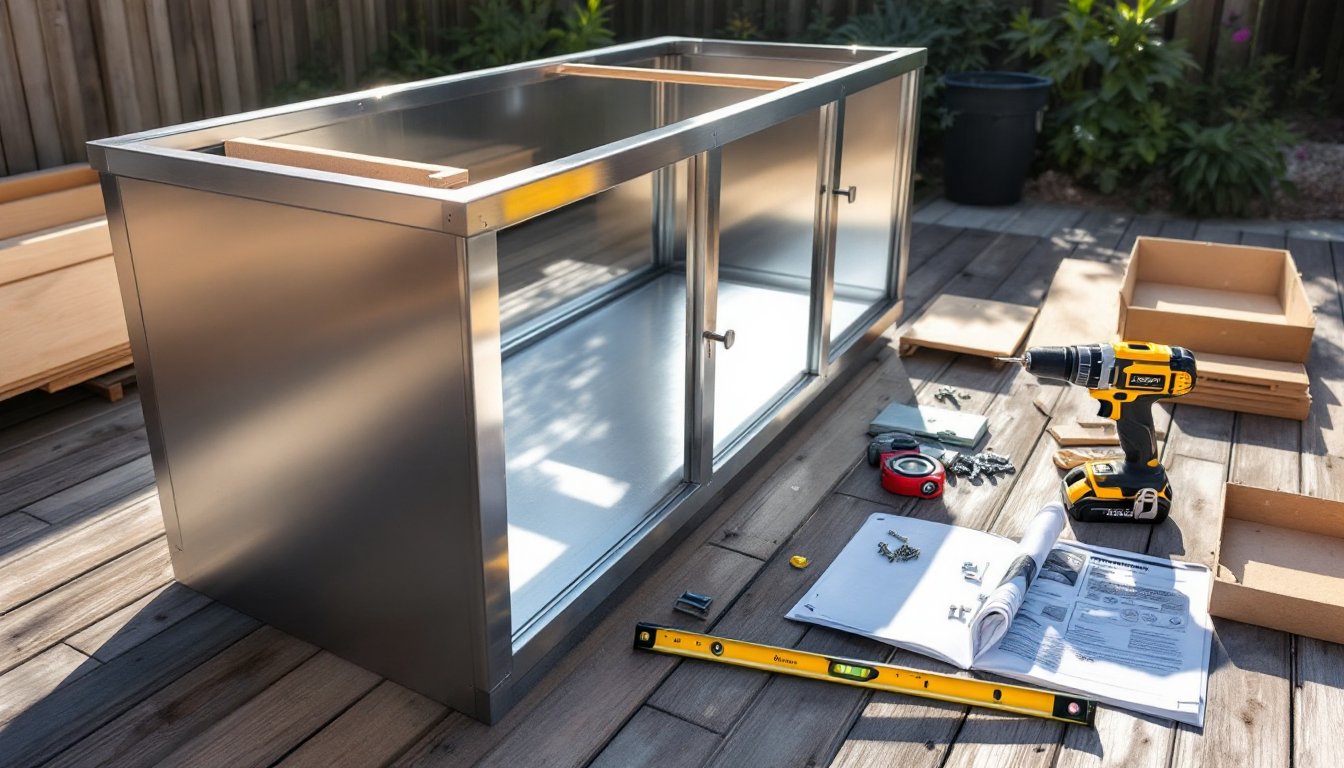
For cabinetry, avoid standard wood. Marine-grade or stainless steel cabinet frames won’t rot. If you use doors, they must be solid or slatted aluminum, never hollow-core. Flooring under and around the kitchen should be slip-resistant when wet, brushed concrete, non-slip tile, or composite decking work well.
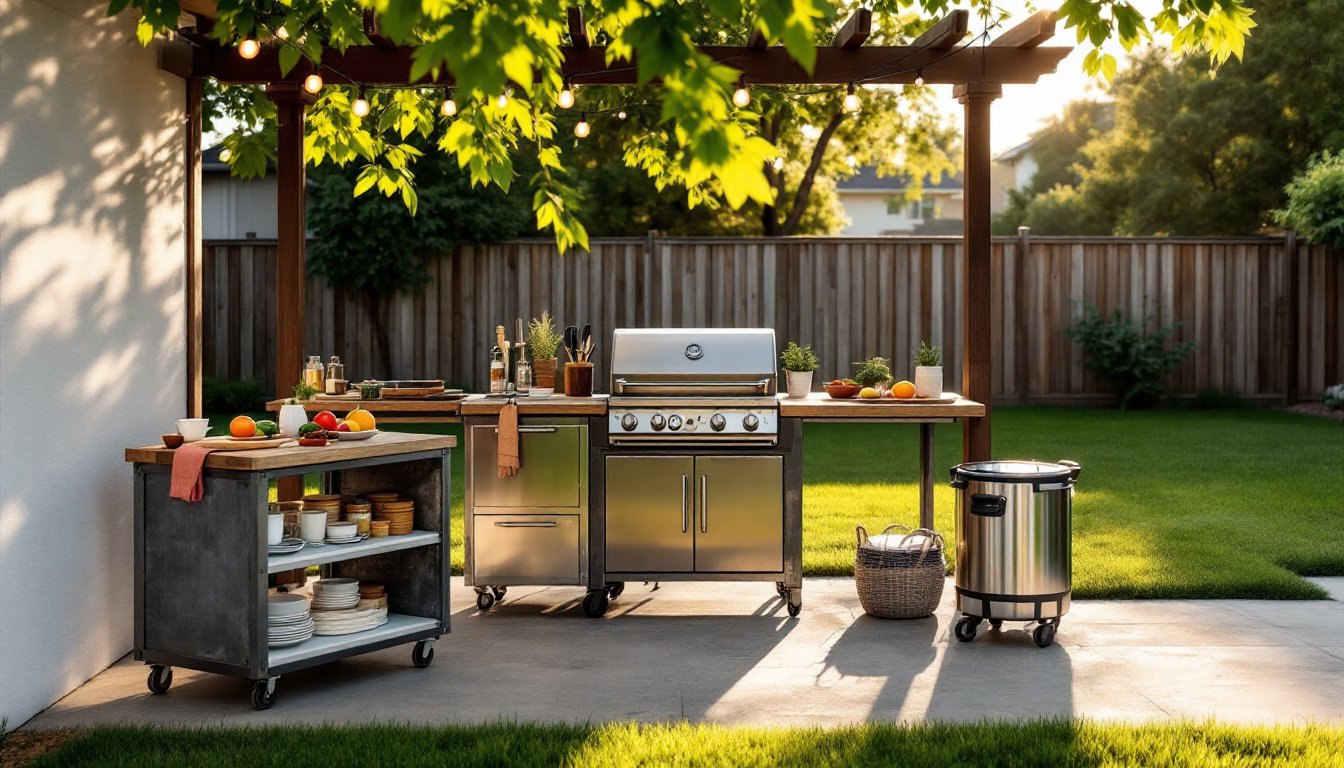
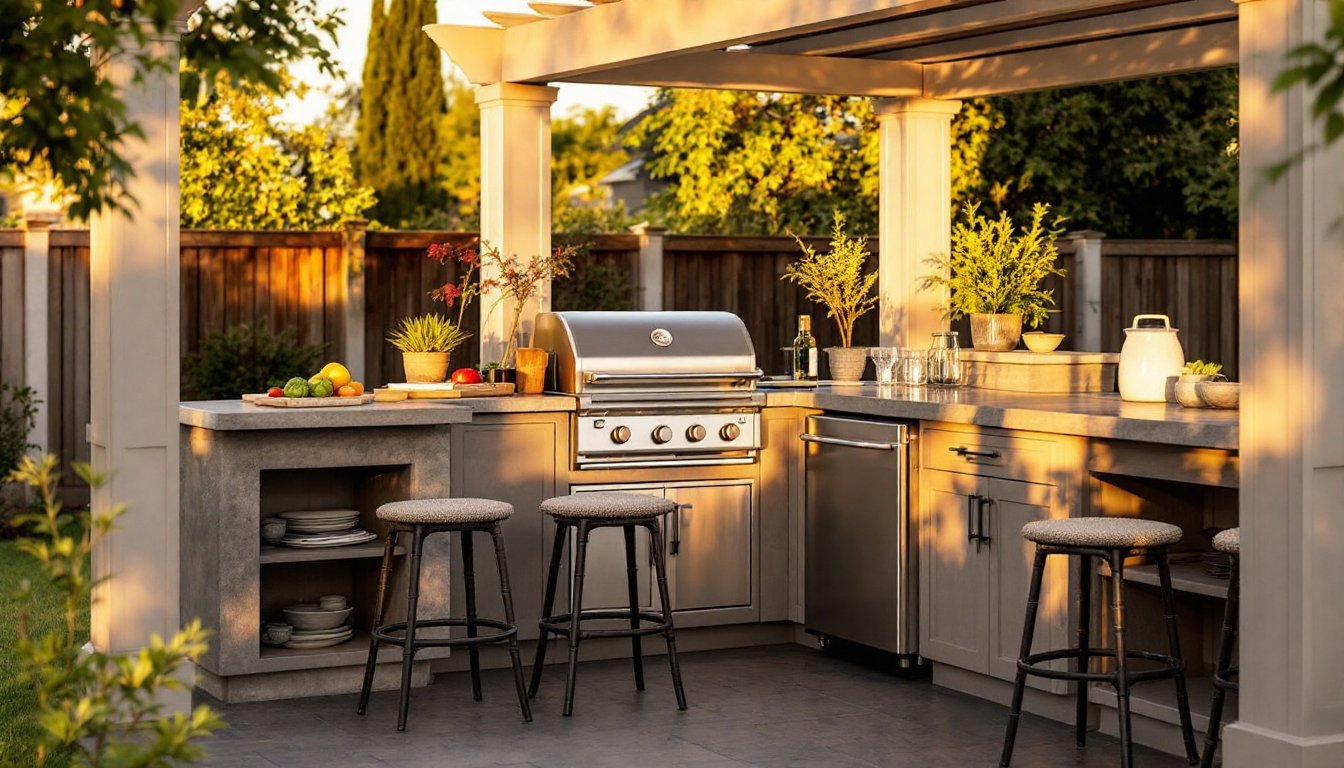
Essential Components for Your Outdoor Kitchen
A functional outdoor kitchen needs a gas grill, counter space, a sink, and storage. Everything else is optional but useful.
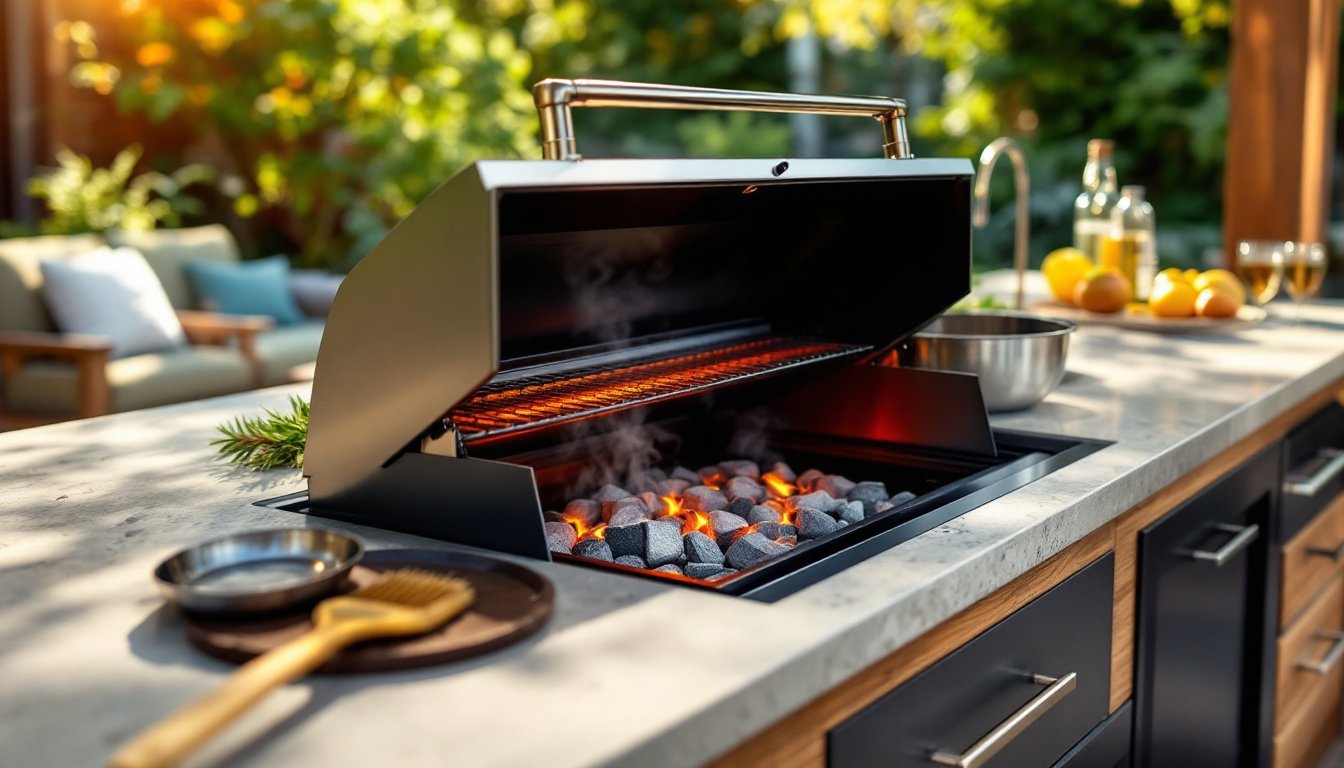
The grill is your anchor. A built-in 4–5 burner unit (typically 36–48″ wide) costs $1,500–$4,000 and handles daily cooking. Portable grills save money upfront but look scattered and lack counter integration. Ensure your cover’s framing doesn’t obstruct heat venting, grills need 12+ inches clearance above and 18+ inches on sides.
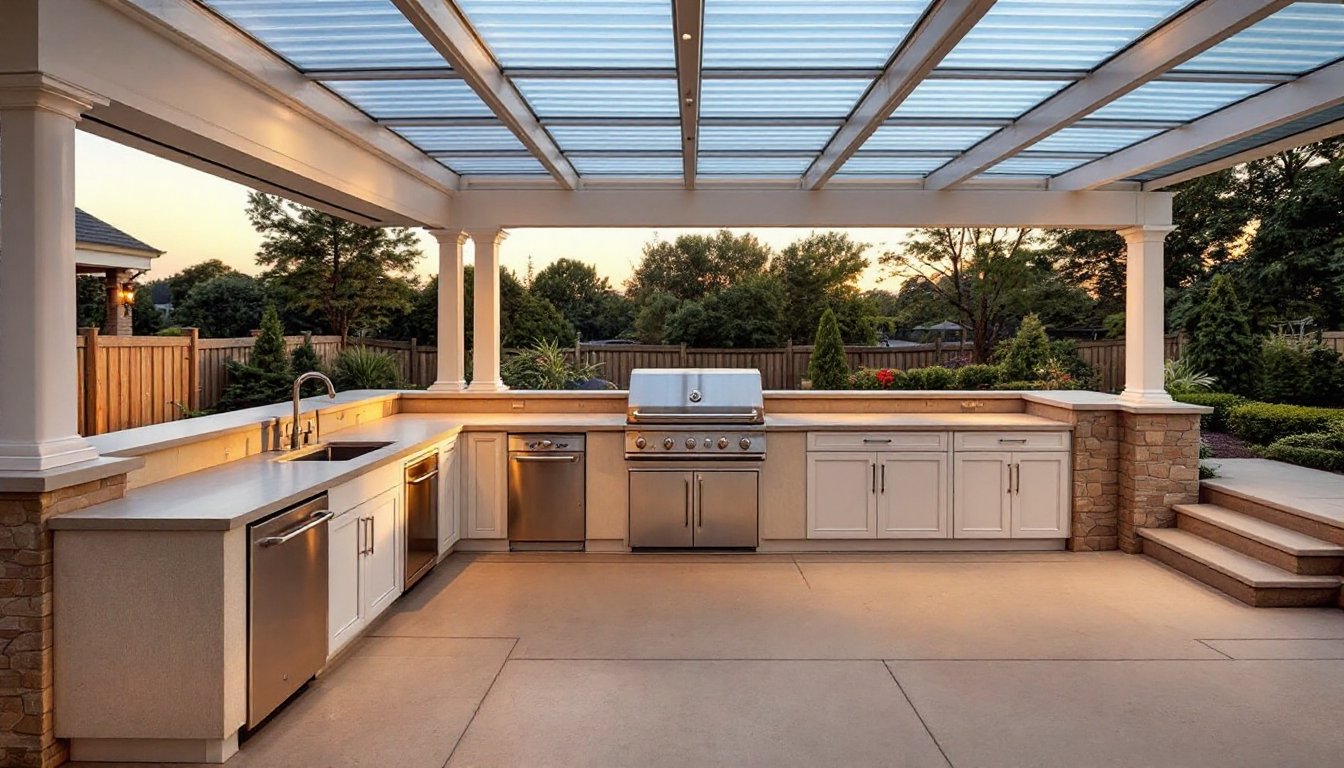
Water and drainage require planning. A water line runs from your house to an outdoor spigot near the sink. Cold water only is standard for a basic setup: adding a hot water line means running insulated pipe and costs significantly more. Drainage typically flows to a gravel pit or leach field unless you have municipal sewer access, which few patios do. Check local codes, some jurisdictions limit gray water disposal in outdoor kitchens.
A prep sink (18–24″ stainless) is essential for rinsing vegetables and utensils. It doesn’t need hot water but needs a drain. Install it with a raised lip so water doesn’t pool, and slope the counter toward the drain at 1/4 inch per foot.
Counter space should be concrete pad, sealed concrete, or stainless/stone counters. Minimum 24 square feet total (combination of work surface and appliance tops). More is always better, you’ll use it.
Covering Options: Finding the Perfect Roof Solution
Your cover needs to shed water, provide shade, and handle wind and snow loads appropriate to your region.
Polycarbonate panels ($15–$25 per sq. ft. installed) diffuse light softly and let you see the sky. They yellow over 5–10 years in strong UV, and condensation can drip in humid climates. They’re lightweight, easy to install, and good for shade without total darkness.
Metal roofing (standing seam or corrugated, $25–$50+ per sq. ft.) is durable, sheds water aggressively, and handles snow loads well. It’s noisier in rain unless you add insulation, and it heats up in summer sun, making the patio feel hotter. Aluminum won’t rust like steel, but costs more.
Wood pergolas with shade cloth ($20–$40 per sq. ft.) look beautiful but provide dappled shade, not waterproofing. You’ll still get rained on, and cloth degrades in 3–5 years under sun. They work well paired with a retractable shade system for flexibility.
Aluminum patio covers ($30–$60 per sq. ft.) offer lean construction and clean lines. They’re relatively lightweight but handle moderate snow and wind loads when properly installed. They don’t insulate, so heat still radiates down in summer.
Consider your climate. Hot, sunny regions benefit from polycarbonate or shade cloth. Rainy or snowy areas need metal roofing or steep-pitched covers. Check building codes, most jurisdictions require roof loads rated for 20–40 lb./sq. ft. of snow (varies by region). Sunset Magazine’s design guidance notes that proper pitch (minimum 4/12 for metal, 6/12 for water shedding) prevents ponding and long-term damage.
Permits, Utilities, and Getting Started
A covered patio with outdoor kitchen almost certainly requires building permits in most US jurisdictions. A simple patio pad might not, but adding a permanent roof, running utilities, or pouring a foundation definitely does. Unpermitted work becomes a liability issue if something goes wrong, and it complicates future property sales.
Check with your local building department before design work starts. They’ll tell you setback requirements (usually 5–10 feet from property lines), height limits for roofs (often 15 feet maximum), and whether you need a licensed electrician or plumber. Some jurisdictions require storm-water management plans if you’re adding more than a certain amount of impervious surface.
Electrical work for outdoor kitchen outlets and lighting almost always requires a licensed electrician and permits. Install GFCI-protected circuits (ground-fault circuit interrupter) for any outlets. This is non-negotiable for safety in wet environments. Most codes require outdoor outlets on a dedicated 20-amp circuit.
Gas lines for the grill must be run by a licensed gas fitter in most states. DIY gas work is typically prohibited by code and creates serious hazard. Budget $500–$1,500 for a professional to run the line from your house to the grill and pressure-test it.
Start with a sketch of your layout and dimensions, walk it to your building department, and get written confirmation of what permits apply. Then apply for them. It’s tedious but prevents costly mistakes and code-violation fines down the road. Outdoor Living Examples highlights how proper planning from the ground up makes construction smooth.