Table of Contents
ToggleA full outdoor kitchen doesn’t have to cost $15,000 or more. Smart homeowners are proving that functional, appealing outdoor cooking spaces can come together on a modest budget, sometimes for a quarter of that price. The trick isn’t sacrificing quality: it’s prioritizing what actually gets used, choosing versatile materials, and doing much of the work yourself. Whether you’re adding a simple grilling station or building a modest prep area, these seven strategies show how to build an outdoor kitchen that feels intentional and gets real use, without the contractor-sized invoice.
Key Takeaways
- Start with a modular grilling station featuring a basic grill cart, work surface, and open shelving instead of building a full outdoor kitchen all at once to stay within budget and maintain flexibility.
- Upcycle reclaimed materials like barn doors, pallets, and filing cabinets into custom countertops and storage solutions for under $100, but always seal wood properly with exterior-grade polyurethane to prevent rot.
- Pre-fabricated outdoor cabinetry and bracket-mounted stainless steel shelving have become affordable alternatives, with weatherproof composite cabinets now starting at $400–600 and open shelves at $40–100 each.
- Invest in a portable stainless steel work table ($80–150) that can be rolled into position when cooking for crowds and tucked away when not needed, providing flexible prep space without permanent installation.
- Layer budget-friendly lighting with solar-powered string lights ($25–50) and rechargeable LED work lights ($30–60) to make your outdoor kitchen usable and safe after sunset without hardwired electrical costs.
- Choose a solid foundation like concrete ($4–8 per square foot DIY or $8–15 hired) or composite deck boards ($5–12 per square foot) and verify local building codes before installation to ensure durability and compliance.
Start Small With A Modular Grilling Station
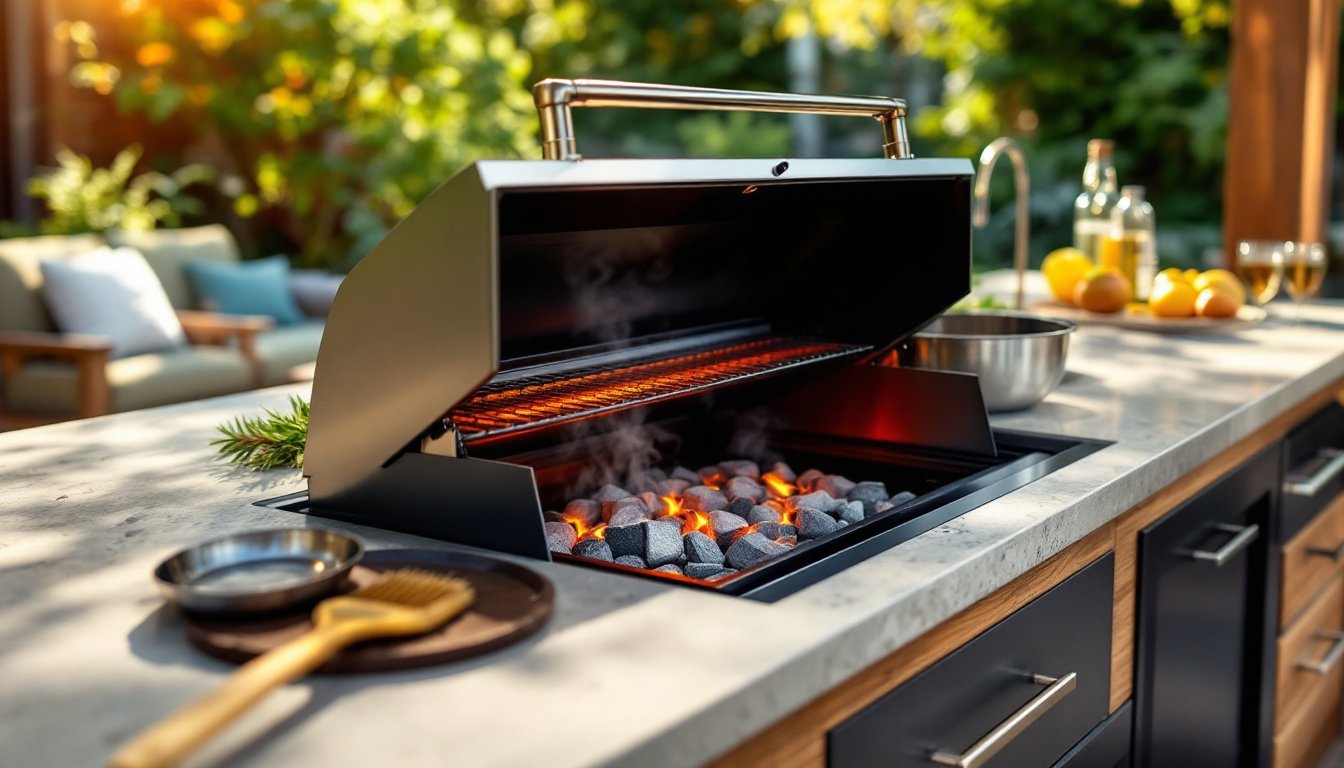
The biggest budget mistake is building a sprawling outdoor kitchen all at once. Instead, start with a core grilling station, a single zone where cooking actually happens, and expand later. A modular approach means you buy what you need now and add shelves, a mini fridge, or a side burner when your budget allows.
A basic setup includes a grill base or cart, a work surface beside it, and simple open shelving above for tools and seasonings. A sturdy metal grill cart with a side shelf runs $200–400, and a simple 4×2 ft stainless steel countertop bolted to the cart adds another $150–250. Skip the built-in brick oven for now: most backyards get plenty of use from a reliable propane or charcoal grill alone.
The beauty of starting modular is flexibility. You’re not committed to one design or footprint. If you move, the grill station moves with you. If you discover you hate cooking outside at 6 a.m., you haven’t sunk $5,000 into permanent infrastructure. Outdoor Living Ideas to Transform Your Backyard Space often highlight how scaled, incremental projects create stronger results than rushed, overbuilt attempts.
Upcycle Materials To Create Custom Countertops And Storage
Scrap lumber, reclaimed doors, and old shelving can become striking outdoor work surfaces if you’re willing to spend a Saturday measuring and fitting. A reclaimed barn door becomes a countertop base when mounted on sturdy metal brackets: top it with marine-grade plywood sealed with outdoor polyurethane, and you’ve got a 36×24 prep surface for under $100 in materials.
Old filing cabinets, wooden pallets, and even stacked concrete blocks can serve as storage bases. Line them with galvanized metal or stainless steel bins to keep tools, napkins, and firewood organized. The key is sealing everything: untreated wood rots fast outdoors. Brush on two coats of exterior-grade polyurethane or a deck stain (polyurethane offers better water protection but requires recoating every 2–3 years).
Wood prep is non-negotiable here. Sand rough surfaces with 100–120 grit sandpaper, fill gaps with exterior caulk, and let it cure fully before sealing. A blotchy, peeling countertop looks worse than no countertop. Best Outdoor Living Ideas often showcase how thoughtful material choices, not expensive ones, define successful projects. Upcycling works best when the base is sound: don’t build on rotted wood or unstable foundations.
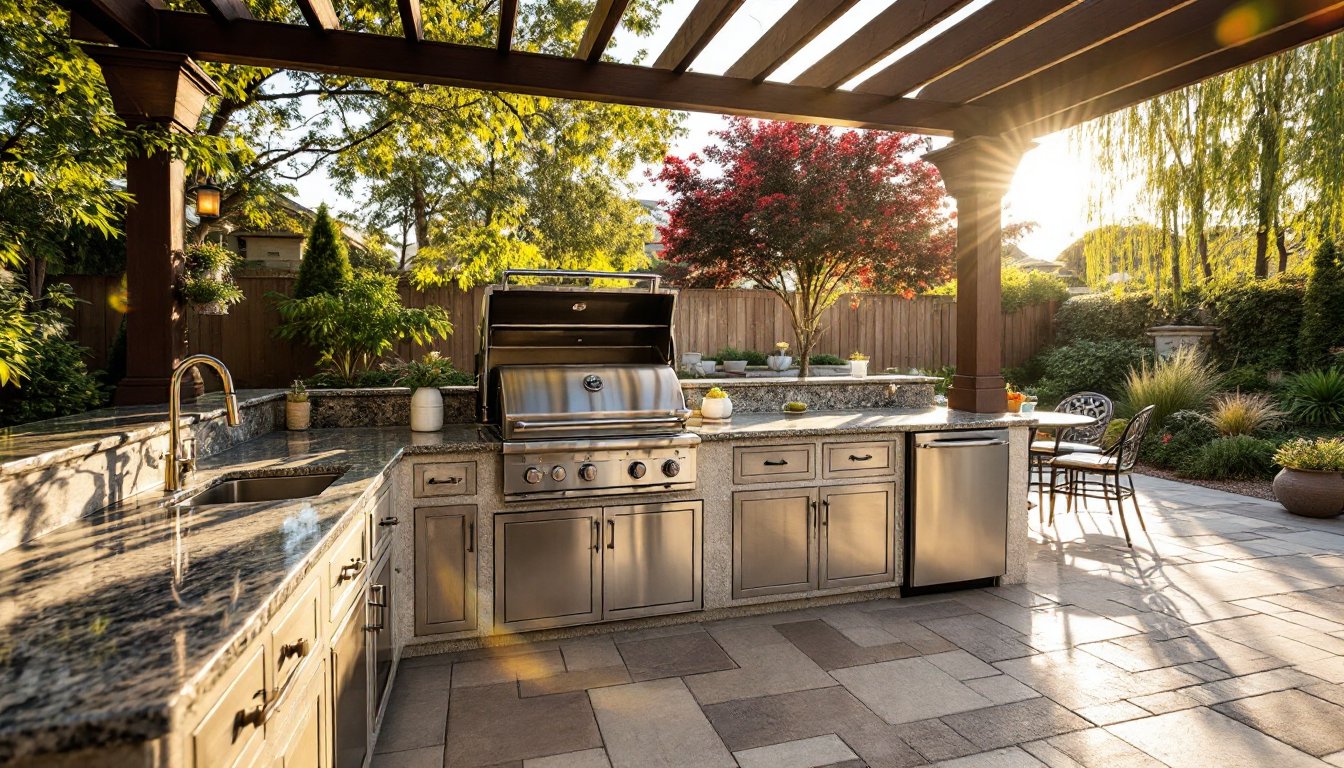
Use Affordable Outdoor Cabinetry And Open Shelving
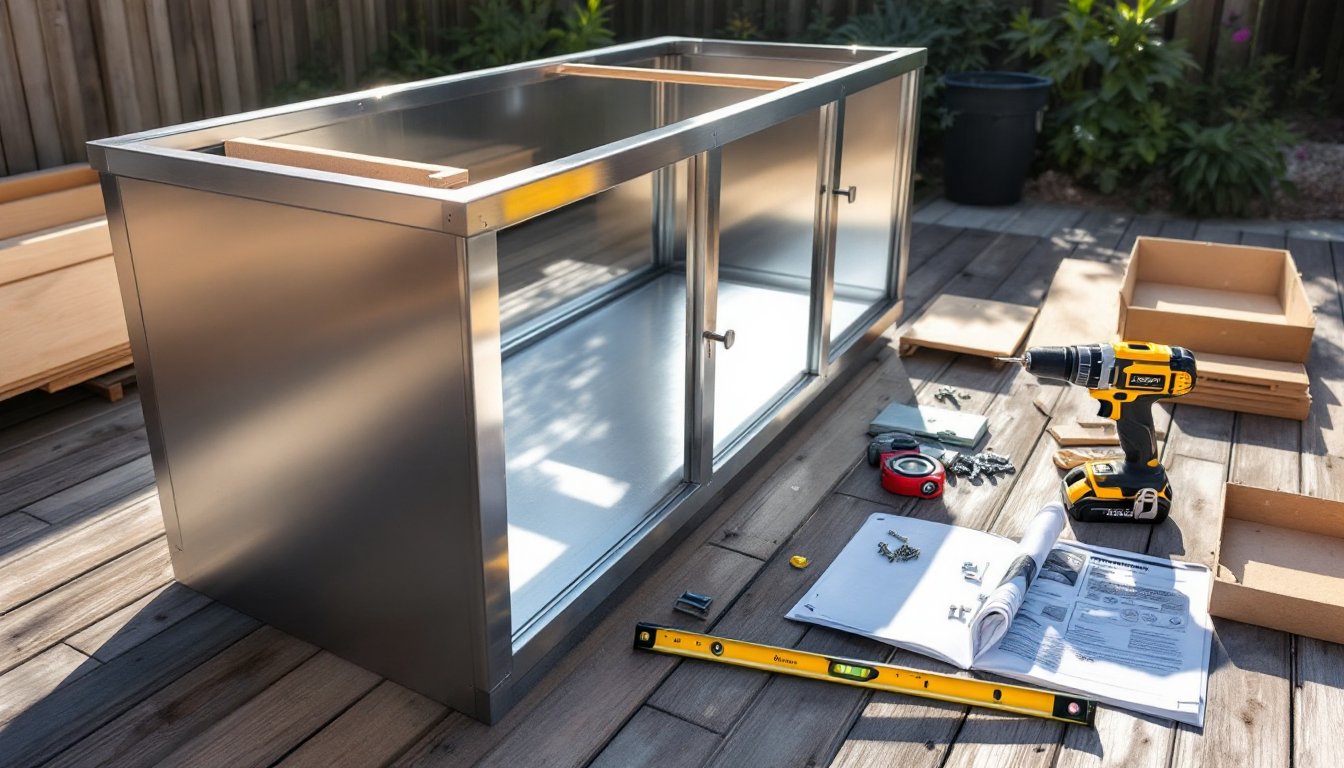
Pre-fab outdoor cabinets have dropped in price over the past two years. Retailers now stock weatherproof composite cabinets, made from recycled plastic and wood fiber, at $400–600 per unit, down from $800–1,200 five years ago. These mimic real wood but won’t rot or require staining. A 2×3 ft cabinet with shelves costs roughly the same as a high-end interior medicine cabinet but lasts far longer in weather.
For a tighter budget, skip cabinets altogether and go full open shelving. Bracket-mounted stainless steel or galvanized shelves are durable, affordable ($40–100 per shelf), and easy to install on any solid wall or fence. Mount them at waist height (36–42 inches from the ground) and use them for everyday items: grilling tools, platters, spices in sealed containers, and drink coolers.
Open shelving demands organization: clutter reads as mess faster outdoors where there’s nowhere to hide. Use matching bins, label makers, and keep only items you actually use outside. A home design inspiration platform like Houzz shows hundreds of examples of how simple shelving and smart storage containers transform even tight kitchens. The rule: if it doesn’t have a job, it doesn’t belong on your shelf.
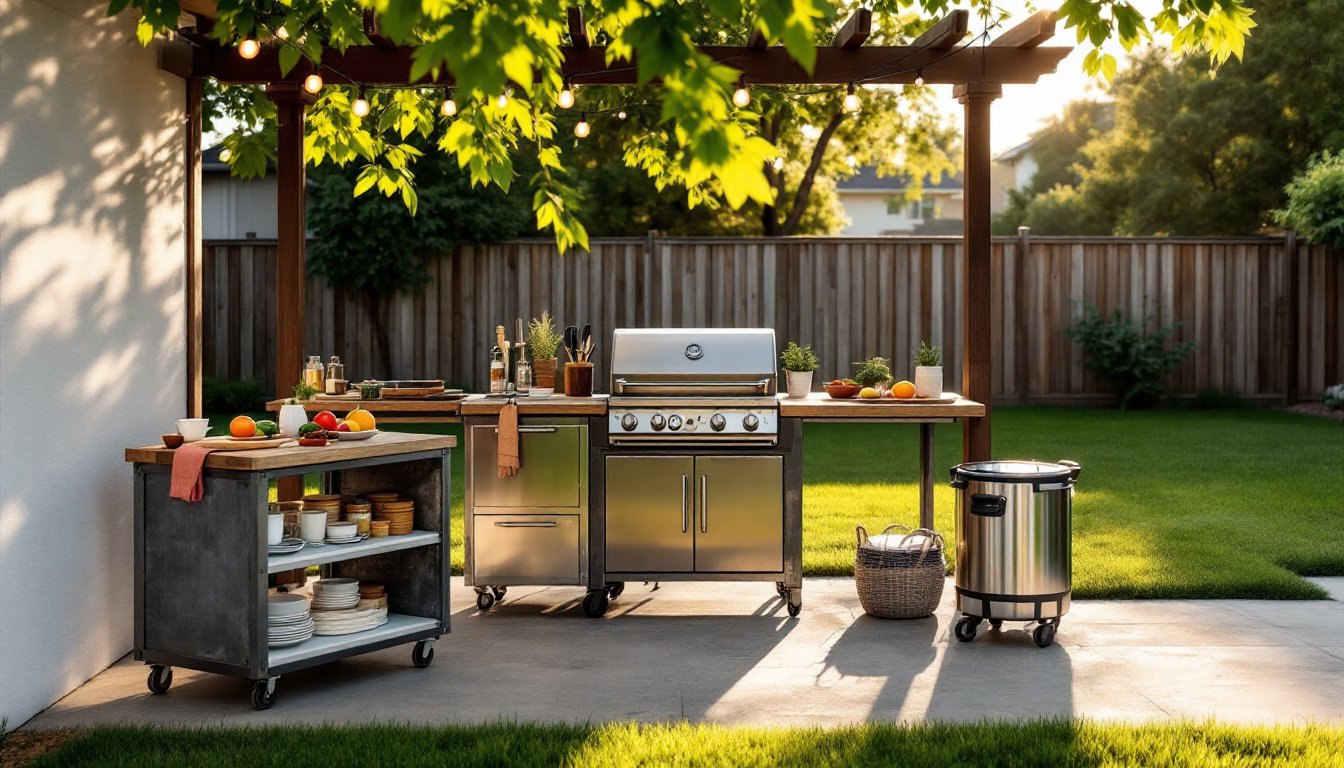
Maximize Prep Space With Portable Work Tables
A portable stainless steel work table (30×24 inches, typically $80–150) is perhaps the most underrated outdoor kitchen asset. It rolls into position when you’re cooking for a crowd, then tucks away when not needed. No permanent footprint, no permits, no installation fuss. Many outdoor cooks find a good mobile prep table more useful than a built-in countertop, especially on smaller patios.
Look for tables with a lower shelf for storage and locking wheels so they don’t slide during heavy chopping. Stainless steel resists rust and is easy to sanitize. Some models fold down to 6 inches thick for off-season storage. A second, simpler option is a heavy-duty folding camping table ($40–80) topped with a removable stainless steel sheet or cutting board.
Portable tables also solve the “where do I put this while I’m grilling?” problem. Prep ingredients on the mobile table, roll it beside the grill, and you’ve got workspace right where you need it. Outdoor Living for Beginners emphasizes how starting small with flexible furniture builds confidence for bigger upgrades later. You’re not locked into a single layout.
Add Lighting And Ambiance On A Shoestring Budget
Cooking outdoors after sunset requires light, and good outdoor lighting makes the space usable and safer. Solar-powered string lights, path lights, and LED lanterns are now inexpensive and effective. A 30-ft string of warm LED solar lights costs $25–50 and provides adequate task lighting over a prep or eating area. They charge during the day and run 6–8 hours at night. It’s not stadium lighting, but it works for evening entertaining.
For task lighting directly over a grill or counter, a rechargeable LED work light with a magnetic base ($30–60) clamps to a pole or cart. It’s bright, adjustable, and moves as needed. String lights add ambiance and make the space feel intentional: a little character costs almost nothing.
Skip hardwired lighting if you’re renting or uncertain about permanent placement. Battery and solar options give you flexibility and avoid electrical permits (which vary by code but typically apply to any permanent outdoor 120V or 240V circuits). If you do add hardwired lighting, hire a licensed electrician, outdoor circuits need GFCI protection (ground-fault circuit interrupter) per the National Electrical Code, and mistakes here are safety hazards.
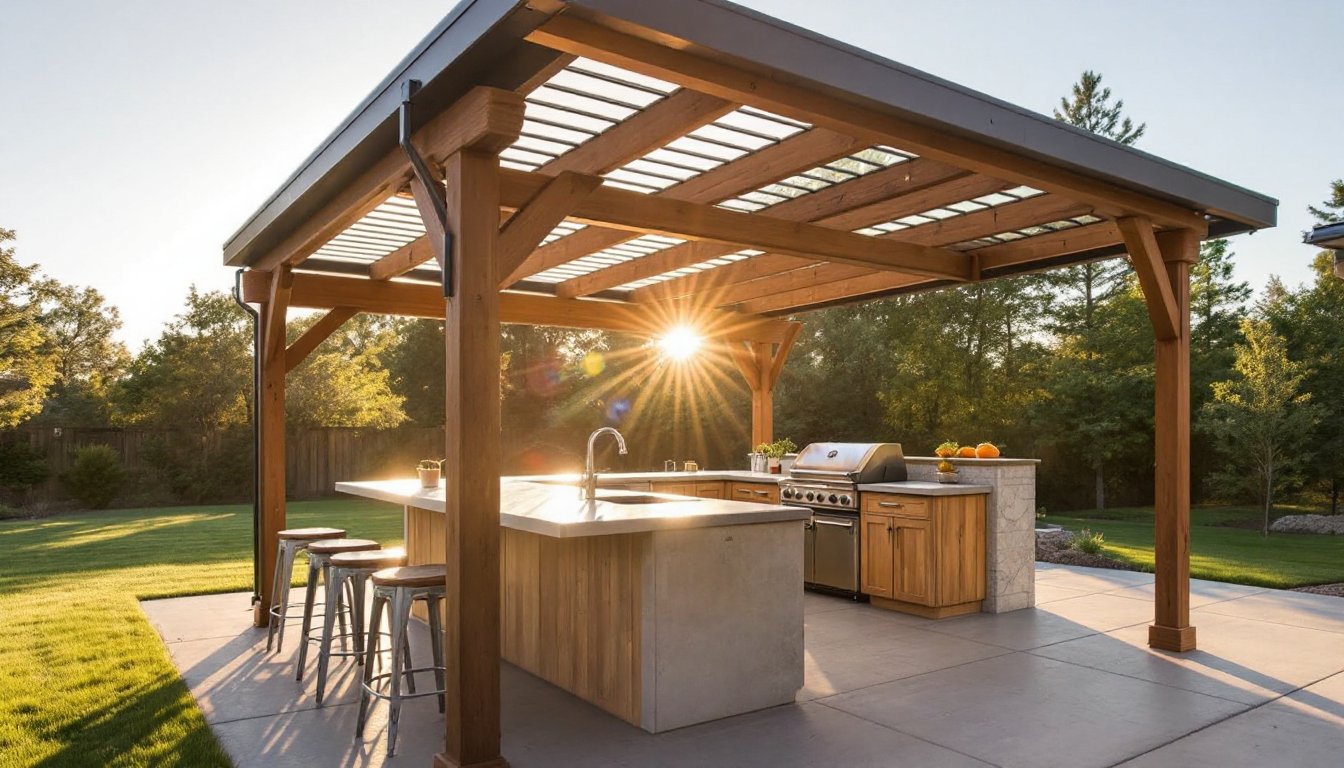
Choose Budget-Friendly Flooring And Foundation Options
An outdoor kitchen needs a solid, level, non-slip surface underfoot. Concrete is the cheapest option at $4–8 per square foot for a basic finish, or $8–15 per square foot if you hire it done. A 10×12 ft concrete pad runs $400–600 for material if you mix and pour it yourself, or $1,200–2,000 if you hire a pro. Concrete is plain but functional and lasts decades if sealed properly with a concrete sealer every 2–3 years.
Pavers (clay or composite) cost more ($10–20 per sq ft installed) but look finished. Pea gravel is the cheapest ($1–3 per sq ft) but shifts over time and isn’t ideal for rolling carts or dropping tools. Composite deck boards, similar to what you’d use for a patio, cost $5–12 per sq ft and offer a warmer feel than concrete.
Before any installation, check local codes. Some jurisdictions require a frost line depth (typically 18–48 inches depending on climate) beneath permanent structures. A code official can clarify what applies to your outdoor kitchen, some view it as a temporary cooking station, others as a permanent outdoor structure. Proper grading and drainage prevent pooling and foundation problems. Outdoor Living Trends 2026 show that durable, low-maintenance surfaces are trending as homeowners prioritize longevity over novelty. Invest in a solid base: it’s worth every dollar.
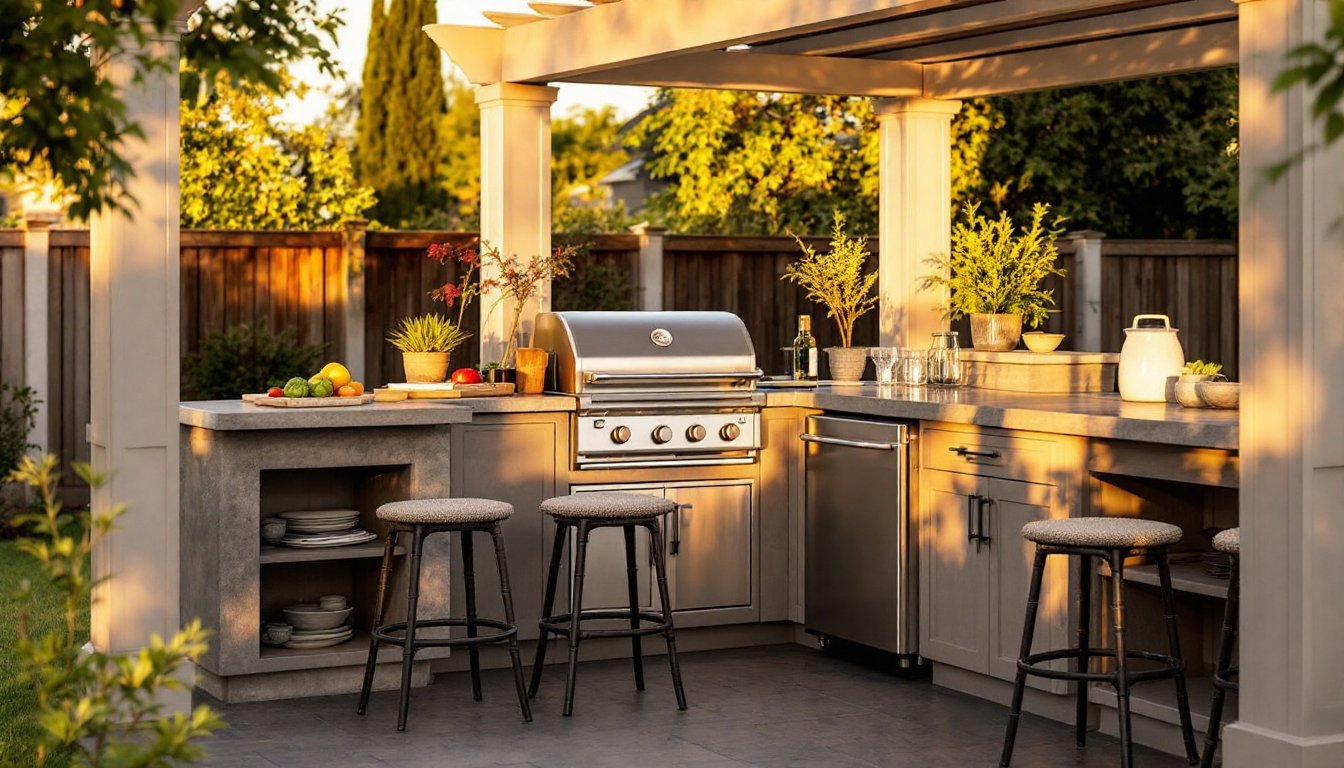
Conclusion
Building a budget outdoor kitchen means starting with your core need, a grill, a prep surface, and a little storage, then growing from there. Upcycled materials, affordable modular pieces, and smart lighting create a functional, inviting space without the five-figure price tag. Most importantly, build it in phases. A small, well-used outdoor kitchen beats an elaborate one that sits empty because you ran out of money to finish it or lost interest halfway through. Start small, use what you learn, and upgrade when the budget allows.