Table of Contents
ToggleAdding a covered outdoor kitchen to your home isn’t just about cooking outside anymore, it’s about extending your living space and boosting property value. A covered outdoor kitchen attached to your house creates a functional, all-weather entertaining zone that bridges indoor comfort with outdoor enjoyment. Whether you’re grilling steaks, hosting weekend gatherings, or simply enjoying meals under the open air, this setup turns your backyard into a genuine extension of your home. In 2026, outdoor kitchen designs are smarter, more efficient, and more accessible to DIY homeowners willing to plan carefully and sweat the details.
Key Takeaways
- A covered outdoor kitchen attached to your house solves real problems—rain won’t interrupt gatherings, appliances stay protected, and you’re steps away from indoor supplies with minimal utility costs.
- Proper design requires a functional work triangle between your grill, prep counter, and sink, at least 36 inches of counter space on either side of the grill, and clear foot traffic flow to avoid cramped entertaining.
- Choose durable, corrosion-resistant materials like stainless steel hardware, pressure-treated lumber, sealed concrete or stone counters, and exterior-grade fasteners to withstand outdoor conditions.
- Budget $5,000–$15,000 for a basic covered outdoor kitchen, $15,000–$35,000 for mid-range builds, and $50,000+ for high-end setups, with labor often doubling total costs.
- Prioritize essential appliances—a quality built-in grill, side burner, beverage cooler, and sink—over specialty features you won’t use regularly, and always hire licensed professionals for gas lines, water plumbing, and final electrical inspections.
- Permits are mandatory for a structure attached to your house; skipping them risks fines, failed inspections, and insurance denial, so hire contractors who pull proper permits and get three quotes before deciding.
Why a Covered Outdoor Kitchen Attached to Your House Makes Sense
A covered outdoor kitchen works because it solves real problems. Rain won’t shut down your dinner party, harsh sun won’t damage your appliances or cook you alive while prepping food, and you’re steps away from your indoor kitchen for supplies and cleanup. The proximity to your house also means shorter utility runs for gas and electrical lines, which saves money and simplifies installation.
Beyond convenience, a well-executed covered kitchen adds genuine resale value. Buyers see it as an entertainer’s asset, something they won’t have to build themselves. Some homeowners report a 20-30% return on their investment, though that varies by region and build quality. Even if you never sell, you’re investing in years of family memories and outdoor enjoyment.
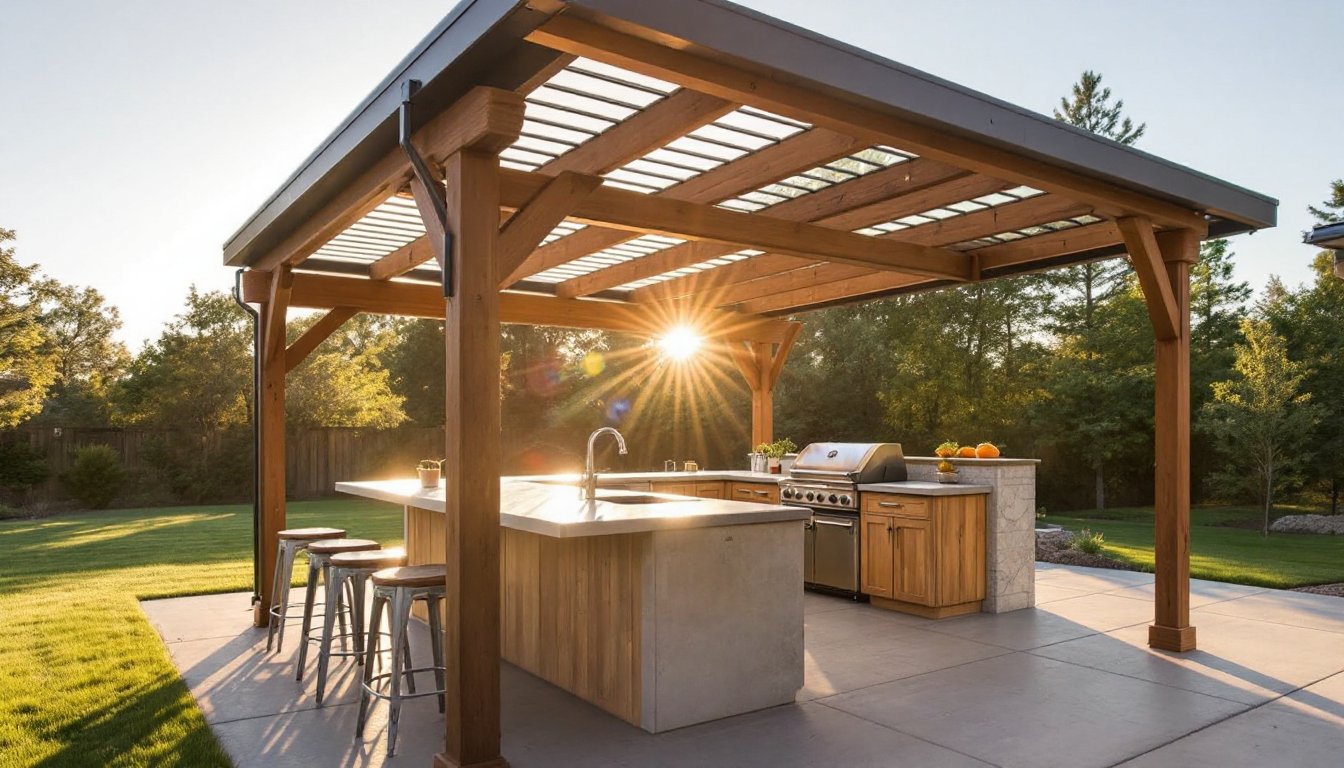
The “attached to house” part matters. A freestanding structure requires its own foundation, support posts, and potentially separate electrical panels. Attaching it to your existing structure simplifies framing, shares roof lines more efficiently, and often requires fewer permits than a detached pavilion. You’re working with what you’ve got, not starting from scratch.
Essential Design Elements and Layout Considerations
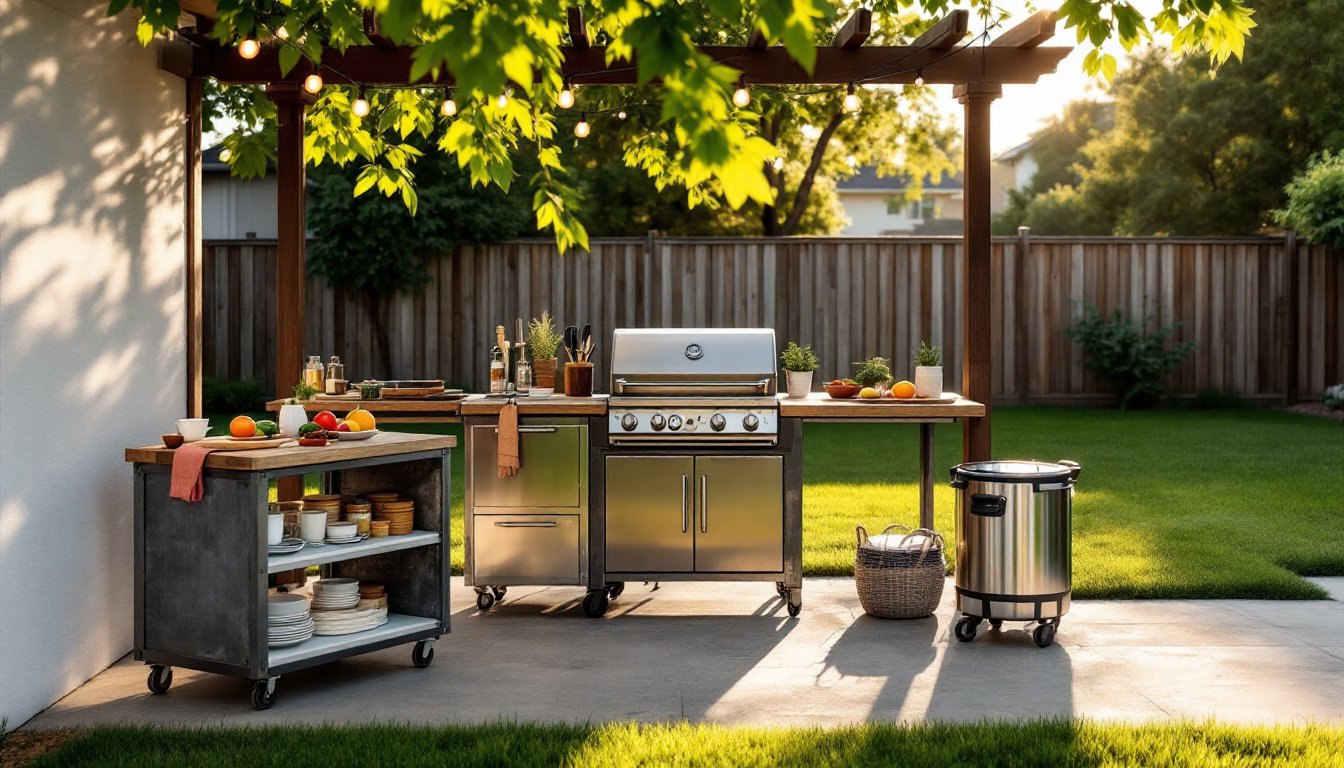
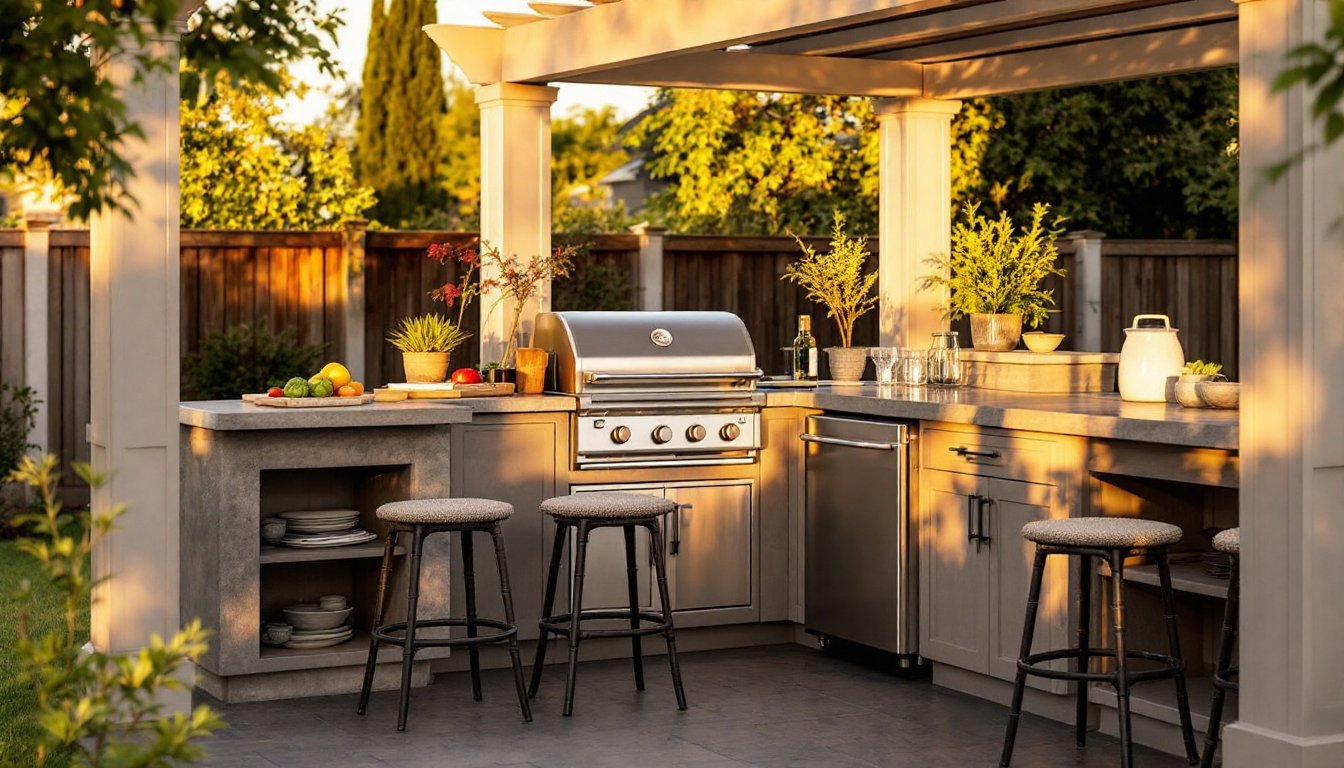
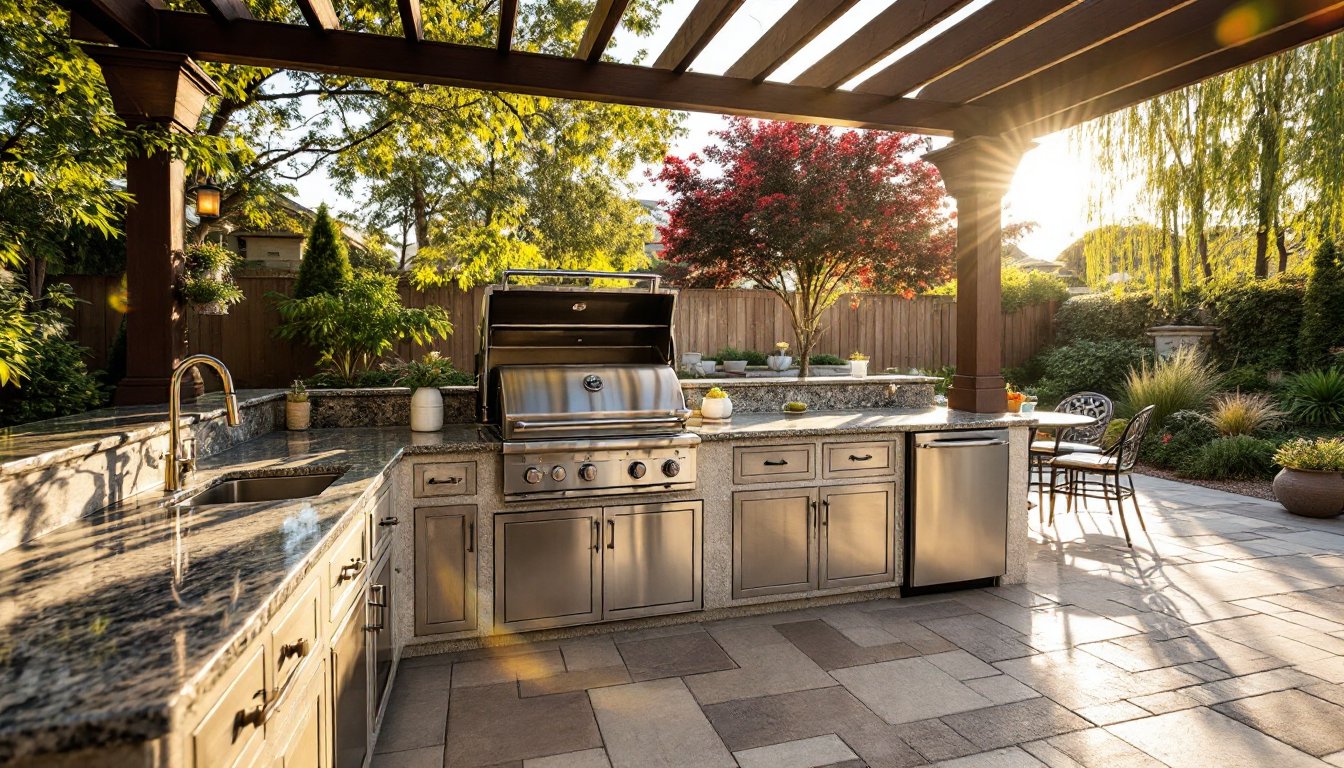
Start with the basics: work zone layout. Plan a triangle between your grill, prep counter, and sink or beverage station. This mimics professional kitchen logic, everything you need during cooking stays within arm’s reach. Leave at least 36 inches of counter space on either side of your grill for staging and plating. If you’re planning a pizza oven, bar seating, or a smoker, map those features separately so they don’t crowd your core work zone.
Think vertical. Install a shelving unit or hanging pot rack to free counter space. Wall-mounted storage doesn’t cost much and keeps essentials visible. A small 30-inch undercounter refrigerator fits most outdoor kitchens without overwhelming the space. Avoid oversizing appliances: outdoor kitchens function best when they’re compact and purposeful.
Floor planning matters more than homeowners expect. The patio beneath your covered kitchen needs proper slope for drainage, at least 1/8 inch drop per linear foot to prevent pooling water. Stamped concrete, permeable pavers, or composite decking all work: the key is solid footing that won’t crack or shift. Poor drainage ruins patios faster than anything else.
Consider foot traffic. Position your kitchen so guests can move freely without bumping into the grill or walking through your prep zone. A small 4-foot gap between your kitchen and dining area works well for a two-person household: larger families appreciate 6 feet. Research on outdoor living trends 2026 shows successful spaces balance functionality with flow.
Choosing the Right Coverage and Materials
Coverage options fall into three camps: wood framing with a traditional roof, aluminum louvered systems, or polycarbonate panels. Wood framing is classic and blends with most homes, but it requires annual maintenance (stain, seal, check for rot). Aluminum louvers cost more upfront but last decades with minimal upkeep. Polycarbonate panels are budget-friendly and let diffused light through: they yellow over time and need occasional cleaning but won’t rot.
Roof pitch depends on your climate. If you live where snow accumulates, aim for a 4:12 pitch or steeper to shed weight. In dry climates, even a 2:12 pitch works. The steeper the pitch, the more material you’ll need, so trade-offs exist.
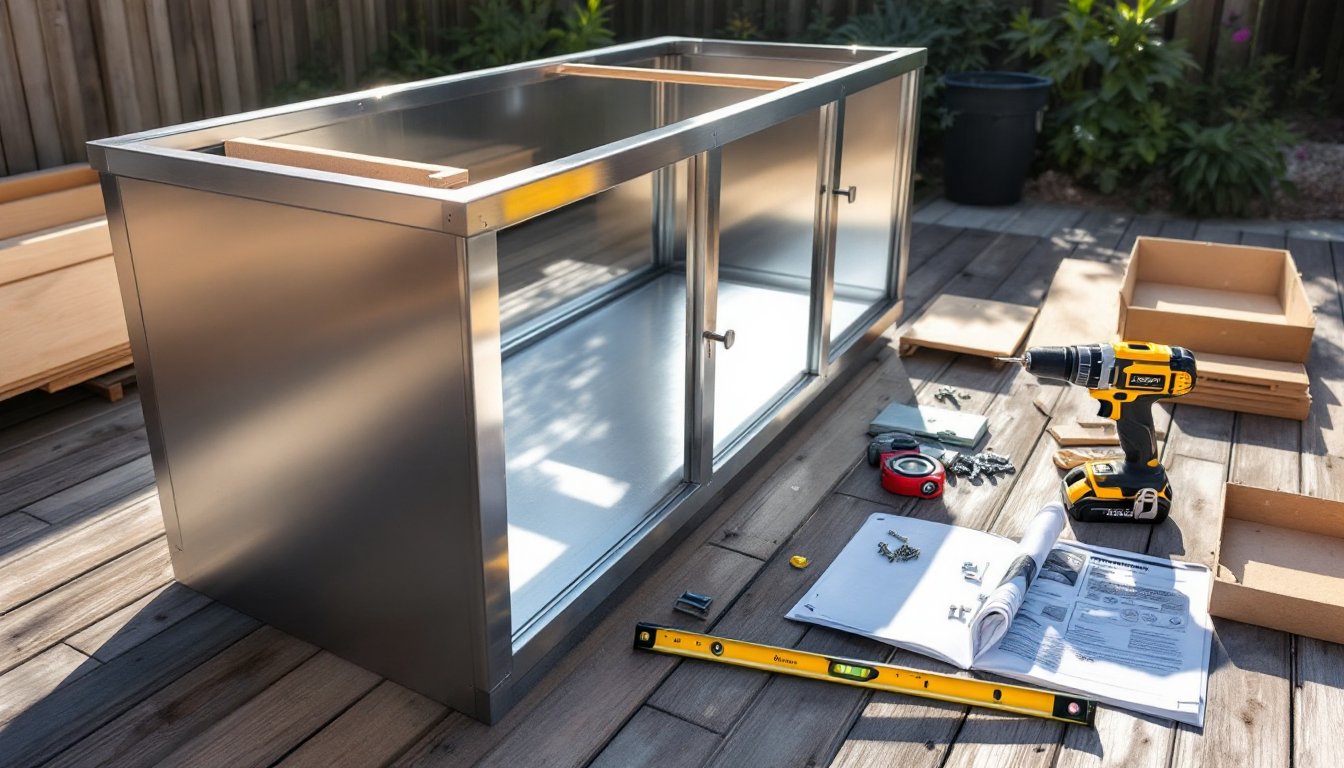
Material durability matters in outdoor kitchens. Use pressure-treated lumber for framing (rated for ground contact), stainless steel or powder-coated aluminum for hardware, and exterior-grade fasteners throughout. Cheap hardware will rust and stain your structure in two years. Spend the extra dollars on corrosion-resistant fasteners and hardware, they’re invisible but essential.
For counter surfaces, options include best outdoor living ideas such as concrete, granite, or composite stone. Concrete is budget-friendly but needs sealing every two years. Granite and engineered stone cost more but last indefinitely with minimal care. Avoid laminate or standard plywood, they’ll delaminate in humid conditions. The counter is where you’ll work, prep raw meat, and set hot pans, so durability justifies the investment.
Must-Have Appliances and Cooking Features
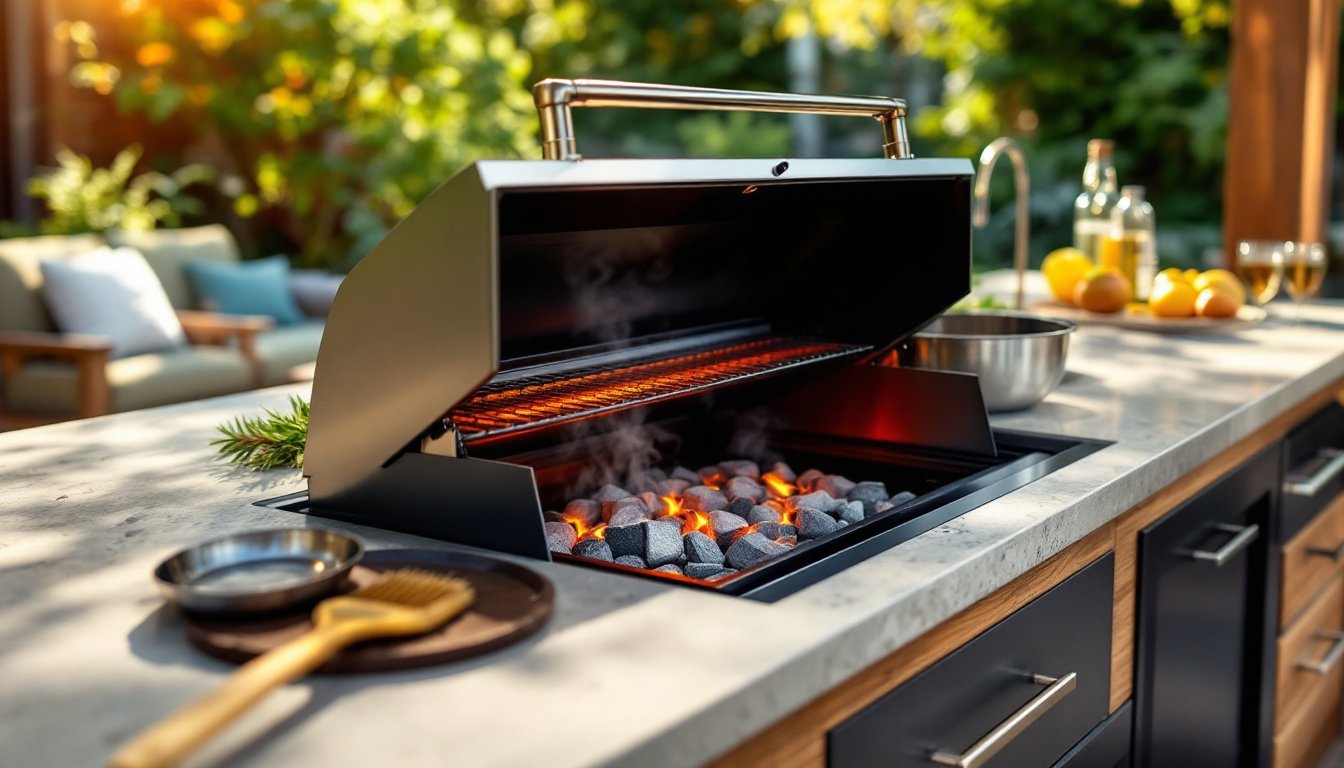
Your grill is the centerpiece. Most people choose built-in gas grills (32–48 inches wide) because they’re efficient, controllable, and pair well with other appliances. Charcoal and pellet grills work too, but they’re bulkier and require more storage space for fuel. A built-in grill slides into a custom opening in your counter, creating a finished look.
Beyond the grill, prioritize by how you actually cook. A side burner ($200–$600) handles sauces and side dishes without firing up the main grill. It’s practical and rarely regretted. A beverage cooler or undercounter fridge keeps drinks cold and avoids trips inside, pure quality-of-life upgrade. A sink ($1,000–$3,000 installed) is a game-changer for rinsing vegetables and washing hands without tracking dirt inside. It requires a water line and drain, which adds complexity but pays dividends.
Skip the specialty appliances you won’t use. Outdoor pizza ovens are stunning but take hours to heat and need dedicated space. Smokers are fantastic if you’re serious about low-and-slow barbecue: otherwise, they sit idle. A rotisserie sounds fun until you realize it only cooks one meal a week. Stick with the basics, then add features you’ll actually reach for month after month.
Appliance materials are critical. Stainless steel resists rust better than powder-coated steel, though it still needs regular polishing to avoid fingerprints. Stainless is worth the premium. Ensure all grates, burners, and interior parts are rust-resistant, not all are, even on expensive models. Read reviews from people in humid climates: they’ll tell you what holds up.
Budgeting and Installation: What to Expect
A basic covered outdoor kitchen runs $5,000–$15,000 for structure, appliances, and counters combined. Mid-range builds with quality materials, a grill, cooler, and counter space land around $15,000–$35,000. High-end kitchens with multiple cooking stations, stone counters, and custom cabinetry exceed $50,000. These ranges vary widely by region, material costs, and whether you’re doing some work yourself.
Break costs into categories: framing and roof ($3,000–$10,000), appliances ($2,000–$8,000), countertops ($1,500–$5,000), plumbing and gas lines ($1,000–$3,000), and electrical work ($1,000–$3,000). Labor, if hiring contractors, often doubles the total. If you’re framing, setting counters, and rough plumbing yourself, you’ll cut costs significantly, but be realistic about your skills and local code requirements.
Approach installation methodically. Framing comes first, then roof, then utilities (gas, water, electrical), then counters and appliances, and finally finishing touches like lighting or fans. Rushing utilities or skipping inspections creates expensive fixes later. Outdoor living tips from experienced builders emphasize getting the bones right before spending on finishes.
Permits, Utilities, and Professional Help
Permits are mandatory in most jurisdictions. A structure attached to your house is considered part of your home’s footprint, so building codes apply. Inspectors will verify roof pitch, storm-load capacity, footing depth, electrical safety (NEC standards), and gas line installation. Skipping permits invites fines, failed home inspections, and insurance denial if something goes wrong.
Gas lines require a licensed plumber or HVAC technician. You can’t DIY this, gas leaks are serious. Budget $500–$1,500 for running a single gas line to a grill. Extending water lines is also better handled by professionals unless you’ve got experience with outdoor plumbing and local codes. Electrical work (outlets, lighting, ventilation fans) can be DIY if you’re comfortable with wiring, but hire a licensed electrician for the final inspection, you’ll need one anyway.
Hire professionals for roofing if you’re not experienced. Attaching a roof to your existing home requires flashing that prevents leaks into your structure. One mistake here costs thousands to fix. Similarly, if your soil is poor or slopes toward your foundation, hire a landscaper or drainage specialist to grade and install a sump system before building.
Designers from Houzz recommend getting three contractor quotes for major work. Compare not just price but timeline, warranty, and whether they pull permits. A contractor who avoids permits is a contractor to avoid. Check references, verify licensing, and don’t pay in full upfront, hold 10–15% until work passes final inspection.
For design inspiration, resources like Sunset Magazine’s outdoor kitchen guide showcase how professional designers handle kitchens in various climates. You won’t hire Sunset’s architects, but studying their choices teaches you what works. Similarly, Fine Homebuilding offers framing and construction details that help you ask smarter questions when hiring contractors.
Conclusion
A covered outdoor kitchen attached to your house is a legitimate home project, not a quick weekend build. Plan thoroughly, prioritize function over features, and respect permits and utilities. Done right, it becomes the heart of outdoor entertaining, a space where family and friends gather year-round. Start with a solid design, hire professionals for the tricky bits, and build for durability. Your future self will thank you.