Table of Contents
TogglePlanning an outdoor kitchen is one of the smartest investments a homeowner can make. Unlike a spontaneous deck project, outdoor kitchen blueprints give you a roadmap, a clear picture of appliance placement, gas lines, electrical runs, water hookups, and structural support before a single nail gets driven. Whether you’re working with a contractor or tackling the project solo, a solid blueprint cuts down on costly mistakes, saves material waste, and ensures your outdoor cooking space actually functions the way you envision it. This guide walks you through what makes a great outdoor kitchen blueprint, what elements should be included in your design, and where to source quality plans that fit your property and budget.
Key Takeaways
- Blueprint outdoor kitchen plans provide exact measurements, appliance placement, and utility routing that prevent costly mistakes and ensure your space functions as intended.
- Effective outdoor kitchen layouts follow proven configurations—L-shaped, galley, or island—and incorporate the work triangle concept with at least 24 inches of counter space on each side of primary appliances.
- Quality blueprints must specify essential elements including appliance clearances, gas and electrical service requirements, plumbing slope, GFCI outlets, and ventilation to meet building codes and pass inspections.
- Free and low-cost outdoor kitchen blueprint PDFs are available from retailers and DIY sites, but complex projects involving gas, electrical, or plumbing work benefit from hiring a professional landscape architect or designer.
- Successful outdoor kitchen projects require honest assessment of DIY capabilities—structural and carpentry can be owner-built, but gas, plumbing, and electrical connections typically demand licensed professionals and permit approval.
- Proper planning, material selection (stainless steel, marine-grade polymer, granite, and sealed wood), site grading, and buffer time for 3–8 week timelines ensure durability and minimize weather-related failures.
Understanding Outdoor Kitchen Blueprints and Their Importance
An outdoor kitchen blueprint is essentially a scaled, overhead view of your cooking space that shows appliance placement, counter depth, utility line routes, and structural details. Unlike a Pinterest inspiration photo, a blueprint includes actual measurements, material callouts, and installation specs that contractors and inspectors can follow.
Why does this matter? Outdoor kitchens involve permanent fixtures and often tie into gas, water, and electrical systems. A poorly planned layout can mean relocating a grill mid-project, dealing with an undersized counter, or discovering that your fridge is too close to the cooking zone for comfort or safety. Blueprints also help you anticipate site conditions, slope, drainage, underground utilities, before you start digging.
Most municipal codes require permits for outdoor kitchens that include permanent appliances or electrical work. Your blueprint becomes the document you submit with your permit application. It shows the inspector that you’ve thought through structural load, ventilation, clearances, and utility integration. Having this paperwork done upfront means fewer delays and fewer surprises during construction.
Key Elements to Include in Your Outdoor Kitchen Design
Layout Styles and Configuration Options
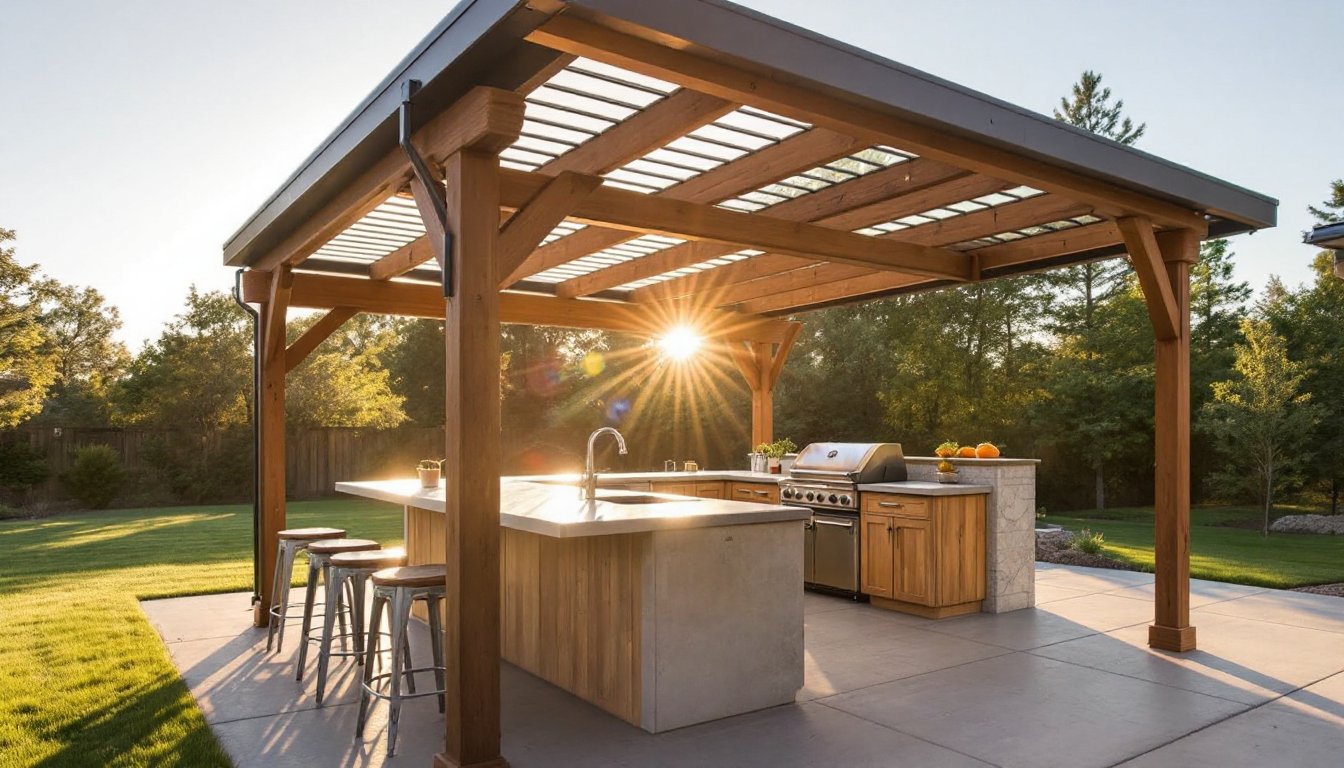
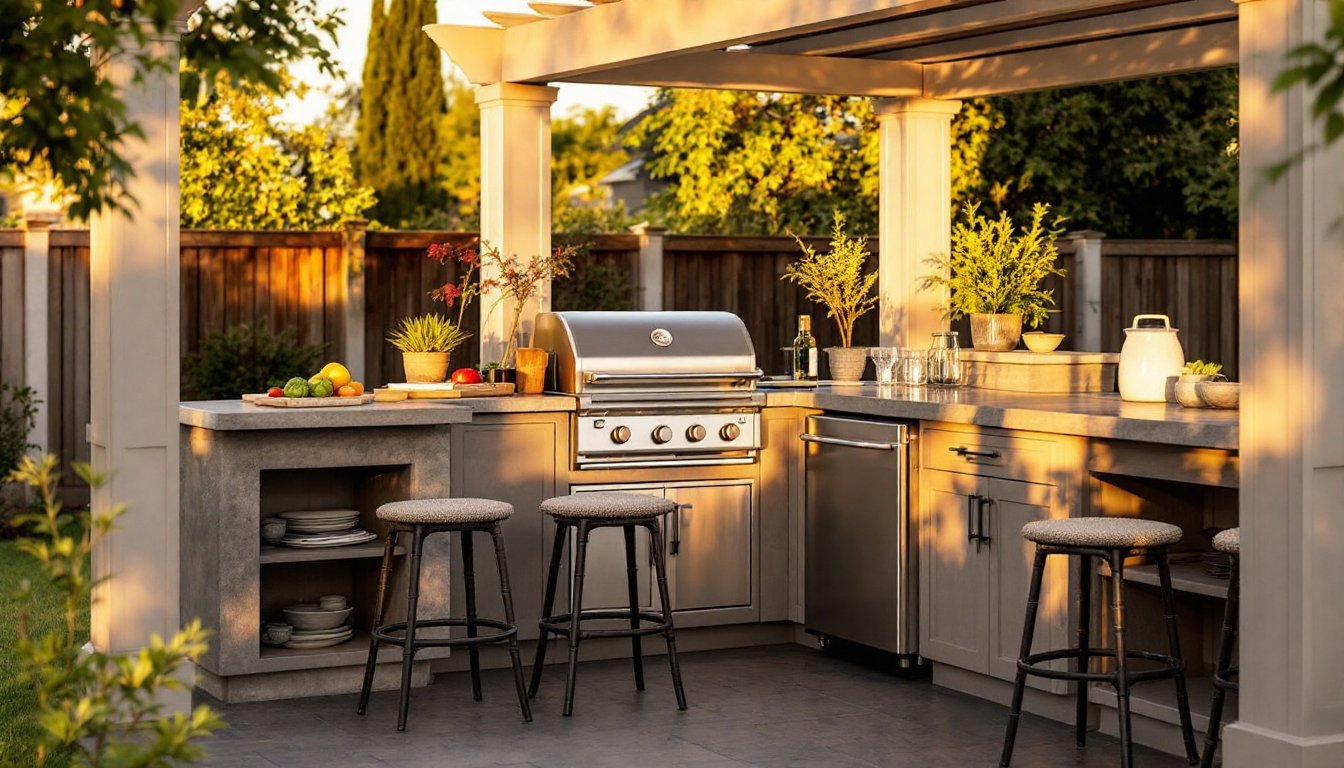
Outdoor kitchen layouts generally fall into a few proven configurations. An L-shaped layout is the most versatile, it fits corner spaces, defines the cooking zone, and gives you counter space on two sides. A straight-line or galley layout works well for narrow spaces along a house or fence. An island layout centralizes the grill and counter, allowing traffic flow around the perimeter: this style demands more space but creates a social focal point.
Your blueprint should account for the work triangle concept borrowed from indoor kitchen design: the path between grill, prep counter, and sink should feel natural, not cramped. Plan at least 24 inches of counter space on each side of your primary appliance, fewer than that and you’re constantly reaching or shuffling tools. Depth matters too: standard outdoor counters run 24 to 36 inches deep. Shallower and you lose functionality. Deeper and you’re stretching across a wide work surface.
Consider traffic flow. Your outdoor kitchen shouldn’t block the main route from patio to yard. If guests constantly brush past the person manning the grill, the design needs tweaking. Orienting the grill toward the dining area or house creates a natural gathering point and makes the cook feel part of the action rather than isolated.
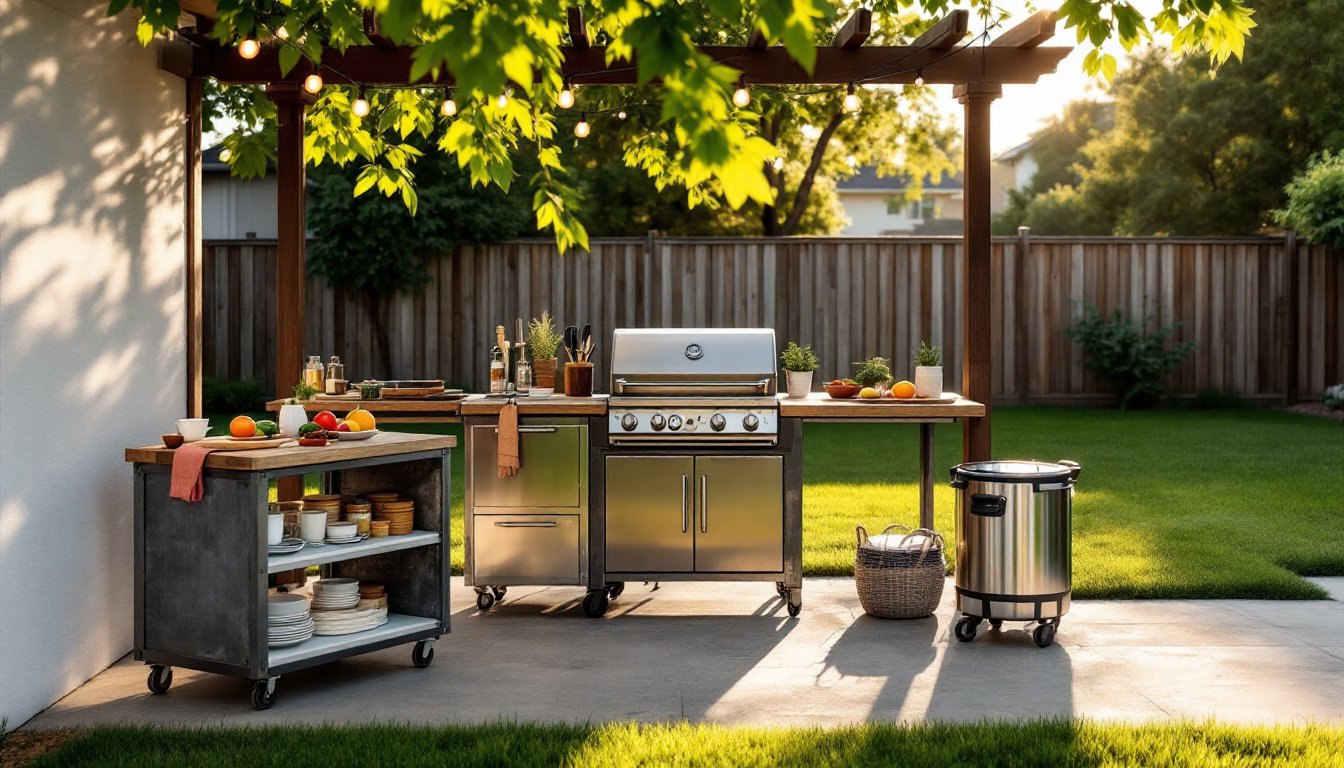
Essential Appliances and Features
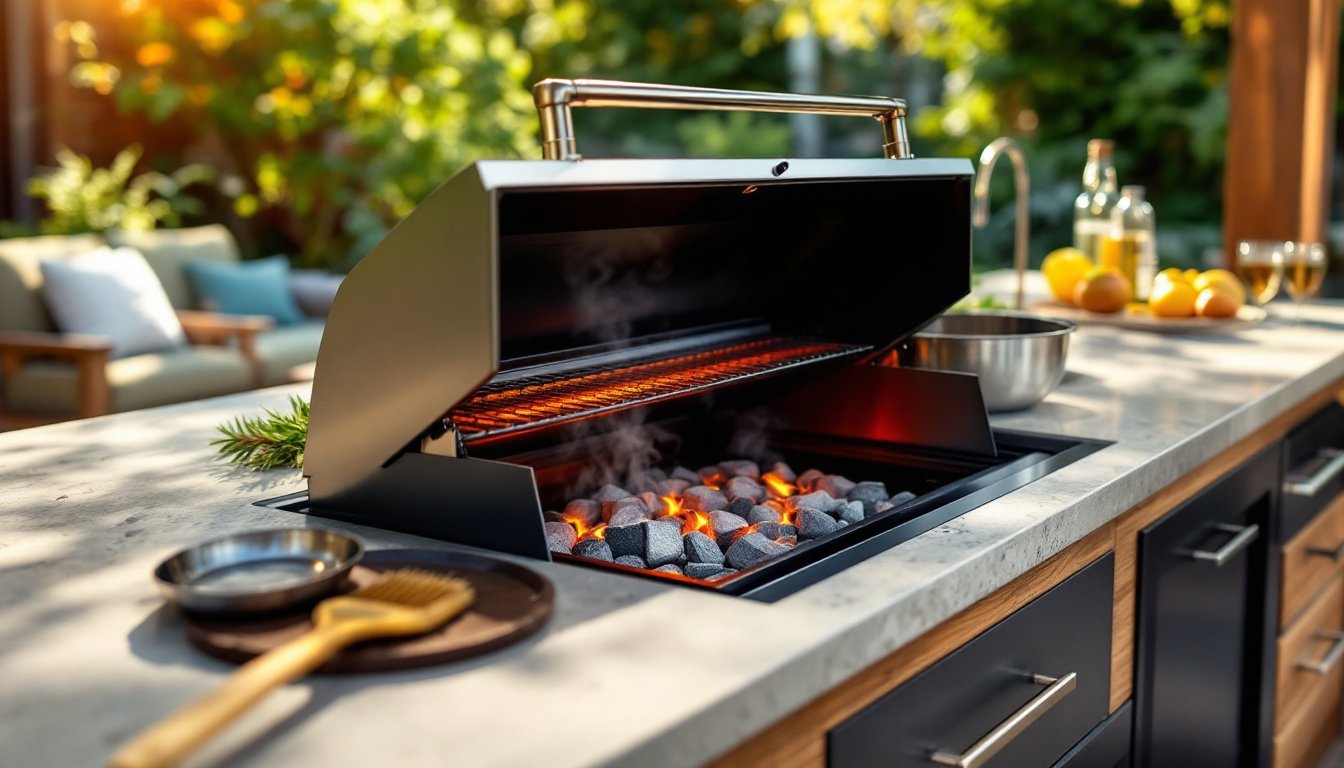
Your blueprint needs to specify which appliances you’re including, because each one has unique clearance, utility, and ventilation requirements. A built-in grill, the centerpiece for most outdoor kitchens, requires at least 3 inches of clearance on either side (check your specific model). Side burners, griddles, rotisseries, and pizza ovens all occupy footprint that has to be reflected in the layout.
A mini-fridge or beverage cooler keeps drinks chilled without constant trips indoors. Most standard models are 24 inches wide and require a dedicated electrical circuit if built-in. Sink and water supply add prep and cleanup convenience: running water lines means coordinating with your plumbing rough-in and ensuring proper slope for drainage (typically 1/4 inch per foot). Sinks with hot water demand a water heater or thermostatic mixing valve to avoid scalding, another utility line to plan.
Storage, under-counter cabinets, shelving, or a combination, keeps tools and supplies organized and protected from the weather. Stainless steel or marine-grade polymer stands up to UV and moisture better than standard materials. Countertop surface matters too: granite, tile, or engineered stone handles heat and weather, while laminate breaks down quickly outdoors.
Gas supply, whether from a propane tank or a hard-line from the house, needs a clear, accessible route in your blueprint. Electrical service should include GFCI-protected outlets (required by code near water sources) and adequate amperage for any powered appliances. Ventilation is often overlooked but critical: a pergola or open-sided overhang allows smoke to escape: an enclosed roof needs a hood vent.
Where to Find Quality Outdoor Kitchen Blueprint PDFs
Several sources offer ready-to-use or customizable outdoor kitchen blueprints. Home improvement retailers like Home Depot and Lowes often have free or low-cost plan sets for common configurations. These are basic starting points, useful for getting dimensions and appliance placement, but they may need tweaking to fit your specific lot and utility locations.
Online plan databases and DIY sites host collections of outdoor kitchen designs. Platforms like Instructables feature step-by-step build guides with plans contributed by experienced makers. Ana White’s collection of DIY grill stations includes over 15 customizable designs with free downloadable plans, ranging from simple wood-framed builds to elaborate multi-appliance setups. These are excellent if you enjoy woodworking and want to adapt a plan to your site.
If you’re planning a more complex setup with built-in appliances, gas lines, and electrical work, hiring a landscape architect or kitchen designer is worth the investment. They’ll produce a site-specific blueprint that accounts for grading, drainage, existing structures, and local codes. Cost varies widely, $500 to $2,500 depending on scope, but it saves you from expensive do-overs.
Outdoor living trends in 2026 emphasize durable materials and multipurpose layouts, which is good to keep in mind when reviewing plans. Look for blueprints that show material callouts clearly and include utility rough-in details, not just the pretty overhead view. A good plan includes a materials list, fastener specs, and notes on finish and assembly.
DIY Considerations Before Building Your Outdoor Kitchen
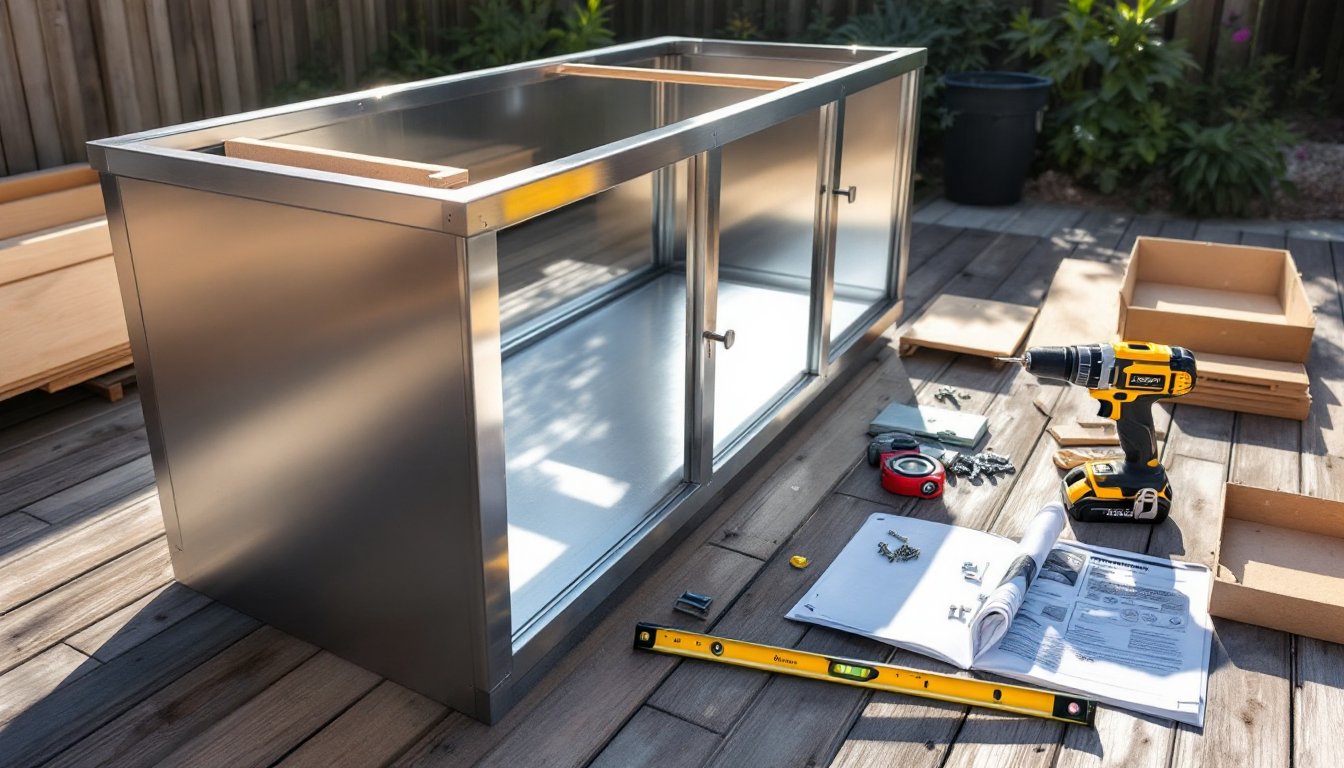
Building an outdoor kitchen involves structural, plumbing, electrical, and sometimes gas work. Be honest about which parts you can handle and where you need a pro.
Structural and carpentry work, framing the base, building counters, installing cabinet boxes, is doable for a handy DIYer with basic power tools (circular saw, miter saw, drill-driver). You’ll need a level, tape measure, carpenter’s square, and a stud finder at minimum. Start with a sturdy frame, typically 2×4 pressure-treated lumber sunk into a footer below the frost line if your region freezes. Countertops often sit on a plywood base clad in cement board (if tiling) or sealed wood (if using stone or composite). Creating an outdoor living space demands careful attention to water drainage: slope all surfaces away from structures and use exterior-grade sealant on wood.
Plumbing is trickier. Running water and drain lines to a remote outdoor kitchen requires proper slope, appropriate pipe diameter, and freeze protection in cold climates. If you’re handy with plumbing, you can handle rough-in work (laying out lines), but the final connections and pressure testing are safer left to a licensed plumber. Same goes for gas lines if you’re installing a natural gas grill, mistakes here are hazardous. A propane tank is simpler and doesn’t require hard-piping.
Electrical work connecting outdoor outlets, lights, or a refrigerator to your panel requires a licensed electrician in most jurisdictions (codes vary). Rough-in work and conduit placement can often be DIY, but the connection to your main panel is code-restricted. A GFCI-protected outlet within 6 feet of any sink is mandatory.
Permits and inspections: Check with your local building department early. Most permanent outdoor kitchens require a permit. Inspections catch issues before they become expensive failures, and your homeowner’s insurance will cover incidents more readily if work was permitted and inspected. Best outdoor living ideas always include proper permitting.
Material acclimation: If your plan specifies stone or tile, let materials sit on-site for a few days before installation so they adjust to local temperature and humidity. This prevents adhesive failure and cracking down the line.
Timeline: Don’t rush. Outdoor kitchens typically take 3 to 8 weeks depending on complexity. Weather, material availability, and permit timelines all add days. Build in buffer time so you’re not scrambling or cutting corners.
Conclusion
A solid blueprint is the difference between a project that unfolds smoothly and one filled with costly surprises. Start by clarifying your goals: Is this a simple grill station, or a full-service kitchen with water, gas, and electrical? Your answer shapes which blueprint style and sourcing strategy makes sense. Whether you download a free plan and adapt it or invest in a custom design from a professional, the key is specificity, exact dimensions, appliance models, utility routes, and material specs. Do the planning now, pull permits early, and bring in licensed professionals for work outside your skill set. That’s how a backyard becomes an outdoor living space people actually use year-round.