Table of Contents
ToggleA backyard BBQ outdoor kitchen transforms your outdoor space into a fully functional entertainment hub. Instead of cooking indoors and shuttling food back and forth, you’re grilling, prepping, and serving all in one place with friends and family nearby. Whether you’re a weekend griller or weekend entertainer hosting regular cookouts, a well-designed outdoor kitchen adds genuine value to your home and makes hosting effortless. This guide walks you through everything from the core components you’ll need to layout strategies, budgeting, and long-term maintenance, so you can build a setup that actually works for how you live.
Key Takeaways
- A backyard BBQ outdoor kitchen eliminates indoor-to-outdoor food shuttling and encourages year-round outdoor entertaining, while typically returning 50–75% of installation costs at resale.
- Essential components include a quality built-in grill ($800–$3,000+), adequate counter space (60+ inches for comfortable entertaining), weatherproof storage, and proper ventilation (900 CFM minimum) to protect your structure.
- Plan your outdoor kitchen layout carefully by measuring your patio, positioning the grill 10 feet from your house, and running utility lines (gas, water, electrical) before building counters to avoid costly retrofitting.
- Budget-friendly outdoor kitchens start at $5,000–$10,000 installed or $2,000–$5,000 if you do most labor yourself, while skipping optional features like pizza ovens and using concrete countertops can significantly reduce costs.
- Protect your BBQ outdoor kitchen investment with routine maintenance: cover your grill between uses, clean the grill interior regularly, seal concrete countertops every 2–3 years, and inspect electrical and gas connections annually.
- Obtain necessary permits ($500–$1,500) and verify contractors are licensed and insured before installation, as skipping permits voids insurance coverage and creates problems at resale.
Why Invest in a Backyard BBQ Outdoor Kitchen
A backyard BBQ outdoor kitchen is more than a trendy backyard addition, it’s a functional investment that changes how you use your outdoor space. First, there’s the practical benefit: you eliminate the constant back-and-forth from your indoor kitchen. Your prep area, cooking equipment, and serving space are all within steps of each other. Second, outdoor kitchens encourage you to spend more time outside. Studies show that homeowners with outdoor entertaining spaces actually use their backyards year-round rather than letting them sit empty nine months out of the year.
There’s also real resale value. A well-built outdoor kitchen typically returns 50–75% of its installation cost at resale, depending on your market and how well it’s constructed. Potential buyers see an outdoor kitchen as a luxury amenity and a sign the home has been thoughtfully improved. Beyond economics, it’s about lifestyle: you can host larger gatherings, cook outdoors during pleasant weather, and create a genuine gathering spot instead of relying on a tiny patio table. <a href="https://curry-chef.com/outdoor-living-examples/”>Outdoor living examples show how various homeowners have turned this concept into their perfect backyard retreat.
Essential Components of a Functional BBQ Outdoor Kitchen
Grills and Cooking Equipment
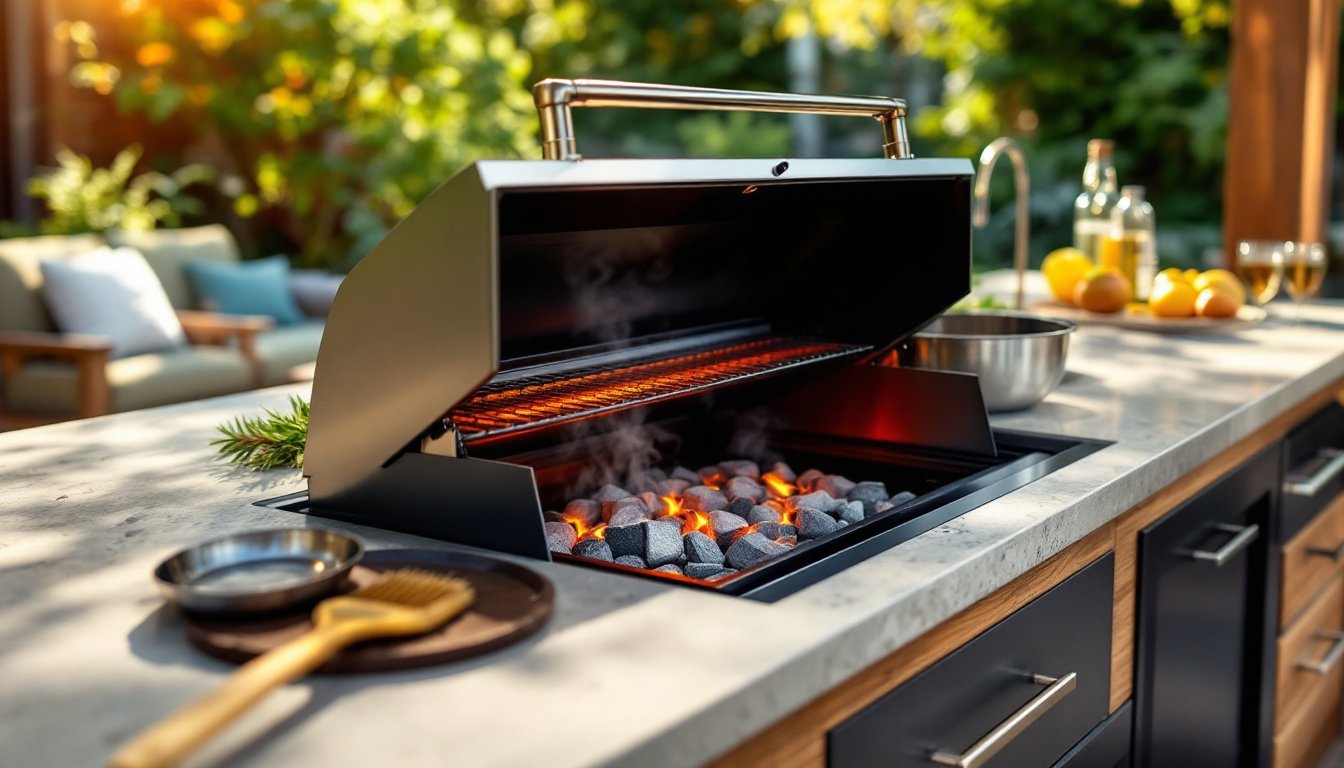
Your grill is the centerpiece, so choose based on your actual cooking style and frequency. Built-in gas grills are the most popular choice for outdoor kitchens because they’re convenient, easy to control, and integrate seamlessly into permanent installations. A quality stainless-steel built-in grill runs from $800 to $3,000+, depending on size, materials, and features. If you prefer flexibility, portable pellet grills or charcoal setups can work, but they don’t integrate as cleanly into a finished kitchen layout.
Beyond the main grill, consider secondary cooking elements: a side burner for sauces or sides, a pizza oven for versatility, or a smoker if you’re serious about smoking meats. A side burner adds $300–$600. Don’t overlook a good exhaust hood or ventilation, built-in grills should have 900 CFM minimum to pull smoke and heat away efficiently. This protects your structure and keeps the space comfortable. Link ventilation planning to your overall design early: retrofitting it later is messy and expensive.
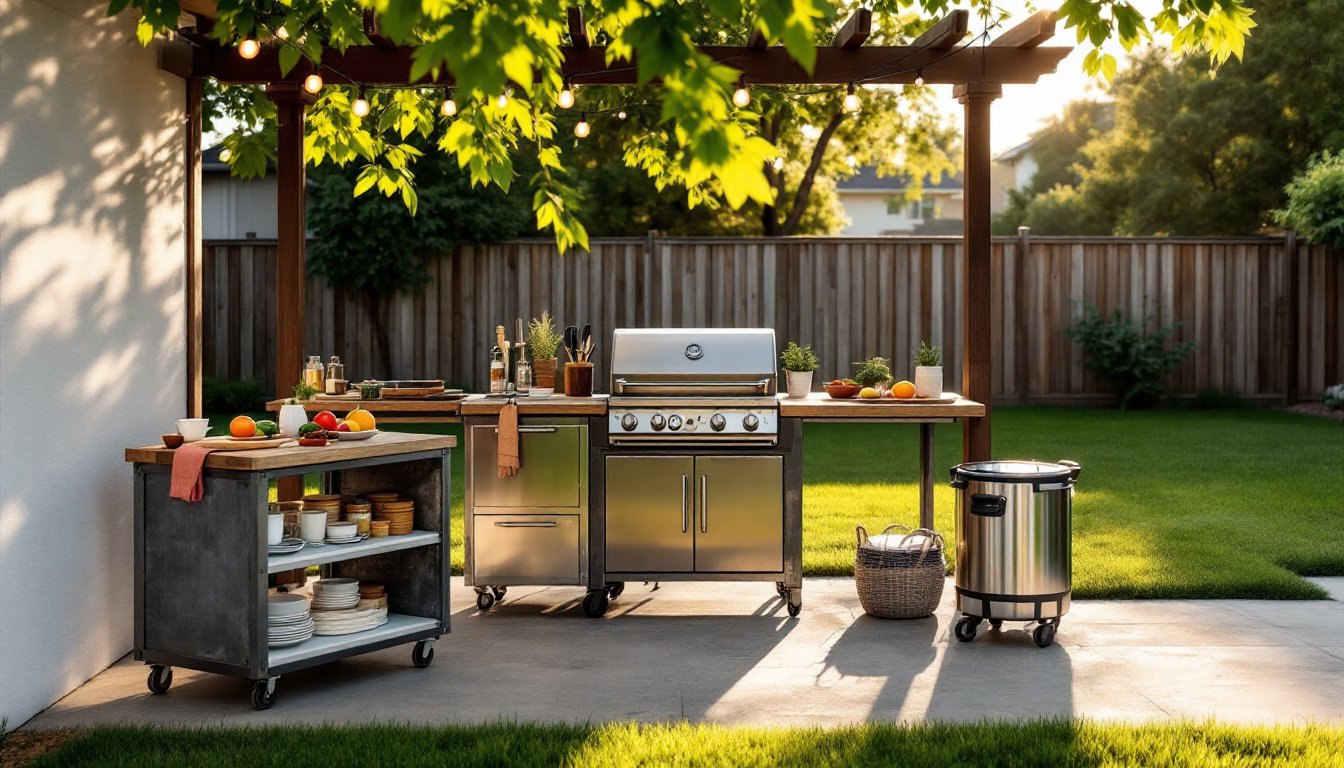
Counter Space and Storage Solutions
Counter space is where most DIYers cut corners, and regret it. You need at least 24 inches of prep space on one side of the grill and 24 inches on the other for a basic setup. For comfortable entertaining, aim for 60+ inches total. Use marine-grade stainless steel countertops or sealed concrete: granite and stone are options but require more maintenance in outdoor conditions. Stainless steel runs about $100–$150 per linear foot installed: concrete is cheaper upfront but needs sealing every 2–3 years.
Storage is equally important. Built-in cabinets beneath the counter keep grilling tools, propane tanks, and accessories out of sight and protected from weather. Outdoor-rated cabinetry (marine plywood or composite with stainless steel hinges) costs $150–$300 per linear foot. Open shelving is a cheaper alternative if you don’t mind weathering and visual clutter. A weatherproof mini-fridge ($400–$800) keeps drinks cold and reduces trips inside. Drawer slides and hinges must be stainless steel or powder-coated to resist rust.
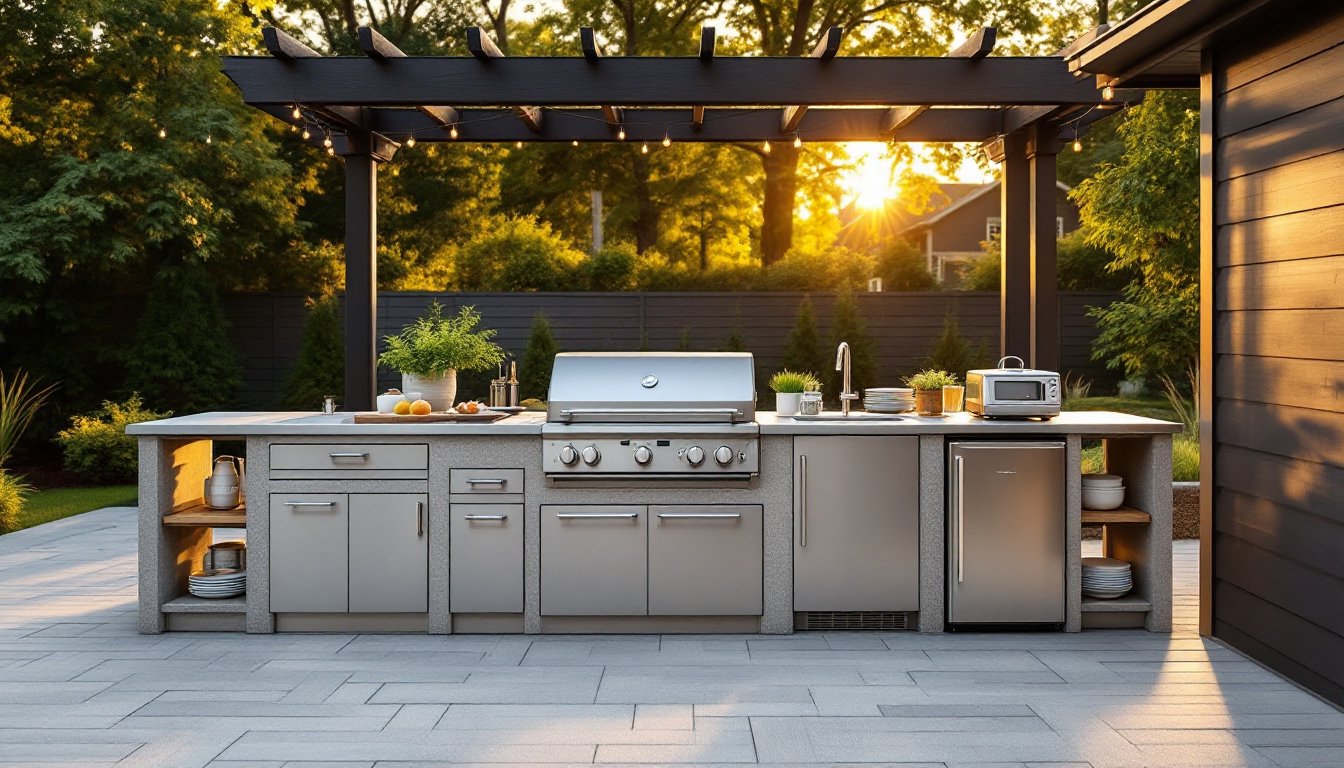
Layout and Design Planning for Your Space
Before buying anything, map your space carefully. Measure your patio or deck area in feet and note sun exposure, wind patterns, and proximity to your house. The grill should be positioned at least 10 feet from your house, deck railings, and overhanging eaves (check your local fire code, requirements vary). If you’re on a deck, verify the deck can support concentrated weight: a built-in grill and counters easily weigh 500+ pounds, so joists must be 16 inches on center and rated for the load.
Plan workflow: position the grill centrally, with prep space and storage on one side and serving/eating space nearby. Counters on both sides of the grill let two people work comfortably. Think about utility runs too, gas lines, water connections, and electrical for lights or a mini-fridge. Running gas and water lines after the fact means cutting into finished structures. If you need gas or water, have a licensed plumber run those lines before building counters.
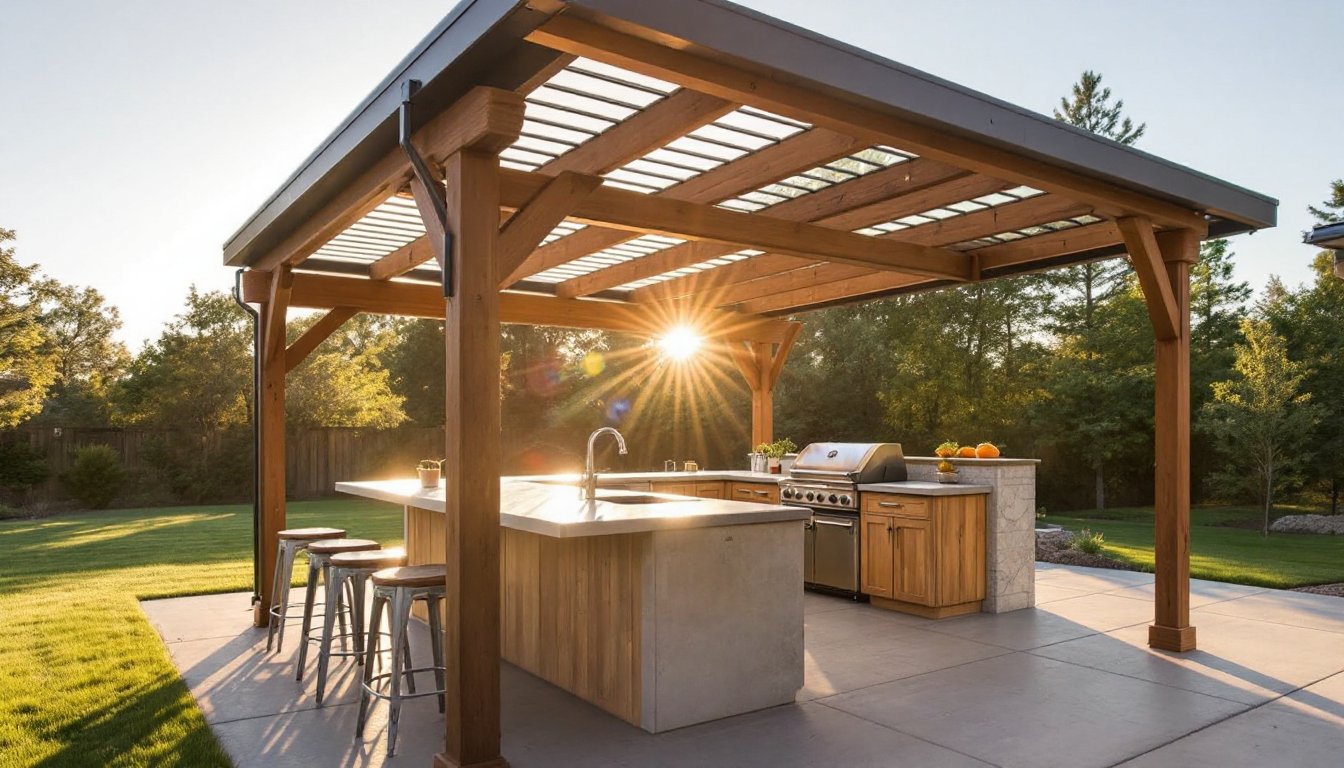
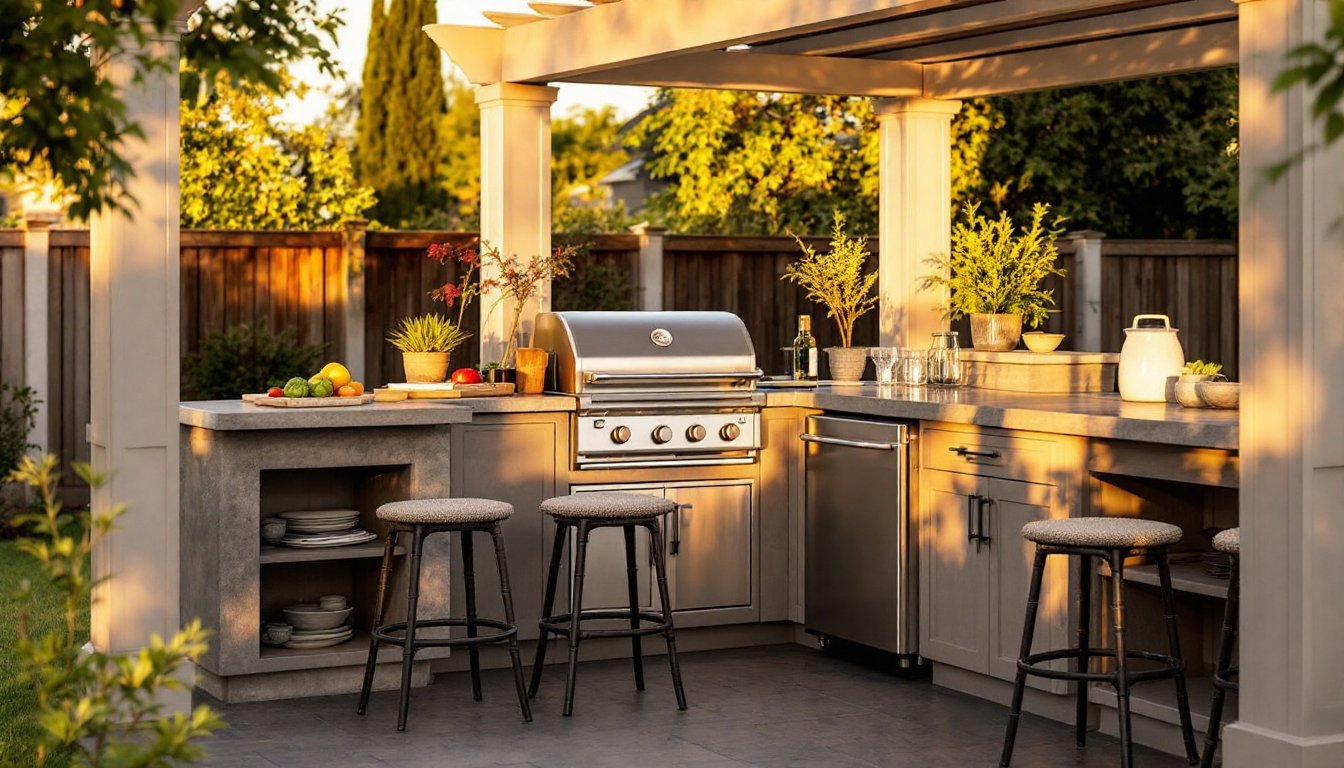
Consider shade and weather protection. A pergola or shade sail over the cooking area keeps you cooler in summer and guests happier. Outdoor kitchen appliances perform better in shade, and the setup is more comfortable year-round. Many homeowners add a roof or polycarbonate panels over part of the kitchen, a worthwhile investment if you live in a rainy climate. Top outdoor living ideas demonstrate how strategic layouts maximize both functionality and comfort.
Budget-Friendly Setup vs. Premium Installation
A basic backyard BBQ outdoor kitchen, a single built-in grill, countertop, and simple cabinetry, runs $5,000–$10,000 installed, or $2,000–$5,000 if you do most labor yourself. A mid-range setup with a quality grill, side burner, stainless counters, proper storage, and partial roofing costs $15,000–$30,000. High-end installations with multiple cooking appliances, stone counters, full roofing, ambient lighting, and professional plumbing/electrical work exceed $50,000.
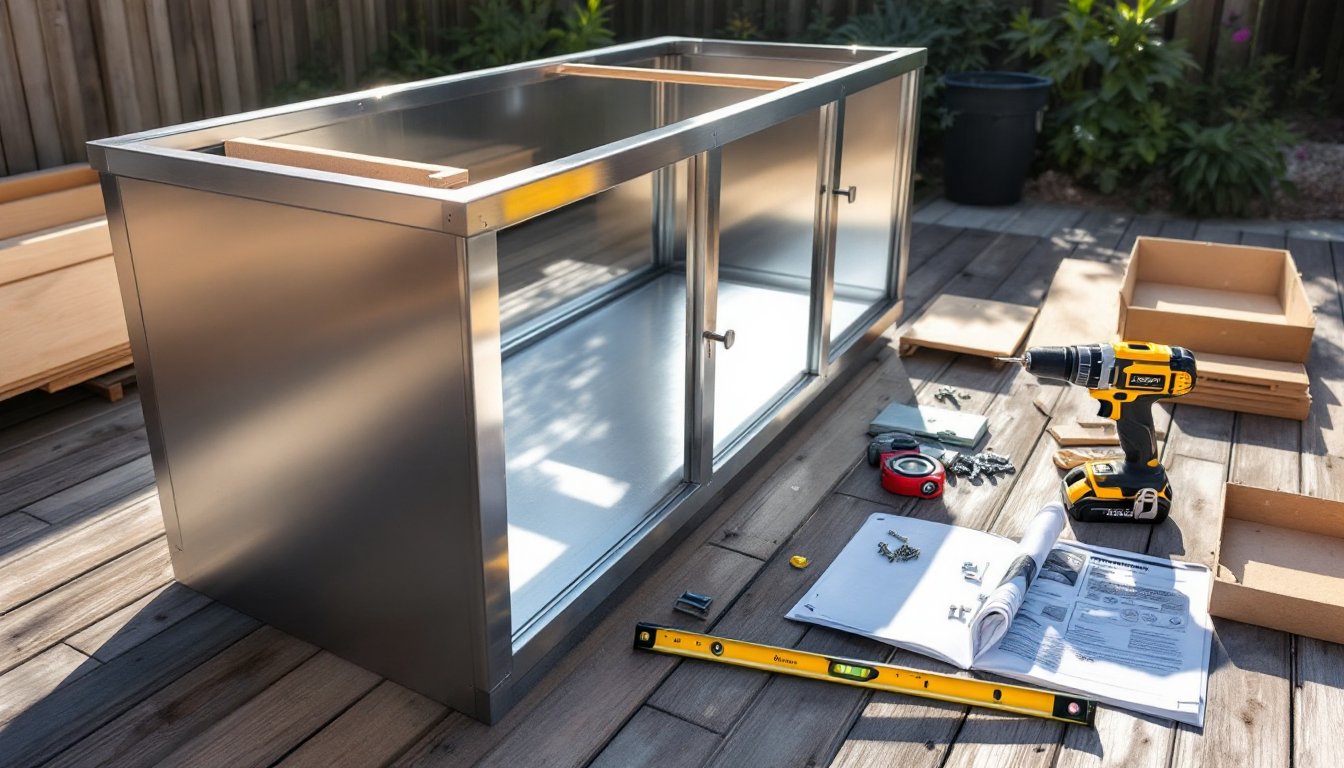
To keep costs down, start with essentials: a good grill, a work surface, and basic storage. Skip the pizza oven, side burner, and fancy finishes initially, you can add them later. Use concrete countertops instead of stone: they’re durable and cost half as much. Build simple cabinetry yourself or buy prefab stainless outdoor cabinets online rather than custom installations. Do your own demolition and prep work if you’re capable: labor is often 40–50% of the total cost.
If you’re hiring contractors, get three quotes and verify they’re insured and licensed. Ask about permits, outdoor kitchens often need building permits, electrical permits (if wiring), and gas permits. Skipping permits saves money upfront but voids insurance coverage and creates problems at resale. Budget $500–$1,500 for permits depending on your jurisdiction. Professional design and engineering services ($1,000–$3,000) are worth it for complex layouts with utilities, but simple setups don’t need them.
Maintenance Tips to Protect Your Outdoor Kitchen Investment
Outdoor kitchens live in harsh conditions: UV sun, rain, temperature swings, and salt air (if you’re coastal). Protect your investment with routine maintenance. Cover your grill when not in use with a fitted, breathable cover, vinyl traps moisture and promotes rust. Clean the grill’s interior after every few uses: grease buildup becomes a fire hazard and clogs ventilation. Empty and inspect propane tanks seasonally: a damp tank or kinked line is dangerous.
Stainless steel surfaces need regular cleaning. Use a stainless-steel cleaner monthly and always wipe with the grain: this prevents water spots and keeps finishes looking new. Concrete countertops should be sealed every 2–3 years with a food-safe outdoor sealer. Wooden cutting boards and handles should be oiled quarterly. Check cabinet hinges and drawer slides for rust or corrosion: replace stainless fasteners immediately if you spot rust, it spreads fast.
Inspect electrical wiring and connections annually. Outdoor wiring should be rated for wet locations (Type UF-B cable or better in conduit), and all outlets need GFCI protection. Test GFCI outlets monthly. If your kitchen has gas lines, hire a licensed technician to inspect annually for leaks using soapy water: bubbles mean trouble. Seal gaps where utilities enter your structure to prevent pests and water intrusion. A brief annual inspection catches problems before they become expensive repairs. Resources like Bob Vila’s home improvement guides offer detailed maintenance protocols for outdoor appliances and structures.