Table of Contents
ToggleA charcoal grill insert transforms a simple outdoor kitchen into a serious cooking destination. Unlike built-in gas options, a charcoal insert delivers the smoky flavor and high-heat searing that gas simply can’t match. Whether you’re retrofitting an existing outdoor space or building from scratch, understanding what a charcoal grill insert is and how to install one properly makes the difference between a weekend project and a frustrating mistake. This guide walks you through sizing, installation, and maintenance so you can grill with confidence for years to come.
Key Takeaways
- A charcoal grill insert transforms your outdoor kitchen into a permanent, integrated cooking destination that delivers superior searing and authentic wood-smoke flavor compared to gas options.
- Proper sizing—measuring width, depth, height, and accounting for mounting hardware—prevents costly installation mistakes; standard inserts range from 24 to 48 inches depending on household size and entertaining frequency.
- Install your charcoal grill insert only after verifying local building codes, ensuring your cabinetry base is reinforced wood framing, and planning utility routes to protect the firebox from heat damage.
- Routine maintenance—brushing the grate every 3–5 sessions, removing ash monthly, and using a breathable cover during off-season—keeps your insert rust-free and performing optimally for years.
- Master charcoal technique by using a chimney starter, managing air vents for direct or indirect heat, and experimenting with wood chips to achieve restaurant-quality results that showcase the insert’s full potential.
What Is a Charcoal Grill Insert and Why Your Outdoor Kitchen Needs One
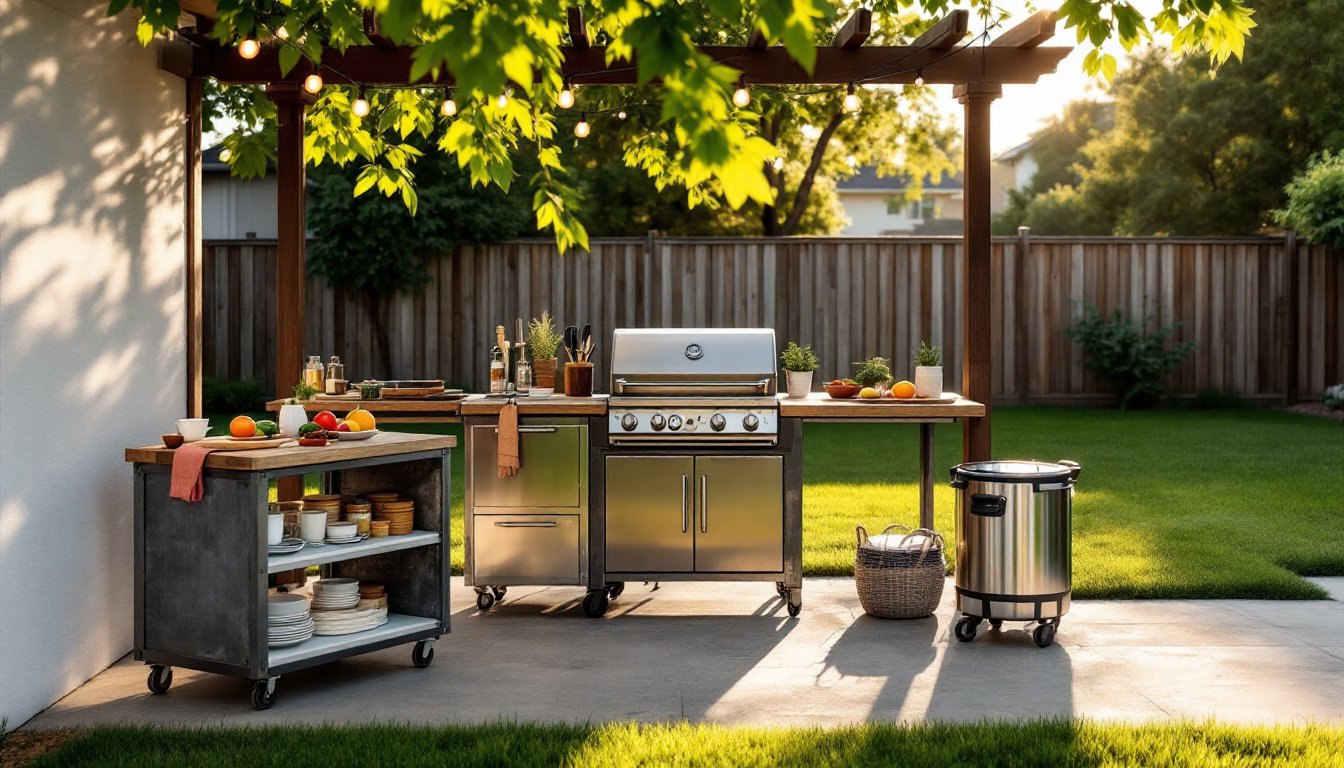
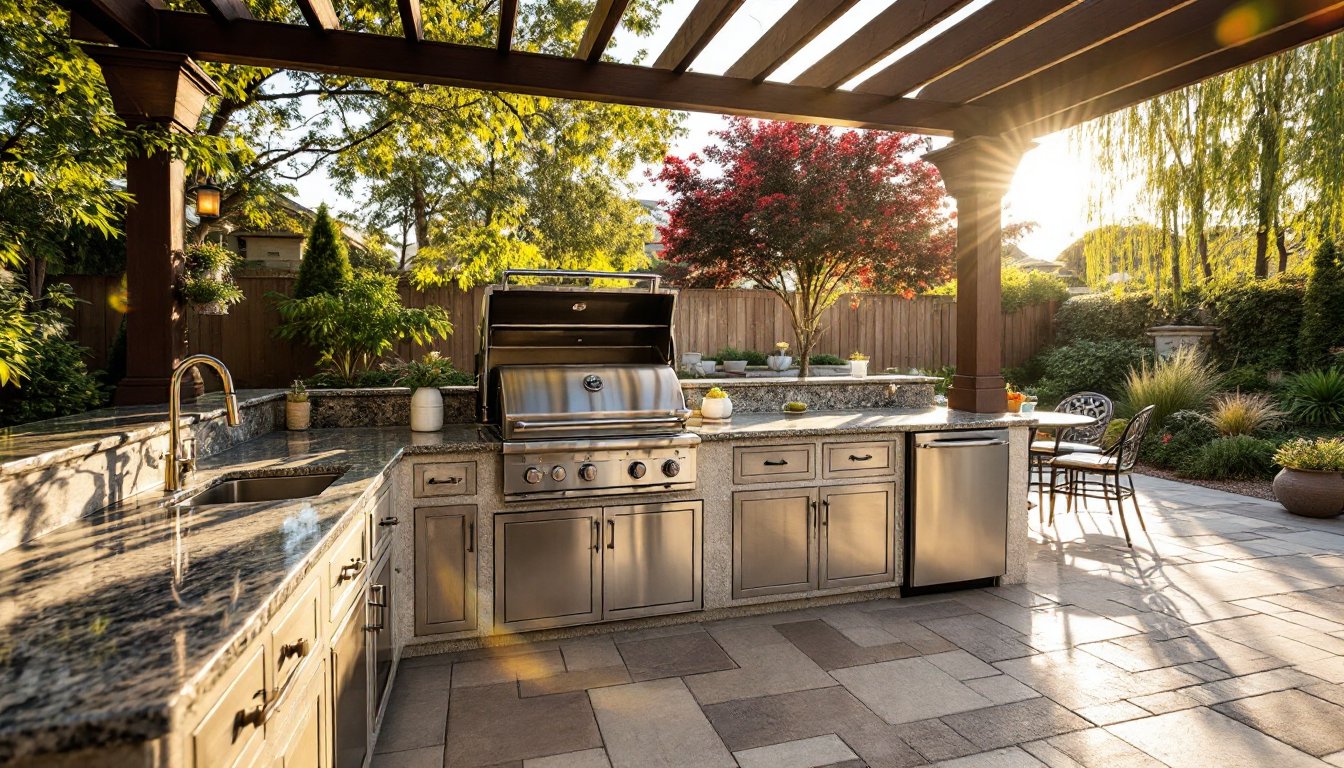
A charcoal grill insert is a self-contained cooking unit designed to fit into an outdoor kitchen opening, cabinetry, or custom frame. Think of it as a firebox with a cooking grate, ash management system, and often a hinged top lid. The insert sits flush with your countertop or slightly recessed, anchoring your outdoor cooking setup without requiring a complete masonry installation.
Charcoal inserts offer several advantages over freestanding grills. First, they provide permanent placement, no more wrestling a heavy grill around your patio. Second, they integrate seamlessly with custom cabinetry and built-in features, creating a polished outdoor kitchen aesthetic. Third, charcoal burns hotter and faster than gas, giving you superior searing capability and wood-smoke flavor that amplifies grilled food. Burgers, steaks, fish, and vegetables all benefit from the intensity charcoal delivers.
The trade-off: charcoal requires more hands-on management than gas. You’ll need to light it, manage airflow, manage heat zones, and clean ash after cooking. If that appeals to you, if you actually enjoy the ritual of charcoal grilling, an insert is worth the investment. If you want convenience and preset temperatures, stick with gas.
Choosing the Right Size and Style for Your Space
Insert dimensions matter enormously. Standard charcoal grill inserts range from 24 inches wide to 48 inches or larger, with cooking surfaces typically 18 to 36 inches across. Measure your intended location carefully, width, depth, and height, because fitting an insert into an undersized opening is impossible, and oversizing wastes money and looks awkward.
Consider cooking surface area relative to your household size and entertaining habits. A 24-inch insert works fine for a family of four cooking weeknight dinners. If you regularly host backyard parties or run a casual catering side hustle, a 36-inch or larger insert justifies the extra expense and cabinetry work. Draft a sketch showing your outdoor kitchen layout, then overlay the proposed insert dimensions. This simple step prevents $800-plus mistakes.
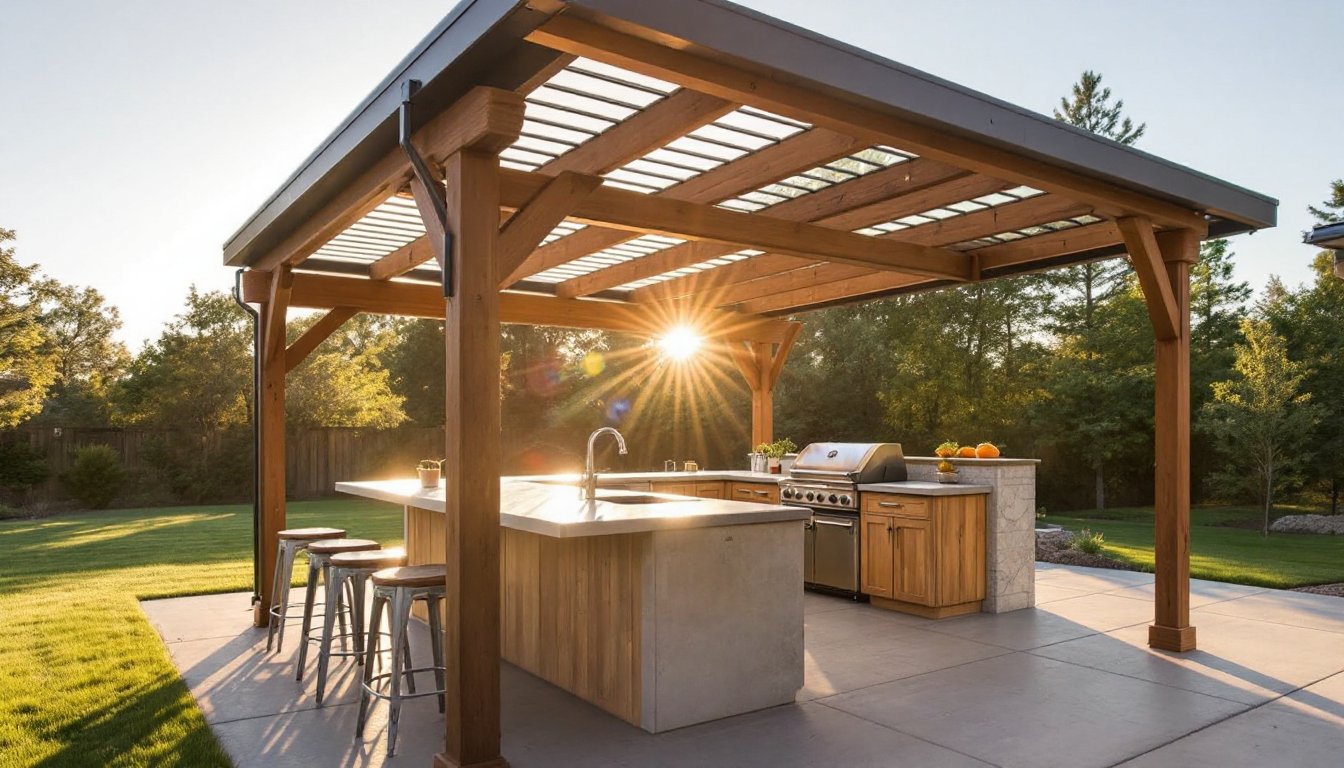
Style and material also vary. Cast-iron inserts are durable and distribute heat evenly but are heavy and prone to rust without seasoning. Stainless-steel inserts resist corrosion and look modern, though they can reflect heat unevenly. Ceramic or tile-lined inserts insulate well and retain heat longer, which helps with fuel efficiency. Your choice depends on budget, climate (coastal areas favor stainless steel due to salt air), and aesthetic preference. Outdoor living examples showcase how different insert styles complement various outdoor kitchen designs.
Installation Essentials: Preparing Your Outdoor Kitchen
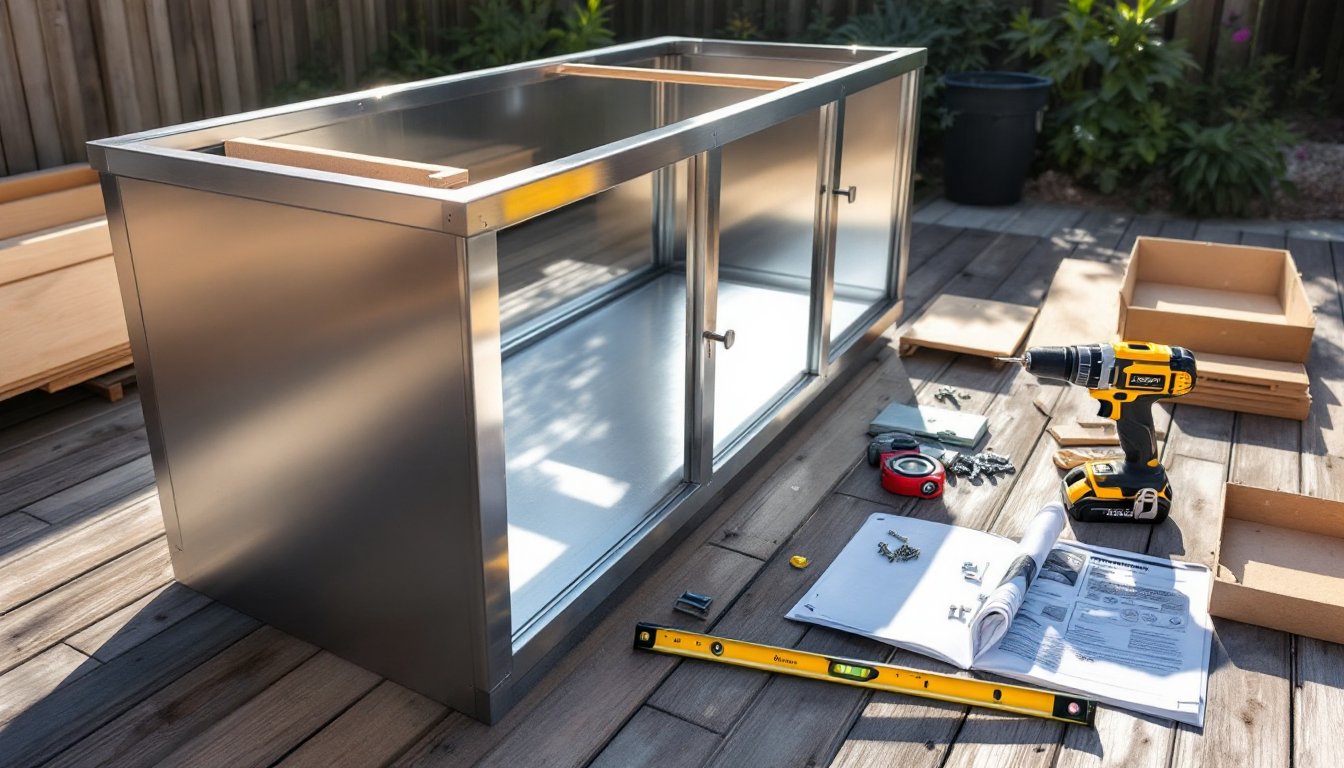
Installation begins with honest assessment: is your outdoor kitchen structure ready? The insert’s weight, often 150 to 300+ pounds, requires solid support. If you’re installing into custom cabinetry, the cabinet base must be reinforced wood framing, not thin plywood. Weakly built supports lead to sagging, misalignment, and potential safety hazards.
Check local building codes before purchasing. Many jurisdictions require permits for built-in grills because they involve gas (if equipped) and structural integration. Some areas mandate fire-resistant barriers or minimum clearances from walls and combustibles. A few hours of code research now beats an inspector shutting down your project mid-build. Contact your local building department for specifics.
Measuring and Planning Your Insert Location
Measure the insert’s overall dimensions (width, depth, height) and note whether it has a lip, flange, or mounting frame that extends beyond the main body. These millimeters determine whether the insert fits flush or recessed. Measure twice, no exaggeration. Account for access to the rear and sides for ventilation and maintenance.
Markings on your outdoor kitchen layout should indicate electrical runs (if the insert has lighting or a motorized spit), gas lines (if you’re adding a gas assist feature), and water lines (some inserts include warming drawers). Route these utilities away from the insert’s firebox to avoid heat damage. Plan a drainage path for water runoff, a slope of ¼ inch per foot away from the structure prevents pooling.
Once positioned, secure the insert according to the manufacturer’s instructions. Most inserts rest on a level base and anchor via bolts or brackets to cabinetry below. Use stainless-steel fasteners, regular steel rusts in the moist outdoor environment. Apply a stainless-steel silicone sealant around gaps to prevent moisture infiltration and pest entry.
Maintenance and Care Tips for Long-Term Performance
Charcoal inserts demand routine care to avoid deterioration. After every 3 to 5 cooking sessions, brush the cooking grate with a brass grill brush to remove buildup and prevent rust. Stainless-steel grates resist corrosion: cast-iron grates need light oiling after cleaning to maintain seasoning.
Manage ash weekly during grilling season. Let ash accumulate in the pan below the grate, it actually insulates and helps retain heat, but remove it completely every month or so. A shop vac or small shovel works well. Never let ash pile so high it blocks airflow vents at the base of the insert.
At season’s end or if your insert sits unused for more than a month, cover it with a fitted grill cover made from breathable material. Vinyl and heavy canvas trap moisture: choose a cover with moisture vents on the sides. Inspect the interior for rust or damage. Light surface rust on cast iron can be scrubbed with a steel wool pad and re-seasoned with a high-heat cooking oil. Heavy rust or structural cracks warrant professional repair or replacement.
For stainless-steel inserts, wipe down with a microfiber cloth and stainless-steel polish quarterly to maintain finish and prevent fingerprints. Check that hinges, latches, and grates move freely. Apply a light lubricant (WD-40 or similar) if anything becomes stiff. Top outdoor living spaces invest in annual professional servicing to catch issues early.
Getting the Most Out of Your Charcoal Grill Insert
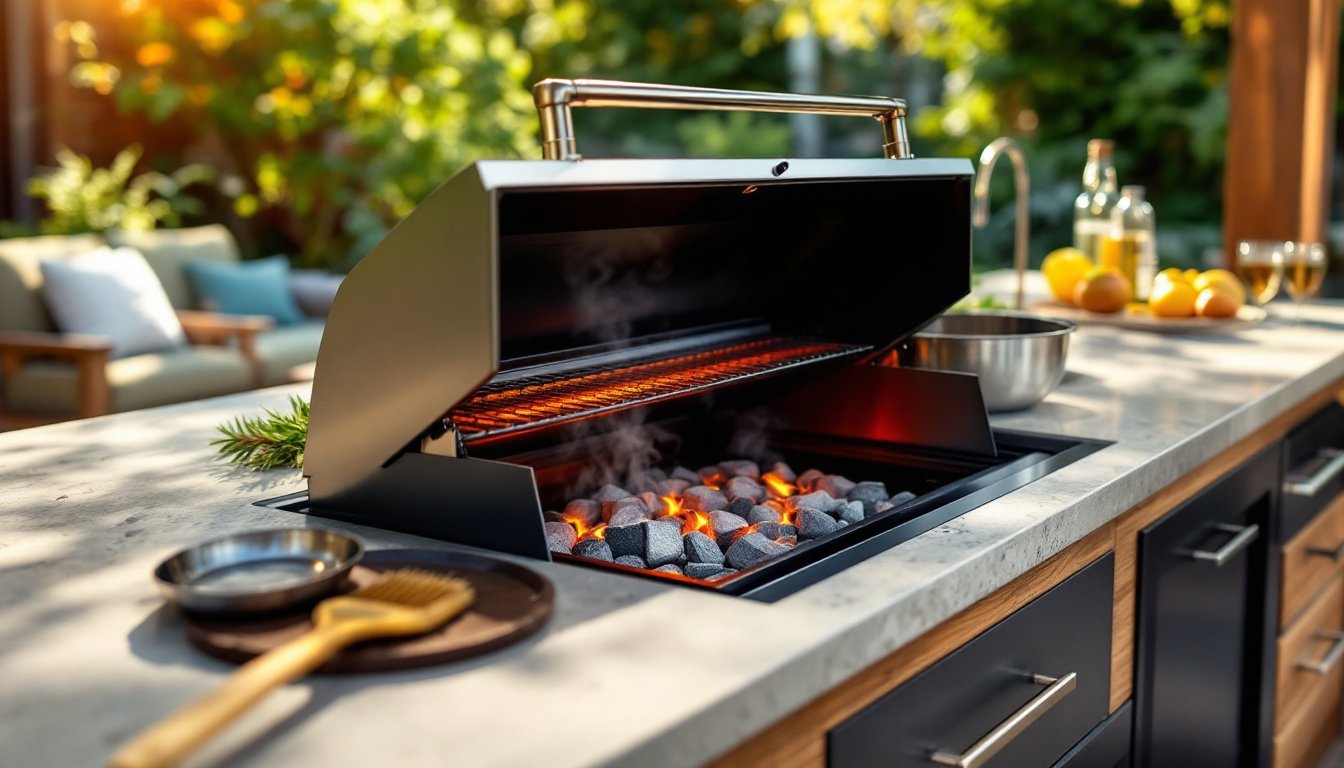
Technique matters as much as equipment. Before lighting, open all air vents fully to allow the charcoal to ignite evenly. Use a charcoal chimney starter (about $20) rather than lighter fluid, it’s faster, produces better heat, and eliminates chemical flavor. Fill the chimney with lump charcoal or high-quality briquettes (avoid cheap briquettes loaded with binders), light the bottom with crumpled paper or fire starters, and let it burn for 12 to 15 minutes until most coals are ash-gray with a few still red.
Once coals are ready, pour them into the firebox. For direct heat (steaks and chops), spread coals evenly. For indirect heat (larger roasts, whole chickens), push coals to one side, leaving the other side empty, food cooks slowly and gently opposite the heat source. Use the air vents to control temperature: open them for hotter burns, close them partially to lower and steady the heat.
Place a drip pan beneath the cooking grate and fill it with a little water or apple juice. This catches fat drippings and prevents flare-ups while adding moisture to the cooking environment. Don’t rely on temperature gauges alone, invest in a digital instant-read thermometer to verify doneness. Resources like Houzz and The Kitchn offer excellent recipes and techniques tailored to charcoal cooking. Experiment with wood chips (soak them first) or herb bundles placed directly on the coals for smoke flavor. Small additions, a handful of cherry wood chips, a bundle of rosemary, transform simple grilled chicken into restaurant-quality results.
Conclusion
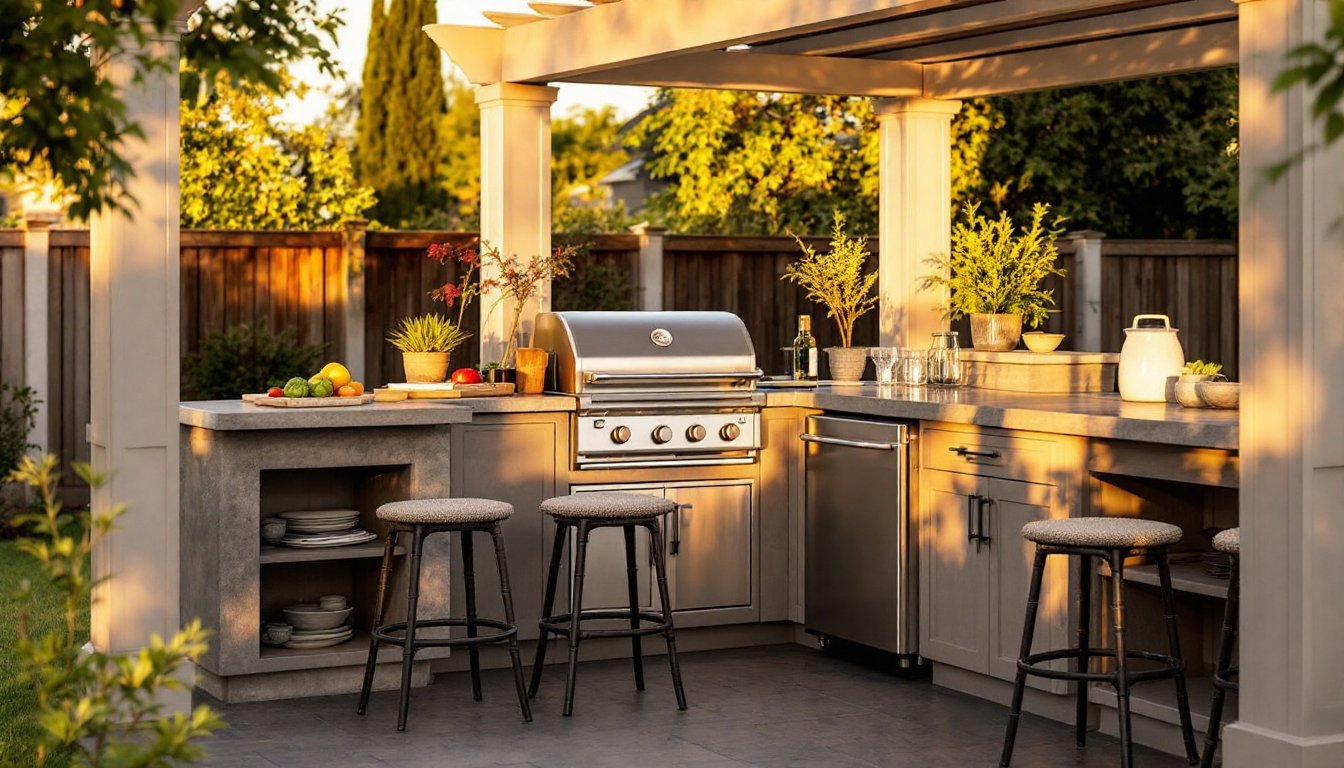
Installing a charcoal grill insert elevates your outdoor kitchen from a nice-to-have into a genuine focal point and functional cooking space. By choosing the right size, preparing your structure properly, and maintaining the insert consistently, you’ll cook countless meals with authentic charcoal flavor and heat control that gas can’t replicate. Start by measuring carefully and checking your local codes, the assignments phase prevents costly mistakes. Then light that chimney, and enjoy years of grilling.