Table of Contents
ToggleA covered outdoor kitchen transforms how you cook, entertain, and live outside. Whether you’re flipping burgers on a random Tuesday or hosting a backyard feast, protection from sun, rain, and wind makes all the difference. Unlike a traditional patio grill, a full kitchen structure with counters, storage, and shelter elevates outdoor entertaining from seasonal to year-round. This guide walks you through why homeowners are investing in covered kitchen structures, what types exist, what to plan for, and how to actually build one that won’t fall apart come next spring.
Key Takeaways
- Covered outdoor kitchen structures extend your cooking season year-round while protecting appliances, materials, and family from sun, rain, and wind exposure.
- Choose between permanent roofed kitchens (requiring permits and foundation work) or semi-permanent retractable systems (easier to install and modify without full commitment).
- Plan your layout around appliance placement first, ensuring proper spacing, electrical and water line routing, and concrete slopes to prevent standing water and frost heave damage.
- Use durable outdoor materials like stainless steel countertops, galvanized fasteners, and pressure-treated or cedar posts to withstand weather and extend the structure’s lifespan.
- Hire licensed professionals for electrical circuits, gas lines, plumbing, and roof framing to ensure safety, proper code compliance, and avoid costly mistakes during inspection.
Why Choose a Covered Outdoor Kitchen
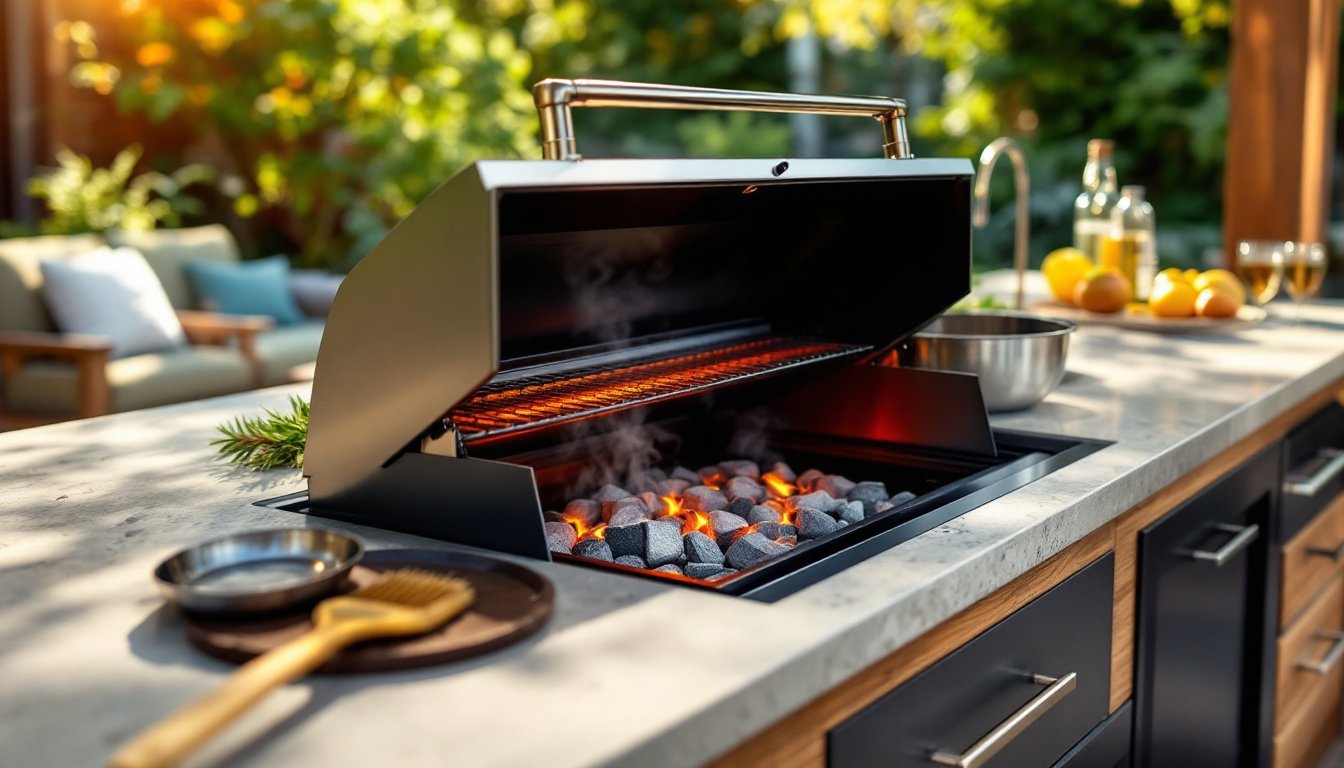
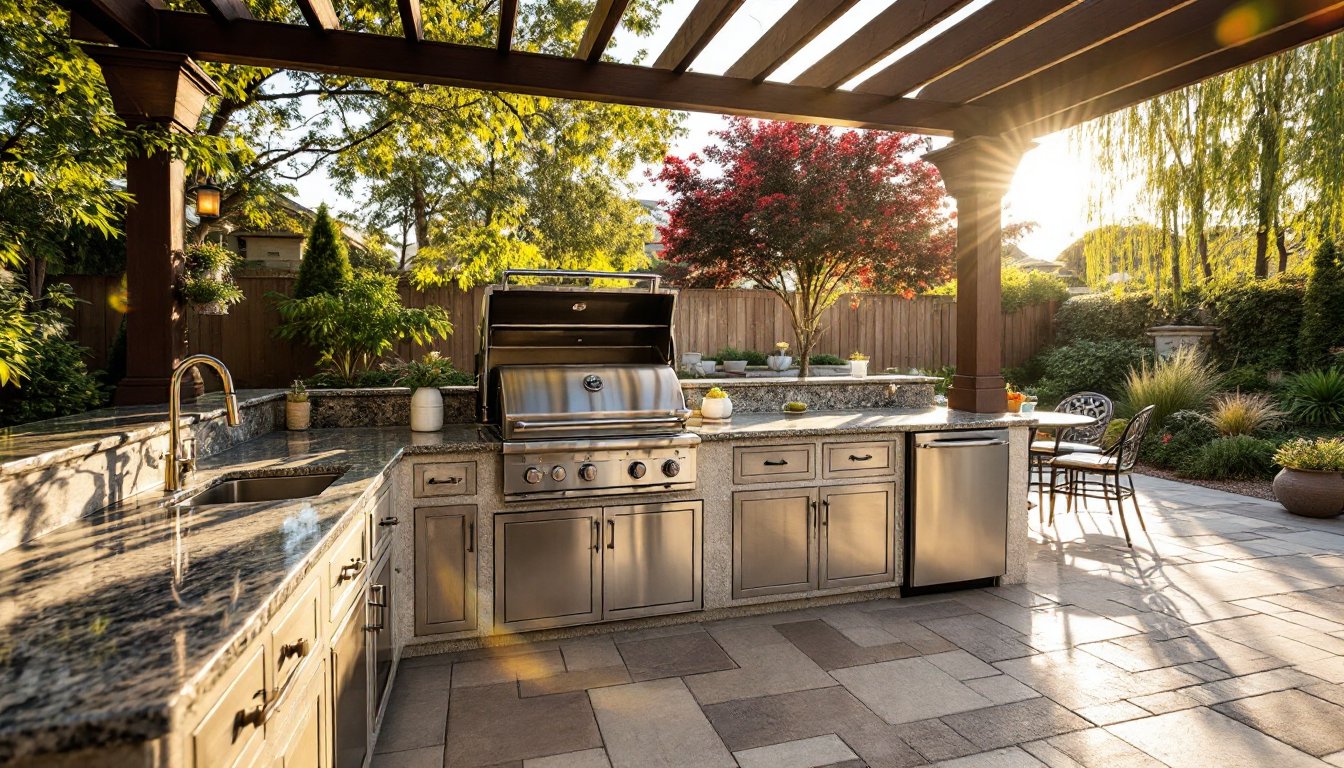
A covered outdoor kitchen isn’t just a grill bolted to a deck, it’s a functional cooking space that works in the elements. Shelter protects you from UV exposure, sudden rain squalls, and excessive wind that cools food and makes grilling unpredictable. Weather protection also extends the lifespan of your appliances and materials, especially stainless steel and wood, which degrade faster under constant sun and moisture.
Practically, a roof overhead means you’re not racing the weather or standing in the rain waiting for chicken to cook. You can prep, cook, and plate food without constantly wiping rainwater off your cutting board. For entertaining, guests actually stay outside longer when they’re not squinting in bright sun or dodging drops. Covered outdoor kitchen structures also add real estate value, most home buyers see functional outdoor space as a genuine amenity, not a luxury add-on.
From a lifestyle angle, a covered structure encourages you to use the space more often. Many DIYers find that once the shelter’s in place, outdoor cooking becomes routine rather than a fair-weather activity.
Types of Covered Kitchen Structures
Permanent Roofed Kitchens
A permanent roofed kitchen is essentially a small building, typically wood-framed with a solid roof (asphalt shingles, metal, or composite). The structure sits on a concrete pad or footings and is usually anchored to the ground. Most permanent kitchens are built with 4×4 or 6×6 posts, 2×8 or 2×10 joists, and proper drainage. Walls can be fully enclosed (making it an outdoor room), partially open, or just posts with a roof.
These structures often require a building permit and inspection because they’re considered permanent additions to your property. Check with your local building department, codes vary widely by jurisdiction. Some areas limit roof size, require licensed electricians for outdoor circuits, or mandate frost-line foundation depth (typically 3 to 4 feet in colder zones). A permanent structure is durable, looks finished, and can incorporate electrical service, making it ideal if you plan to add refrigeration, under-cabinet lighting, or a ceiling fan.
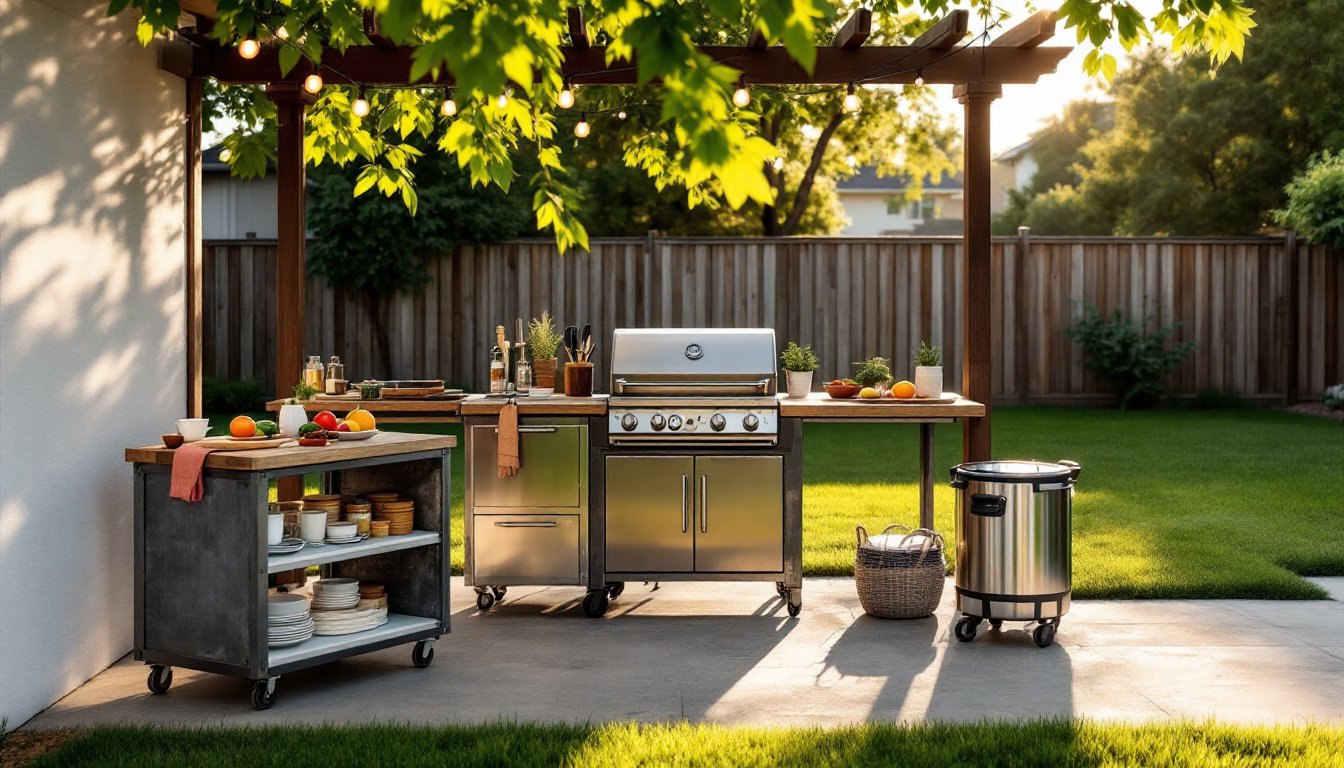
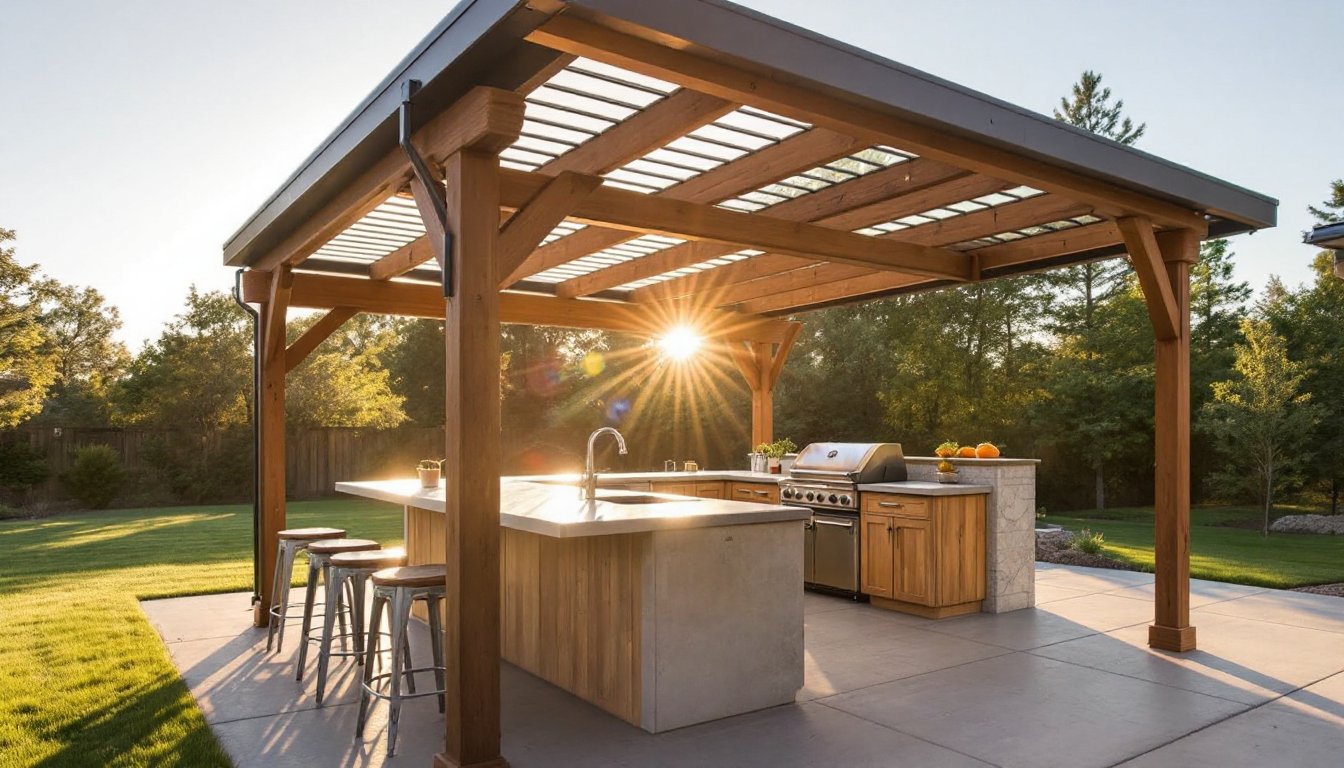
Semi-Permanent and Retractable Options
Semi-permanent structures use aluminum posts, pergolas, or canopy frames that aren’t anchored as deep or rigidly as a fully built structure. Many sit on concrete pads without frost-line digging. A retractable awning or motorized shade system gives you flexibility, sun when you want it, shade when you don’t. These solutions typically require no permit (though always confirm locally) and are easier to modify or remove later.
Retractable options work well if you like the option to open up your space or if you’re renting. A motorized pergola shade system costs less upfront than framing a permanent roof and handles wind better because it collapses in high gusts. Trade-off: you lose the feeling of a fully finished room, and manual or motorized systems eventually need parts replacement. Semi-permanent structures are a practical middle ground for DIYers who want shelter without full commitment.
Essential Design and Planning Considerations
Before you buy a single post, measure your space and sketch a layout. Know where the sun moves through your yard, morning sun is gentler on cooking areas than afternoon heat. If your kitchen faces west, you’ll likely want east-facing shade in late afternoon. Check prevailing winds too: outdoor kitchens in windy spots benefit from partial walls or windbreaks.
Decide on appliances first, then build around them. A grill, mini fridge, sink, and counter space are standard: some setups add a pizza oven or beverage cooler. Grills come in various widths (36″, 48″, 60″), so your structure depth depends on grill size plus counter overhang (usually 24″ minimum). Water and electrical lines need planning, running underground or overhead conduit adds cost but keeps things clean. If you want a ceiling fan, drainage for a sink, or gas lines, hire a licensed pro: these aren’t DIY shortcuts.
Slab or foundation matters. A 4-inch concrete pad with proper slope (¼ inch per foot) prevents standing water around posts. If frost heave is a concern in your climate, dig posts below the frost line. Most building codes require posts to sit on footings 3+ feet deep in zones where ground freezes. Compare this with the effort upfront, heaving concrete in spring is expensive to fix.
Outdoor living trends 2026 are emphasizing durable, multi-season spaces with integrated water drainage and electrical. Homeowners are also mixing materials, pairing wood frames with metal roofing or composite decking for low-maintenance finishes. Research design inspiration on Houzz before you finalize dimensions: seeing real projects helps catch overlooked details like post spacing, counter height (typically 36″ for food prep, 42″ for bar seating), and overhang depth.
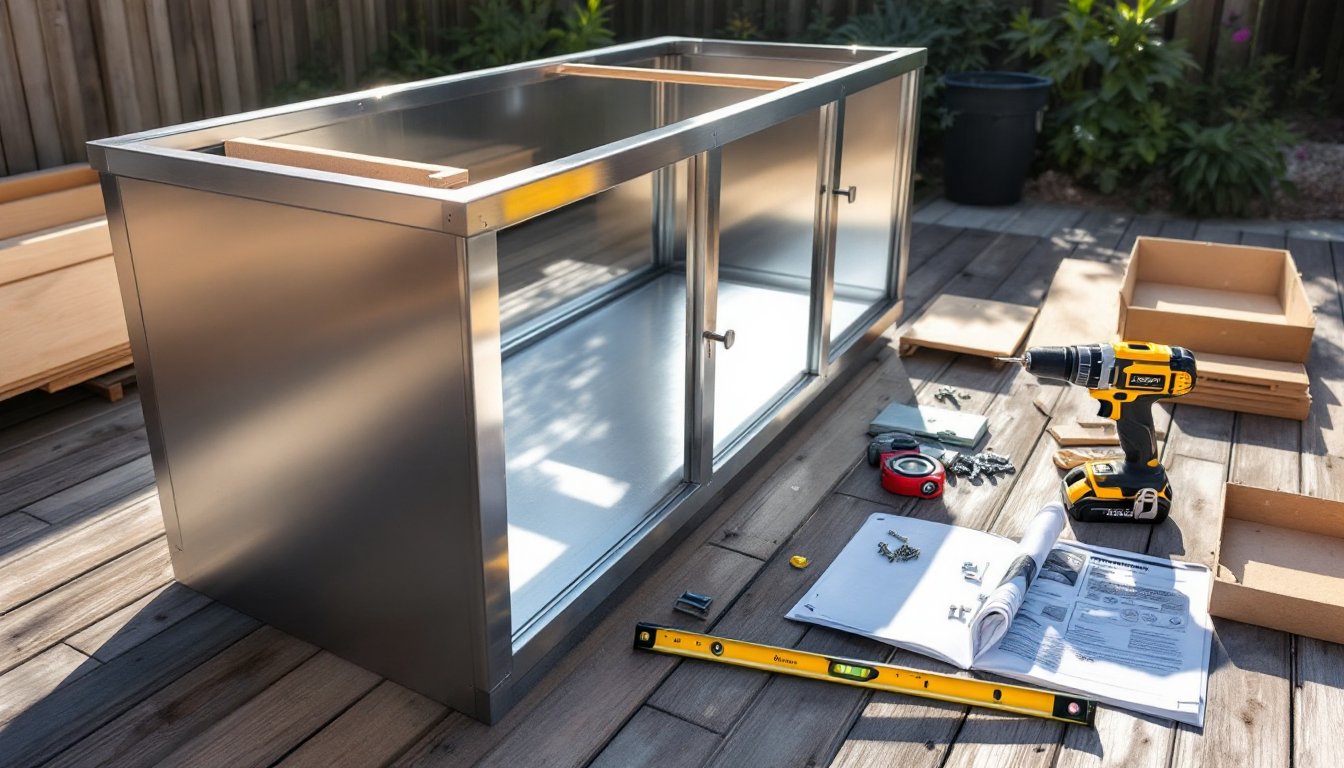
Building Your Covered Outdoor Kitchen: Materials and Installation
Materials list varies by structure type, but a typical permanent roofed kitchen needs:
• Pressure-treated or cedar posts (4×4 or 6×6)
• Pressure-treated joists (2×8, 2×10)
• Concrete for a 4-inch slab (4″ thickness, proper reinforcement mesh)
• Metal roofing, asphalt shingles, or polycarbonate sheets
• Stainless steel or marine-grade countertop material
• Outdoor-rated lumber or composite decking for any raised surfaces
• Galvanized or stainless fasteners (regular nails rust in weather)
• Drip edge and gutter material for water management
• Gravel or permeable base for drainage
Tools needed: circular saw, miter saw (for clean angle cuts), level, tape measure, post-hole digger or auger, drill, socket set, and safety gear (goggles, work gloves, dust mask when cutting pressure-treated lumber).
Step-by-step outline:
-
Layout and permitting. Mark post locations with chalk or spray paint. Get your permit approved and schedule inspections before pouring concrete.
-
Concrete work. Dig holes to frost-line depth (check local code) and pour footings. Allow concrete to cure 7 days. Lay your slab with proper slope for drainage.
-
Post installation. Set posts in footings using concrete, verify plumb with a level, and brace temporarily with 2×4 cross-bracing while concrete sets.
-
Framing. Install rim joists and beams using galvanized bolts. Joists typically sit on 16″ or 24″ centers depending on load and span. A professional can tell you exact joist sizing, undersized joists sag or fail in snow or wind.
-
Roof installation. If using trusses, hire a pro or ensure truss design matches your roof load. Install sheathing, underlayment, and your roofing material per manufacturer specs. Metal roofing is lighter and longer-lasting than shingles but noisier in heavy rain.
-
Counter and appliance installation. Install counter supports on beam frames, lay your countertop (stainless or composite holds up best outdoors), and secure your grill with proper brackets. Electrical and gas lines should be run by licensed contractors, don’t improvise here.
-
Finishing touches. Add gutter and downspout systems to direct water away from posts. Paint or stain wood, seal any end grain on lumber, and install lighting if you’ve run electrical.
Common mistakes: Undersizing the roof (it sags in snow), using regular fasteners (they rust), skipping the slope on concrete (water pools and freezes), and not checking local codes before starting (surprise inspections halt progress). Also, don’t rush curing times on concrete or footings, patience saves callbacks later.
For detailed construction guidance, Fine Homebuilding offers framing and roofing techniques suited to outdoor structures. Best outdoor living ideas on Curry CHEF also showcase real projects showing finished materials and layouts you can adapt.
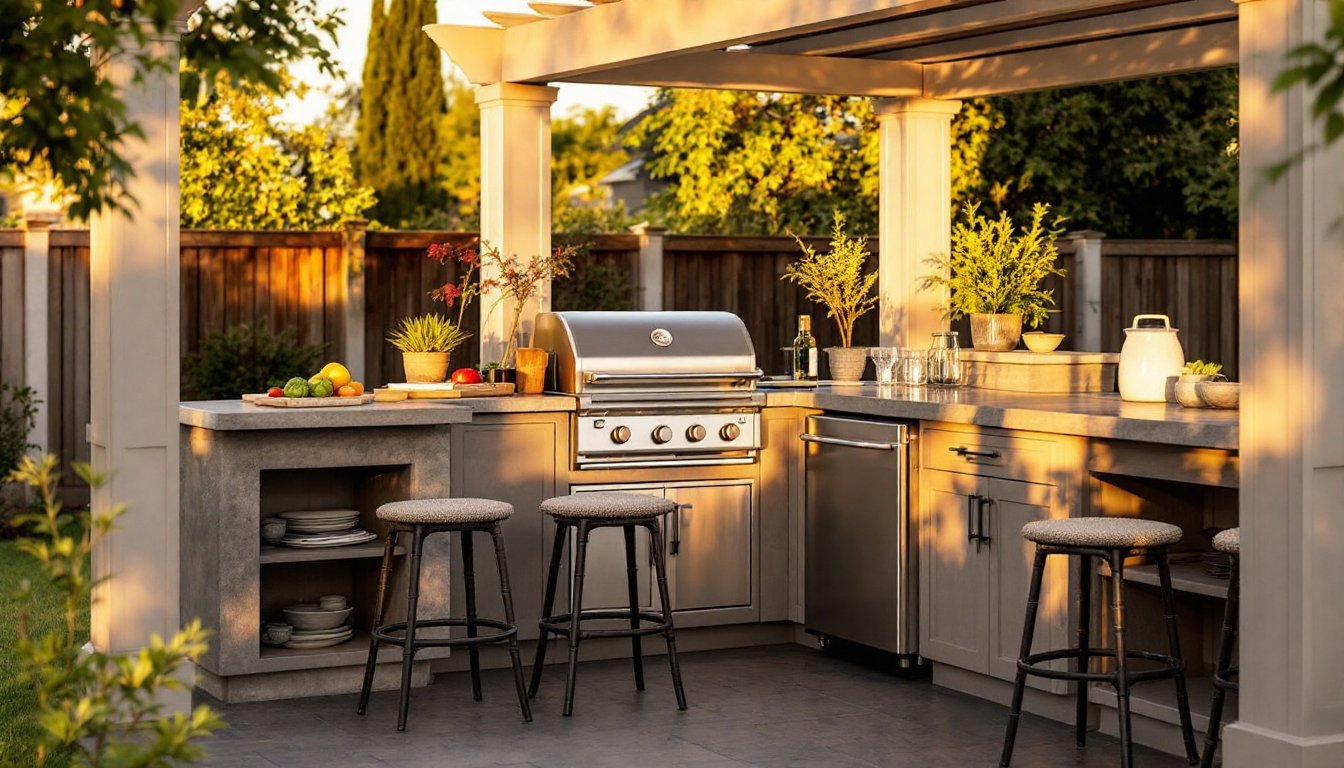
Conclusion
A covered outdoor kitchen bridges the gap between indoor comfort and outdoor freedom. Whether you go permanent with a fully roofed structure or semi-permanent with a retractable system, the key is planning for weather, choosing durable materials, and respecting local building codes. Start with a clear layout, pull the right permits, invest in proper footings and concrete, and don’t cut corners on framing or drainage. Done right, your covered kitchen becomes the hub of your outdoor space, a place you’ll actually use in rain, shine, or any season ahead.