Table of Contents
ToggleA mini outdoor kitchen doesn’t need to be complicated or take up half your backyard. Whether you’re working with a compact patio or a sprawling deck, a small outdoor kitchen setup can transform how you cook and entertain. The shift toward outdoor living means homeowners are investing in functional, manageable spaces that extend the kitchen beyond the house. You don’t need a sprawling built-in complex, just smart appliance selection, clever layout decisions, and materials that hold up to weather. This guide walks you through the essentials: what equipment actually matters, how to maximize limited space, and which budget-friendly approaches make installation manageable without hiring contractors.
Key Takeaways
- A small mini outdoor kitchen can start at $1,500–$3,000 for entry-level setups and adds resale appeal by extending your home’s functional living space.
- Design your mini outdoor kitchen layout using the triangle principle—keeping grill, prep counter, and storage within 10 feet of walking distance for efficient workflow.
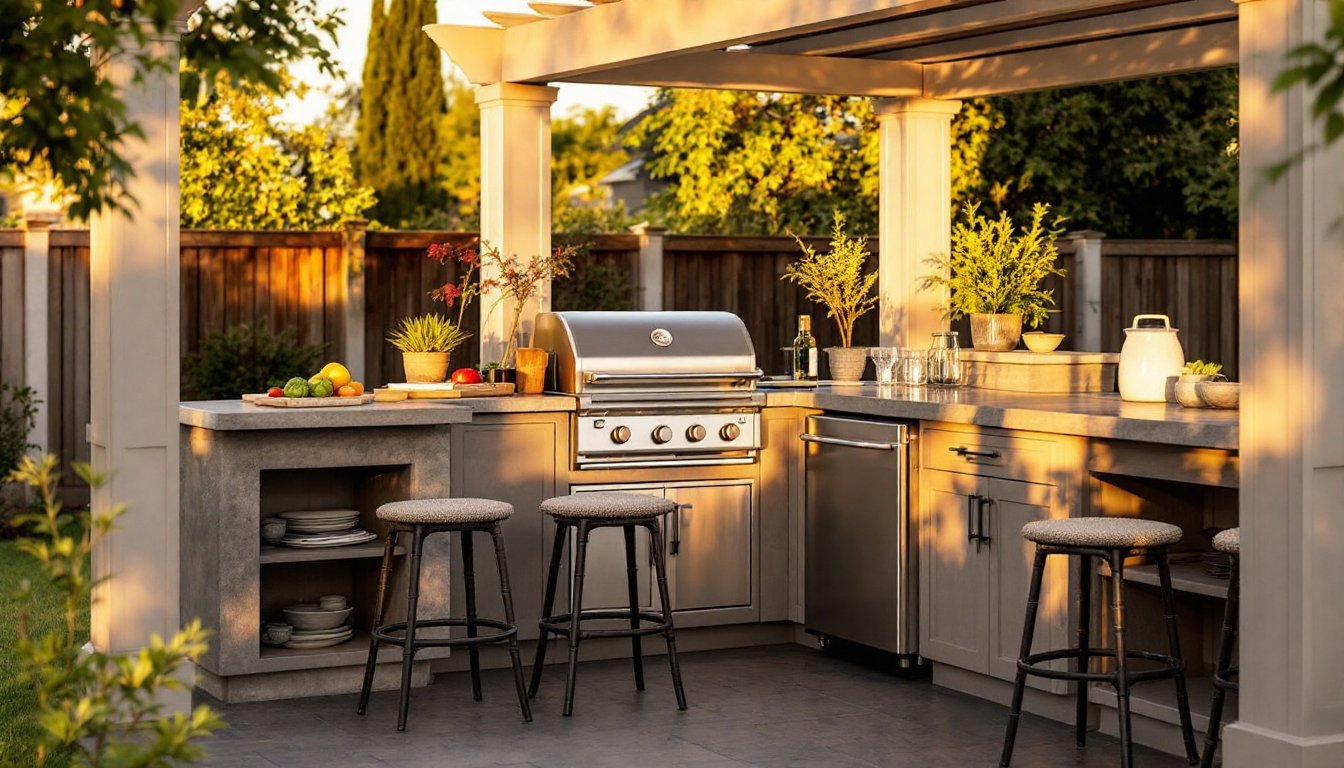
- Choose a portable gas grill (2–3 burners, 30 inches wide) as your anchor, paired with weathertight stainless steel storage and a compact prep counter for maximum function in limited space.
- Maximize vertical space with wall-mounted shelves, pegboards, and overhead racks to double functionality without expanding your small outdoor kitchen’s footprint.
- Use budget-friendly materials like pressure-treated lumber, composite boards ($500–$900), or stainless steel restaurant-grade cabinets to cut costs by 30–40% without sacrificing durability.
- Start incrementally with a portable grill and basic storage before committing to permanent builds, allowing you to learn what features your small outdoor kitchen actually needs.
What Makes a Mini Outdoor Kitchen Worth the Investment
A mini outdoor kitchen pays for itself in convenience and how often you actually use your backyard. Instead of making trips back inside for tools, seasonings, or cold drinks, everything you need is steps away. Year-round entertaining becomes easier, grilling in winter, prep work in summer shade, and guest circulation improves when cooking isn’t confined to indoors.
Small outdoor kitchens also add resale appeal. Recent data shows outdoor living spaces influence buyer interest, especially in moderate climates where outdoor seasons are long. You’re not just adding amenities: you’re reclaiming usable square footage and extending your home’s functional footprint.
Realistic costs vary widely, but entry-level setups (portable grill, small counter, basic storage) start around $1,500–$3,000, while semi-permanent builds run $5,000–$15,000 depending on materials and whether you hire help. Top Outdoor Living Ideas often showcase how thoughtful equipment selection compounds value. The key is matching ambition to your space, climate, and actual cooking habits, not just copying magazine spreads.
Essential Equipment and Appliances for Compact Outdoor Cooking
A functioning mini kitchen centers on a few non-negotiable pieces. You don’t need every gadget: focus on what you’ll actually use, which saves money and prevents clutter.
Grill and Cooking Surfaces
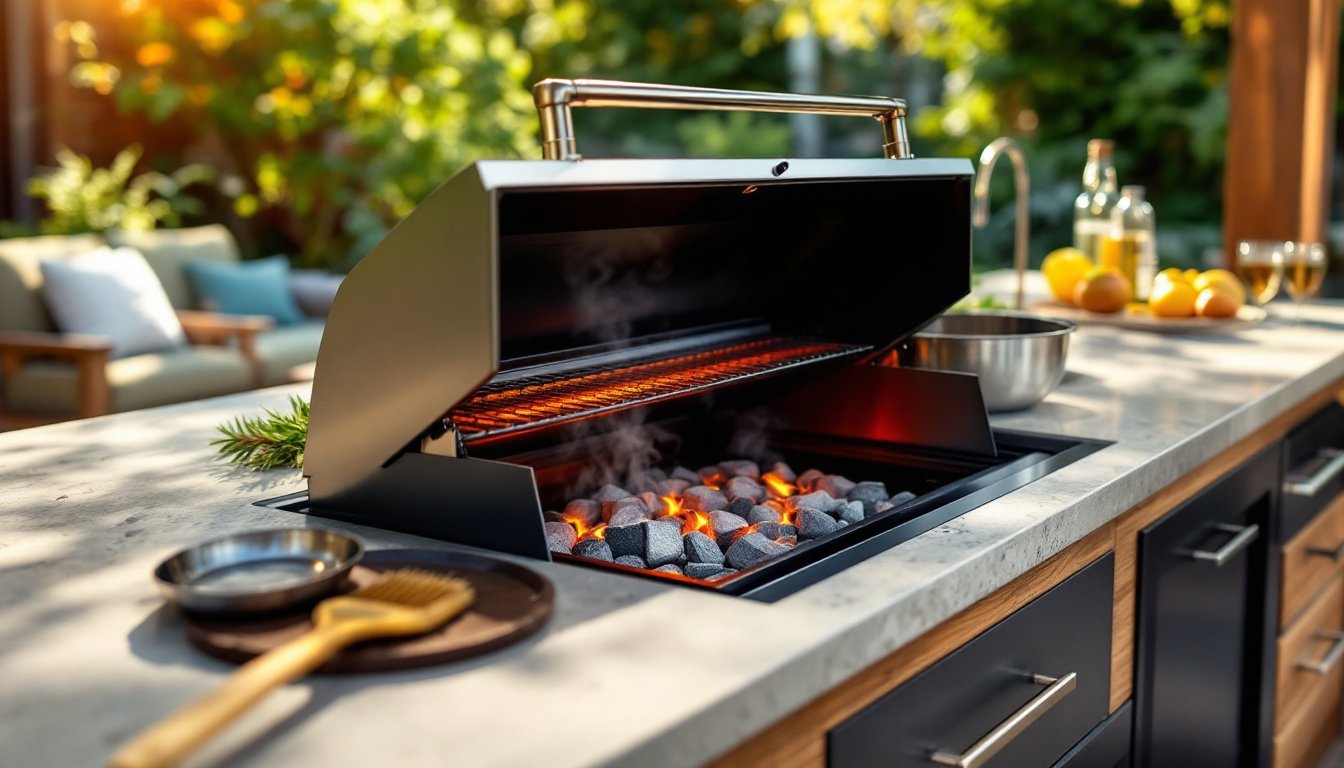
Your grill is the anchor. A portable gas grill (2–3 burners, roughly 30 inches wide) offers the best balance for small spaces, no charcoal ash, quick startup, and easy temperature control. Alternatively, a propane tabletop grill or compact charcoal unit works if you prefer flavor and don’t mind smoke management.
Consider your fuel source upfront. Propane tanks in 20-pound sizes last 4–8 weeks for regular use: natural gas requires a line run (professional installation, permit likely required in many jurisdictions). A side burner bolted to the grill frame adds versatility for sauces or coffee without heating the main cooking surface. Skip built-in ovens and fancy features for now, they eat budget and space without proportional return for casual cooking.
Two key measurements: standard grill depths are 24–30 inches, and burner grates vary from cast iron (rusts without care) to stainless steel or porcelain (more durable). Match your grill’s footprint to your counter depth: most compact mini kitchens work best with grills that sit 2–3 inches back from the counter edge for airflow and safety.
Storage and Prep Solutions
Prepare food and keep tools within arm’s reach using weathertight storage. A stainless steel cabinet or composite storage box protects against rain and rust. Typical footprints are 24–36 inches wide and 20–24 inches deep, sized to fit between posts or against a wall.
Forget open shelving unless your climate is dry year-round. Moisture, pollen, and temperature swings degrade tools and seasoning containers. Pair your storage with a compact prep counter (24–30 inches wide, 18–20 inches deep) made from stainless steel, tile, or sealed wood. Granite or concrete slabs work, but they’re heavy and require solid support, verify your deck or patio can handle the load before ordering (typical stone runs 15–20 pounds per square foot).
Integrate a small beverage cooler or portable ice box near your prep zone to keep drinks and ingredients cold without running extension cords. Rubbermaid and similar brands offer weather-rated models in the 40–60 quart range, sized to tuck under counters. Finally, wall-mounted pegboards or magnetic strips save counter clutter and keep cooking tools (tongs, spatulas, skewers) visible and accessible.
Space-Smart Design and Layout Strategies
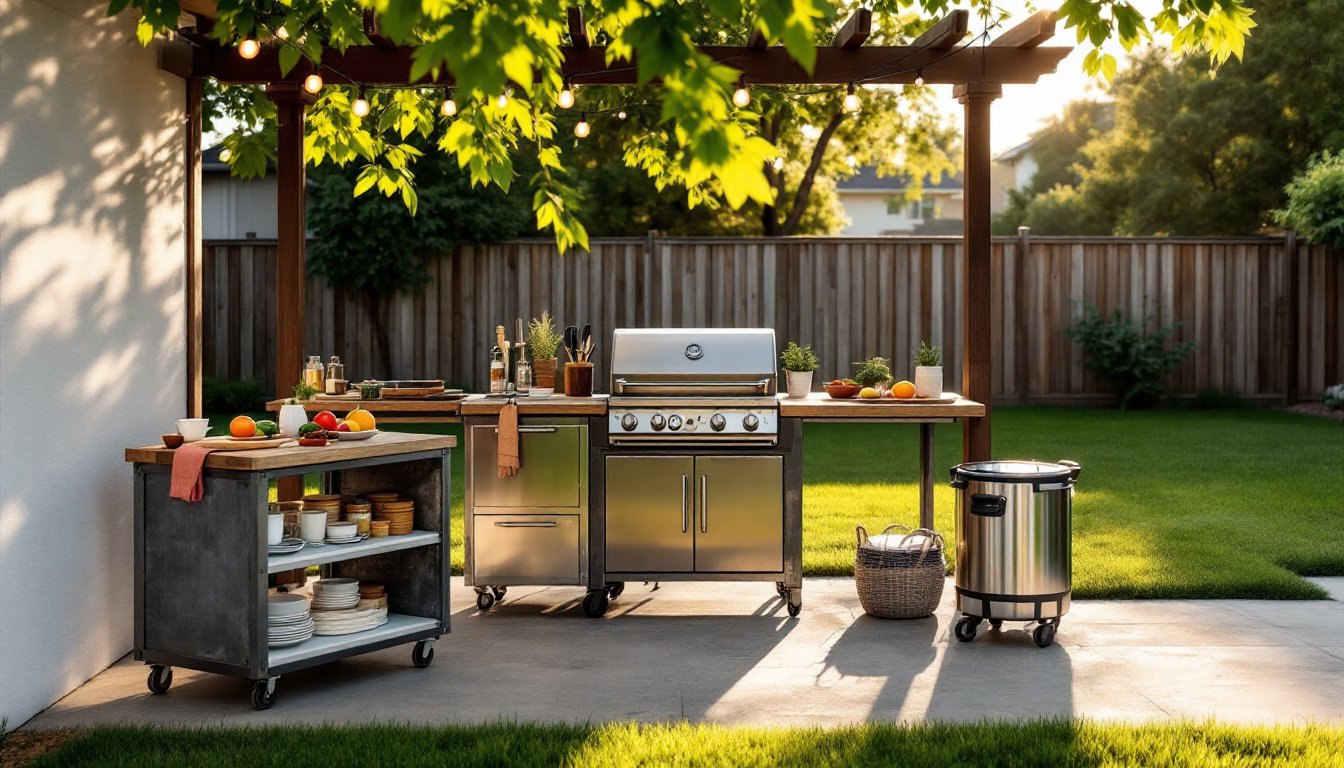
Layouts fail when equipment is crammed without thought to workflow. A working mini kitchen follows the triangle principle: grill, prep counter, and storage should form rough corners of a triangle no more than 10 feet of total walking distance. Cramming everything into 3 feet wastes motion: spreading it too wide (15+ feet) defeats the convenience purpose.
For an L-shaped layout, position your grill at one end, counter with storage underslung in the middle, and beverage cooler at the other end. This puts your prep work between your fuel and finished food, logical and efficient. If you’re working with a straight-line wall, keep the grill on one end, counter in the middle, and cold storage nearest your seating area (guests can grab drinks without crossing the cooking zone).
Maximizing Vertical Space and Surfaces
Most mini kitchens fail because people think only horizontally. Vertical storage doubles functionality without expanding footprint. Install stainless steel wall-mounted shelves 12–18 inches above your prep counter. These hold condiments, seasonings, and small appliances (a compact blender or food processor) off the work surface.
Pegboard panels bolted to a wall post store tongs, grilling forks, and skewers. Magnetic strips mounted at eye level hold metal tools and free up drawer space. Overhead hanging pot racks anchored to a pergola or eaves store large platters or Dutch ovens, items you use seasonally but need accessible when you do.
Countersurface itself matters. Tiered or banked counters (one section 18 inches high for prep, another 30 inches for plating) reduce bending and create visual separation of task zones. If your deck or patio foundation is solid, a mobile cart with stainless shelving offers flexible storage you can relocate for entertaining or off-season storage.
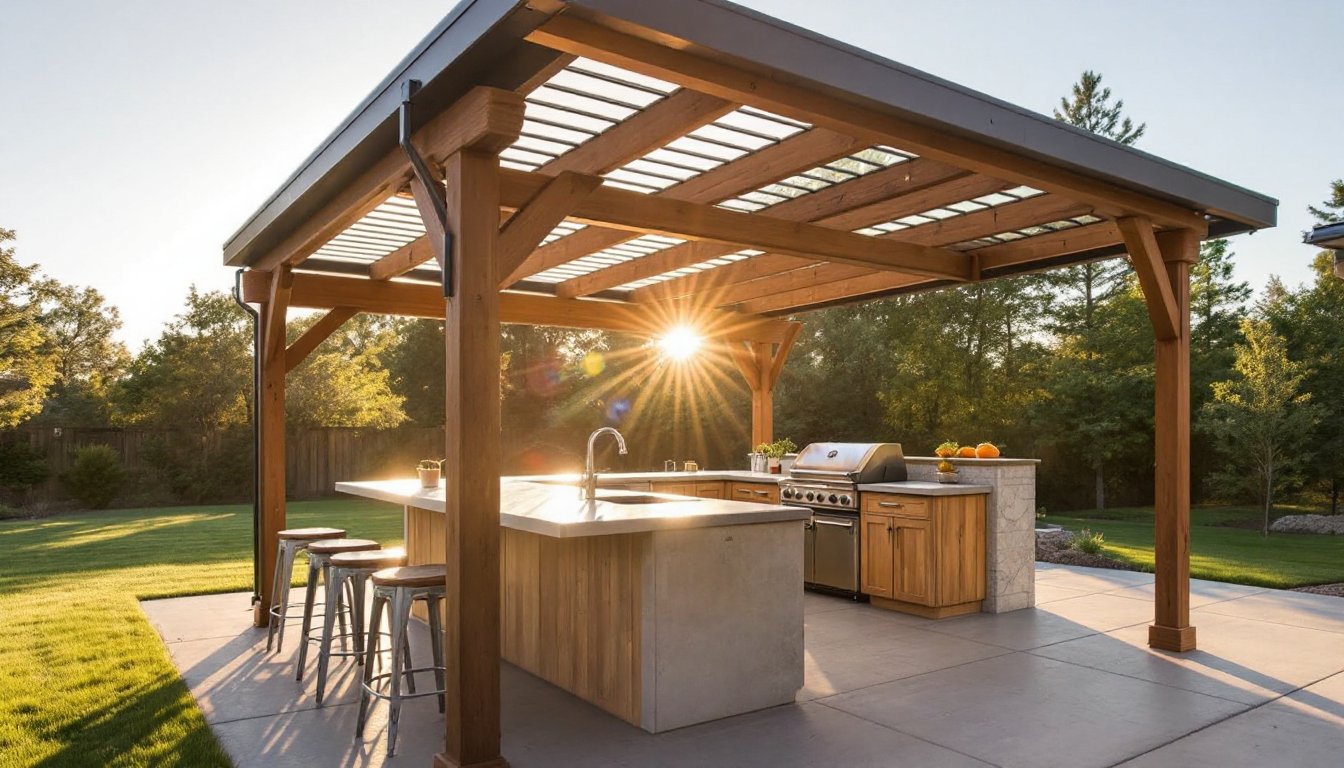
Wall height and sun exposure affect layout, too. Outdoor Living Tips emphasize shade, morning sun on your prep counter is nice, but afternoon heat makes food safety harder and extends your cooking time. If no natural shade exists, a retractable awning or pergola overhead (6×8 feet minimum) keeps equipment and you cooler and protects surfaces from UV damage. Plan this early: adding shade after installation doubles costs and complexity.
Budget-Friendly Materials and DIY Installation Tips
You can build a functional mini outdoor kitchen yourself if you’re comfortable with basic carpentry and fastening. Material choices dramatically affect both budget and longevity.
Countertop options: Sealed plywood topped with ceramic tile costs $300–$600 for a 3×2-foot counter and lasts 5–7 years with maintenance. Stainless steel tops run $800–$1,500 and outlast tile by years but show every fingerprint and water spot. Composite boards (AZEK, Trex) split the difference, $500–$900, rot-proof, and require only sealant every 2–3 years. Avoid untreated wood: it rots fast outdoors, even with stain.
Base structure: Pressure-treated lumber (2×4, 2×6 joists) forms the frame. Design with 16-inch joist spacing and bolt everything to the deck or patio with corrosion-resistant fasteners (stainless or coated bolts, never bare steel). Support loads carefully, a full cooler, food, and dishes on the counter add 200–300 pounds. Your deck or patio must be designed for this localized weight: if unsure, hire a structural check (many inspectors charge $150–$300).
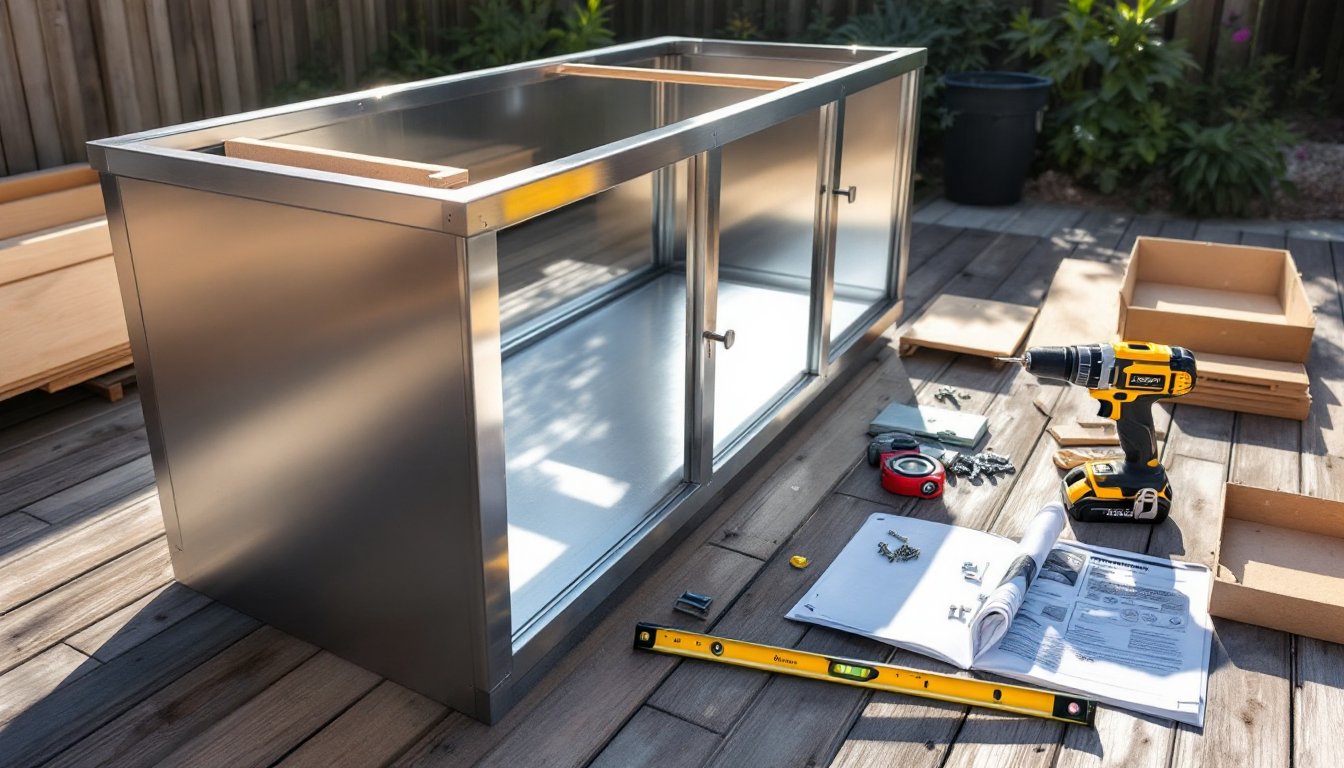
Cabinet and storage: Stock stainless steel base cabinets from restaurant supply wholesalers cost 30–40% less than home-center equivalents and hold up better. Alternatively, marine-grade plywood with exterior-rated stain or paint (two-part epoxy finishes withstand weather best) is affordable and customizable. Pressure-treated frames with stainless steel doors are the middle ground.
Installation steps: Start by confirming your deck or patio can accept fasteners and load (no damage to existing structure). Measure twice, cut once. Pre-assemble cabinets on the ground, then move into place to reduce on-site mistakes. Use shims to level everything, surfaces that aren’t level cause cabinet doors to swing shut or stand open, shortening hinges’ life. Secure all components with stainless bolts and brackets, never nails. Caulk seams with outdoor-rated silicone after assembly to prevent water intrusion.
Tools you’ll likely need: A drill, circular saw (or miter saw for cleaner cuts), level, stud finder, socket set, and caulk gun. Renting a power miter saw from Home Depot ($30–$50/day) makes repeated angle cuts cleaner than a circular saw if you’re tiling or building frame joints. Wear safety glasses, work gloves, and a dust mask when cutting or fastening.
Safety and codes: Most mini kitchens don’t require permits if you’re placing a grill and storage on an existing deck, but check locally, some jurisdictions require permits for permanent installations or gas lines. A natural gas line definitely needs a licensed plumber and a permit: gas leaks are serious. Grills must sit minimum 10 feet from house windows and overhanging structures (check IRC guidelines and your local fire marshal if unsure). Keep propane tanks upright, secure, and away from foot traffic.
Starting small, a portable grill, one storage unit, a basic counter, lets you learn what you actually use before investing in permanent builds. Many successful mini kitchens grew incrementally over years, not built all at once. Outdoor Living Ideas showcase how phased approaches often work better than one-shot installations anyway.