Table of Contents
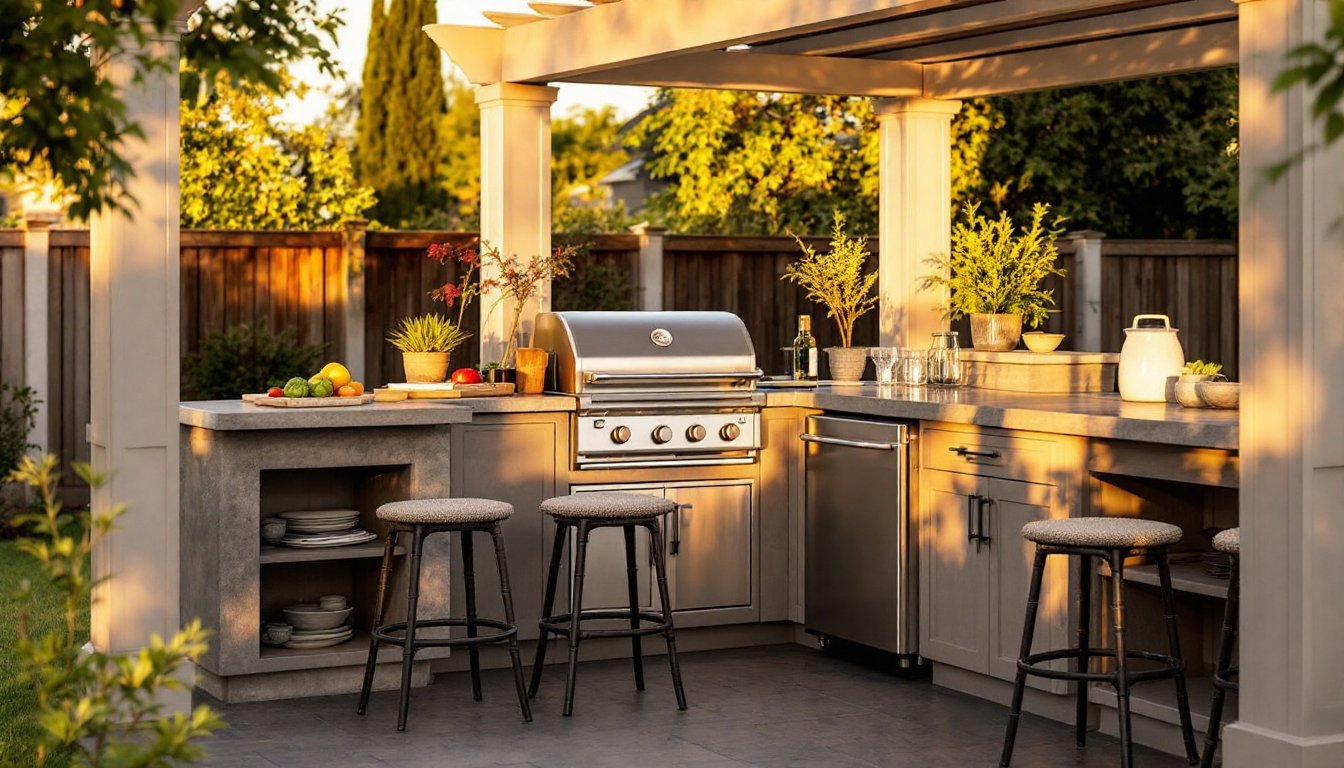
ToggleA cinder block outdoor kitchen isn’t fantasy, it’s one of the most practical, affordable projects a homeowner can tackle. Unlike traditional outdoor kitchens that demand thousands in materials and professional installation, a cinder block setup delivers real cooking functionality for a fraction of the cost. Whether you’re planning weekend barbecues or casual family dinners, this straightforward approach uses standard building blocks and minimal tools to create a lasting cooking station. The beauty of cinder blocks is their versatility: stack them, leave them exposed for industrial charm, or finish them but you like. This guide walks you through planning, material selection, and step-by-step assembly so you can create an outdoor kitchen that actually gets used.
Key Takeaways
- A simple cinder block outdoor kitchen is an affordable, durable DIY project that costs a fraction of traditional outdoor kitchens while delivering real cooking functionality.
- Cinder blocks are weather-resistant and load-bearing, making them ideal for supporting grills and countertops without deteriorating, rusting, or requiring annual maintenance like wood or metal alternatives.
- Proper planning is essential: sketch your layout, measure your space (a 4×2 feet foundation works for most setups), check local building codes, and ensure good drainage before purchasing materials.
- The building process requires only basic tools and skills—lay a solid foundation, dry-fit your first course, apply mortar consistently, stagger courses like brickwork, and allow 7–10 days curing time before adding heavy loads.
- Finish your cinder block outdoor kitchen with concrete sealer, stucco, or a durable countertop material like flagstone or poured concrete, then maintain it with annual mortar inspections and periodic cleaning to extend its lifespan.
- Simple maintenance—checking for cracks wider than 1/4 inch, repointing mortar when needed, and resealing every 2–3 years—keeps your outdoor kitchen functional and looking great for decades.
Why Cinder Block Kitchens Are Perfect For DIY Homeowners
Cinder blocks (also called concrete masonry units or CMUs) are the DIYer’s secret weapon. They’re cheap, durable, and require zero special skills to stack, just mortar and patience. A standard 8″ × 8″ × 16″ concrete block costs $1.50 to $3.00, depending on region and supplier, making material costs incredibly low compared to custom cabinetry or modular outdoor kitchen systems.
These blocks handle weather, temperature swings, and direct heat without deteriorating. Unlike wood or metal, cinder blocks won’t rust, rot, or require annual staining or repainting. They’re load-bearing by design, so you can safely stack them three or four courses high without worry about structural failure. This makes them ideal for supporting a grill, countertop, or shelving. Plus, DIYers love cinder block projects for their versatility, from simple garden beds to full outdoor cooking stations.
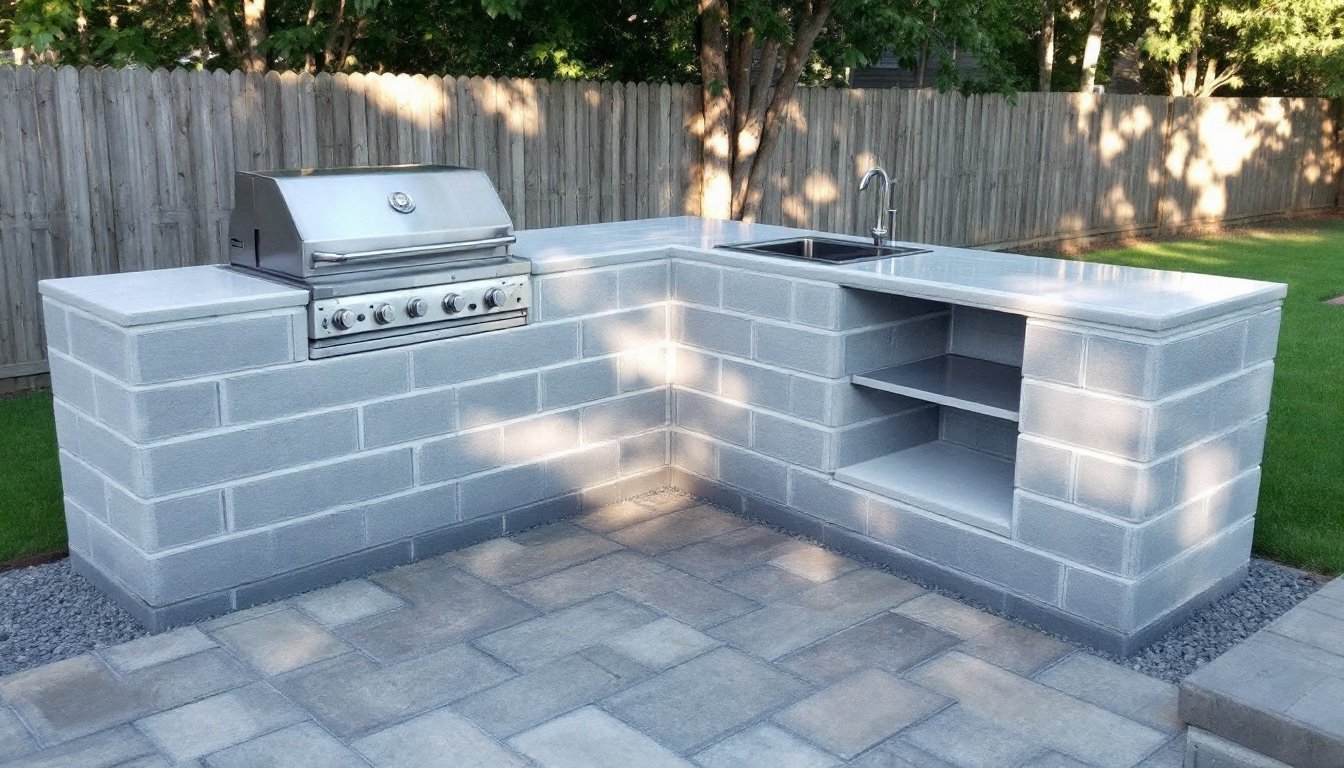
Planning Your Cinder Block Outdoor Kitchen Layout
Before buying a single block, sketch out what you actually need. Measure your space and decide: Do you want a small grill station, or a larger setup with prep counters and storage? A basic kitchen works well at 4 feet wide × 2 feet deep. That’s enough room for a standard grill (most are 24″ to 30″ wide) plus a small countertop on one or both sides.
Consider placement carefully. Choose a spot with good drainage, sitting over soggy ground invites water damage to the mortar and foundation. Face the opening away from your main living area if smoke bothers you. Check local codes: some jurisdictions require permits for permanent outdoor cooking structures or have setback rules from property lines (typically 5 to 10 feet). Don’t skip this step: a stop-work order is far more expensive than pulling a permit upfront.
Sketch the footprint on the ground using spray chalk. Include the grill location, any side counters, and storage shelves. This prevents wasteful changes mid-build and helps you calculate material quantities accurately.
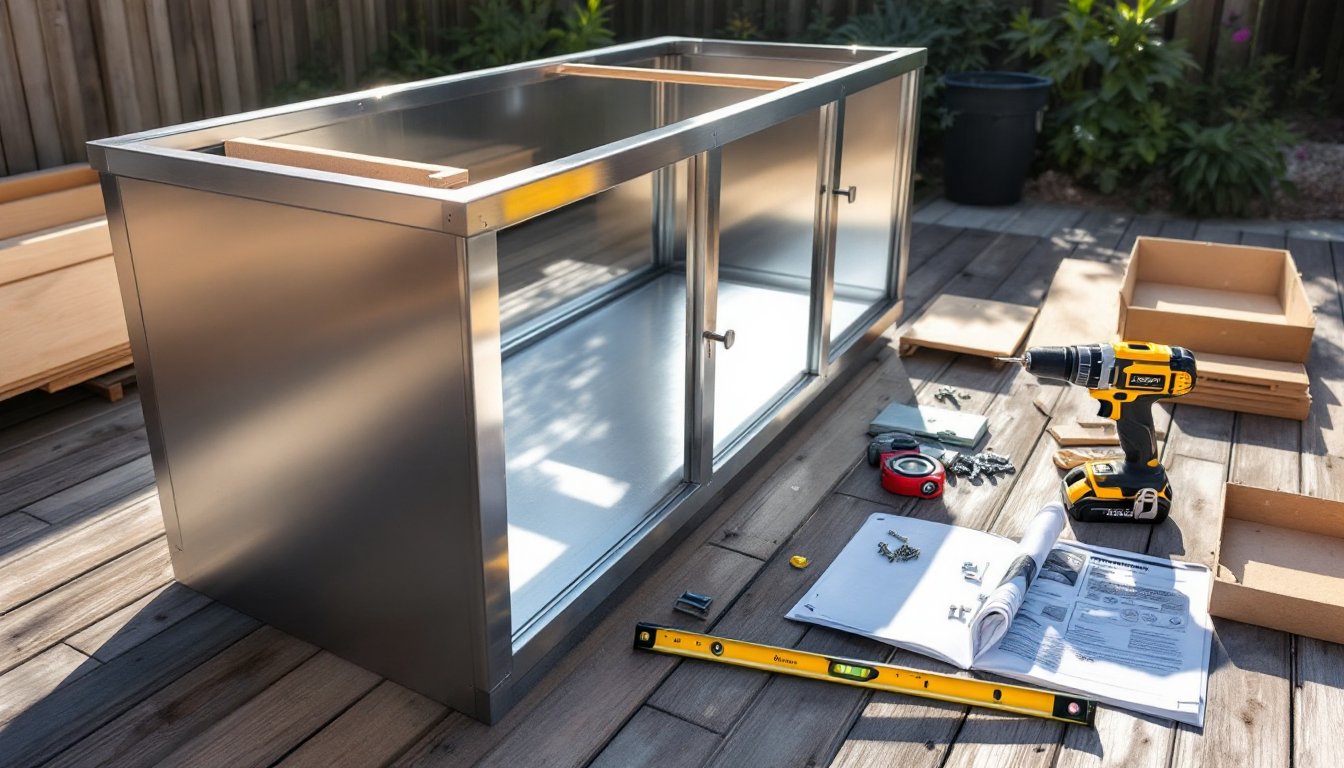
Essential Materials And Tools You’ll Need
Materials:
• Cinder blocks (8″ × 8″ × 16″): roughly 20–40 blocks depending on height and footprint
• Masonry mortar mix (pre-blended): 1 bag per 10 blocks (approximate)
• Rebar or concrete reinforcement mesh (optional but recommended for structural strength)
• Concrete pad or paver base (4″ compacted gravel + paver stones)
• Gravel for drainage underneath
• Stainless steel angle iron or steel rods for lintel support (if shelves span wide openings)
• Countertop material: flagstone, granite, or poured concrete (for durability)
• Concrete sealer (for exposed block finish)
Tools:
• Shovel and wheelbarrow (for mixing mortar)
• Mixing paddle and drill (easier than hand-mixing large batches)
• Trowel (pointing trowel for joints, square-end for spreading mortar)
• Level (essential, crooked walls look bad and function poorly)
• Tape measure and chalk line
• Circular saw with masonry blade (for cutting blocks to fit corners)
• Safety goggles, dust mask, work gloves, and long sleeves (mortar is caustic)
You don’t need fancy gear. A $30 torpedo level works fine: a used miter saw or circular saw serves as your block cutter.
Step-By-Step Building Instructions
1. Prepare the Base
Start with solid footing. Dig and compact 4 inches of gravel into the footprint, then lay concrete pavers or pour a thin concrete pad. This prevents settling and water pooling. Let concrete cure 48 hours if you’ve poured it fresh.
2. Dry-Lay Your First Course
Place blocks in position without mortar to confirm fit and spacing. This catches mistakes before you’re committed to mortar, which sets in 30 minutes. Adjust block position, measure diagonals to ensure square corners (both diagonals should be equal length), and mark any blocks needing cuts.
3. Mix Mortar
Use a pre-blended masonry mortar (Type N or S, depending on exposure, Type S is stronger and better for weight-bearing situations). Follow package directions: consistency should resemble thick peanut butter. Don’t mix more than you can use in 1.5 hours. Mortar hardens as you work, becoming unusable.
4. Lay the First Course
Spread a 3/8″ bed of mortar on the prepared base. Set the first block firmly, tap with the trowel handle to level, and check with your level in both directions. Butter (apply mortar to) the vertical end of the next block, press it into the bed, and tap level. Keep joints consistent, 3/8″ is standard. A mortar joint that’s too thick weakens the wall: too thin and it won’t properly bond blocks.
5. Build Up Courses
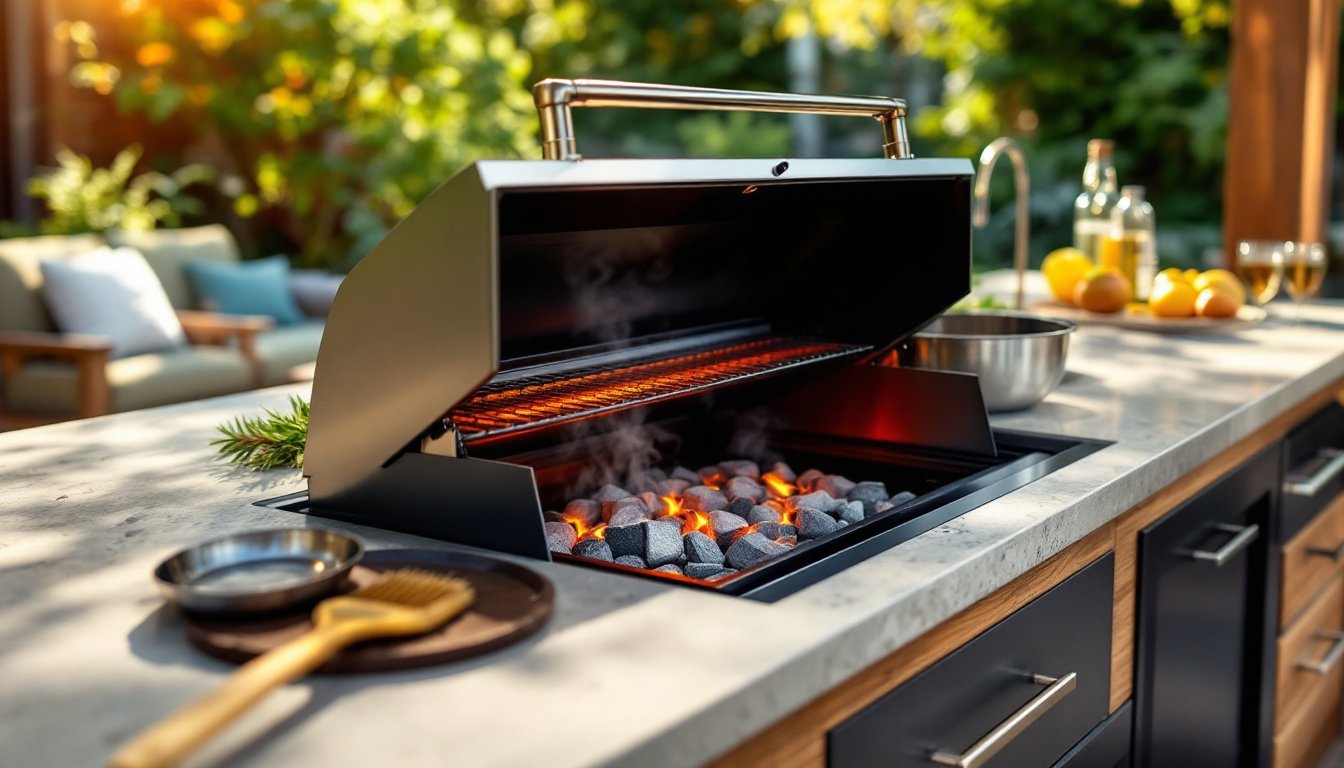
After the first course sets (usually 24 hours for cinder blocks, though you can continue if blocks are well-seated), lay the second course, staggering block placement like brickwork so vertical joints don’t align. This distributes loads and prevents cracking. Continue building to your desired height, usually 2 to 4 courses (16″ to 32″ tall).
6. Install Support for Shelves or Countertop
For shelves spanning 3 feet or more, insert a horizontal rebar or angle iron into the mortar bed before the blocks above cure. This acts as a lintel (support beam) and prevents the blocks from sagging under weight. If your top course will hold a grill or countertop, ensure the top is level and that you have a solid, continuous surface to set them on.
7. Let It Cure
Wait 7 to 10 days before adding heavy loads (grill, countertop, food). Mortar continues hardening for weeks, but this initial period is critical. Keep the wall dry during this time if possible, light rain won’t hurt, but don’t soak it.
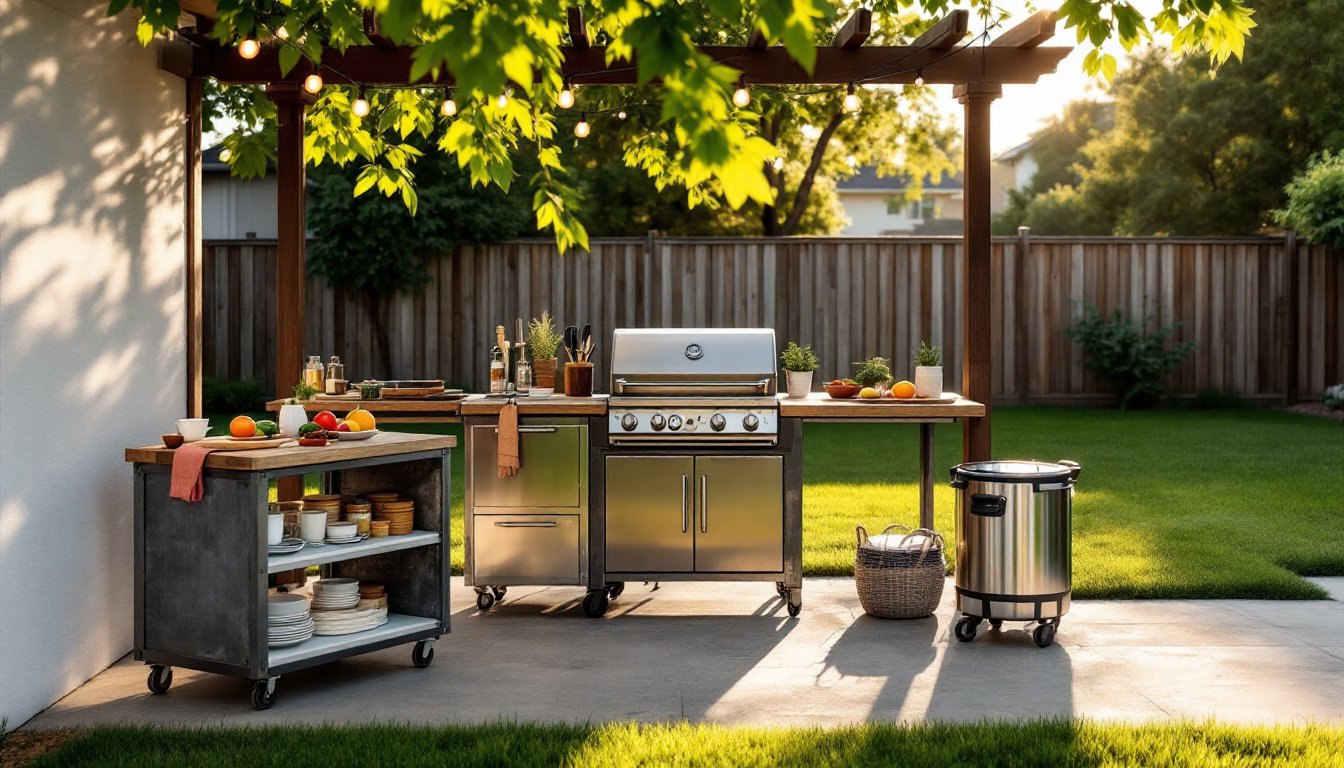
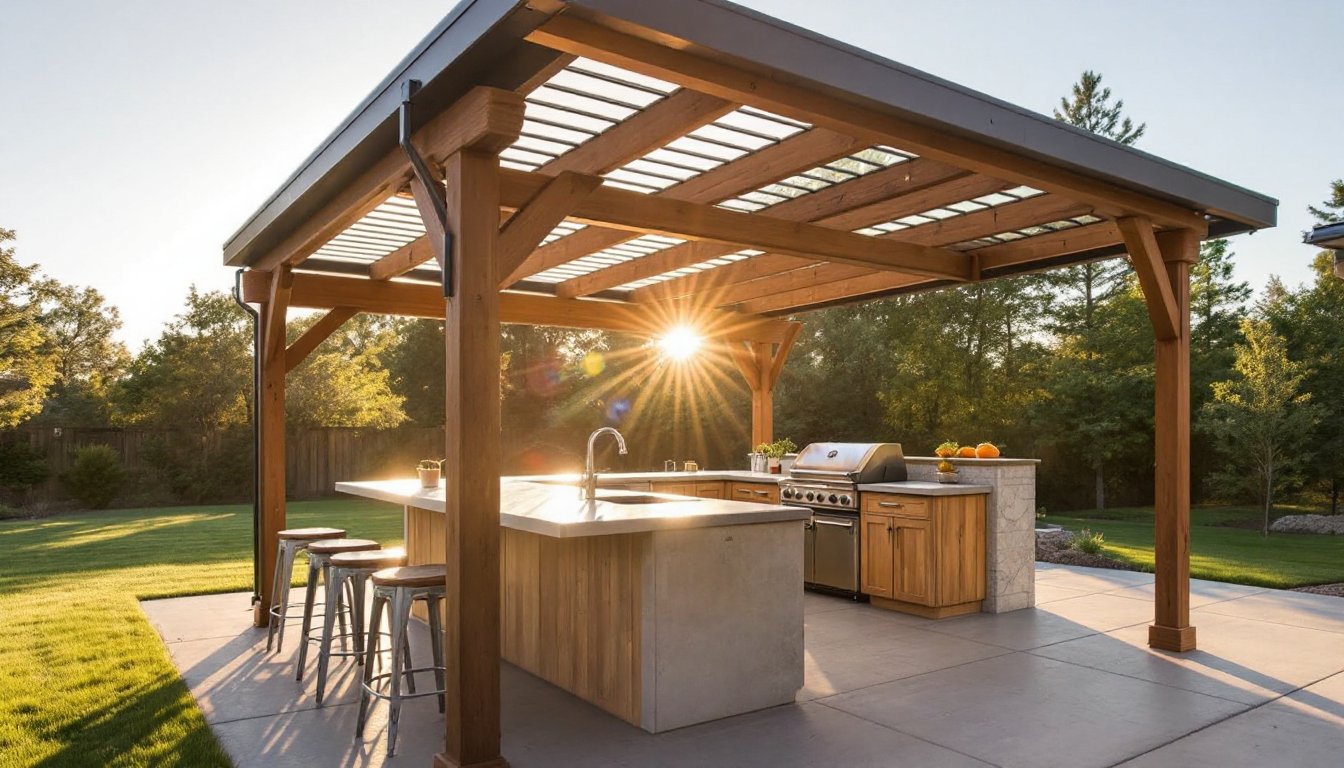
Finishing Touches And Customization Ideas
Raw cinder blocks look industrial, which some homeowners love, but if you prefer a finished look, you have options. Concrete sealer protects exposed block from staining and weathering, darkening the color slightly for visual appeal. Stucco is another route: apply a base coat of mortar mixed with bonding agent, let it set, then add a finish coat in any color. It’s labor-intensive but creates a polished appearance.
For the countertop, flagstone or slate offers durability and natural aesthetics. Explore outdoor living ideas to match your design style, whether minimalist or rustic. Poured concrete is budget-friendly and customizable: you can color it, stamp it, or embed tile. Stainless steel shelving on your open side provides cooking prep space and easy cleanup.
Add open storage shelves inside using concrete blocks laid horizontally with rebar support, or steel shelving units bolted to the blocks. Paint or seal the interior for a cleaner look. Some homeowners install a mini-fridge or storage cabinet (weather-sealed) to one side. These extras keep your cooking workflow efficient and organized.
Maintenance Tips To Keep Your Kitchen Lasting
Cinder block kitchens are low-maintenance, but small steps extend their lifespan. Inspect mortar joints annually for cracks wider than 1/4 inch. If you spot gaps, have them repointed (re-mortared by a mason) before water penetrates and causes freeze-thaw damage. In cold climates, this is especially important, water trapped in mortar expands in winter and can pop blocks or weaken joints.
Clean the blocks periodically with a stiff brush and mild soap to prevent algae or mildew buildup. Avoid high-pressure washers on untreated or aging mortar: they can blast out weak joints. Seal the exposed surfaces every 2 to 3 years, especially if you finished them with concrete sealer or stucco. This prevents moisture absorption and maintains appearance.
Keep vegetation trimmed away from the structure. Climbing vines look nice but trap moisture against the blocks. Store cooking items indoors in off-season if your region gets harsh winters. Top outdoor living tips emphasize simple upkeep so your investment lasts decades. A quick annual walkthrough and basic repairs keep everything functional.
Conclusion
Building a cinder block outdoor kitchen is achievable for any homeowner with a weekend or two and basic tools. The combination of low cost, durability, and straightforward assembly makes it an ideal starting point for backyard entertaining. Once it’s built, you’ll wonder how you ever lived without dedicated outdoor cooking space. Start with a solid plan, take your time with the foundation and first course, and don’t rush the curing process. Your outdoor kitchen will reward you with years of reliable, low-maintenance service.