Table of Contents
ToggleAn outdoor kitchen transforms how you entertain and cook. No more running back inside for seasonings or clean utensils, everything you need sits steps away from your guests. Whether you’re grilling burgers or prepping a full meal, a well-planned outdoor kitchen saves time, keeps your home cooler during summer, and turns your backyard into a natural gathering spot. Building the best outdoor kitchen means thinking beyond a basic grill. You’ll need to consider your space, your cooking style, materials that withstand the elements, and a layout that keeps you efficient. This guide walks you through each decision, from essential equipment to long-term durability, so your investment lasts for years.
Key Takeaways
- A best outdoor kitchen requires planning for three distinct zones—cooking, prep, and cleanup—with natural flow to keep you efficient and guests out of your way.
- Essential elements include a quality built-in grill (36–48 inches wide), undercounter refrigeration, at least 6 feet of counter space, and a prep sink with hot and cold water for true convenience.
- Budget $3,000–$10,000 for an outdoor kitchen by allocating 40% to appliances, 35% to cabinetry and counters, and 25% to utilities; phasing the build spreads costs without sacrificing functionality.
- Choose outdoor-rated materials like 304-grade (or 316-grade if coastal) stainless steel, engineered quartz or sealed granite countertops, and marine-grade plywood to ensure your outdoor kitchen withstands sun, moisture, and temperature swings for years.
- Add lighting, comfortable seating at 36-inch counter height, and finishing touches like mounted towel holders and waste storage to transform your best outdoor kitchen into a fully functional gathering space.
What Makes an Outdoor Kitchen Work for Your Space
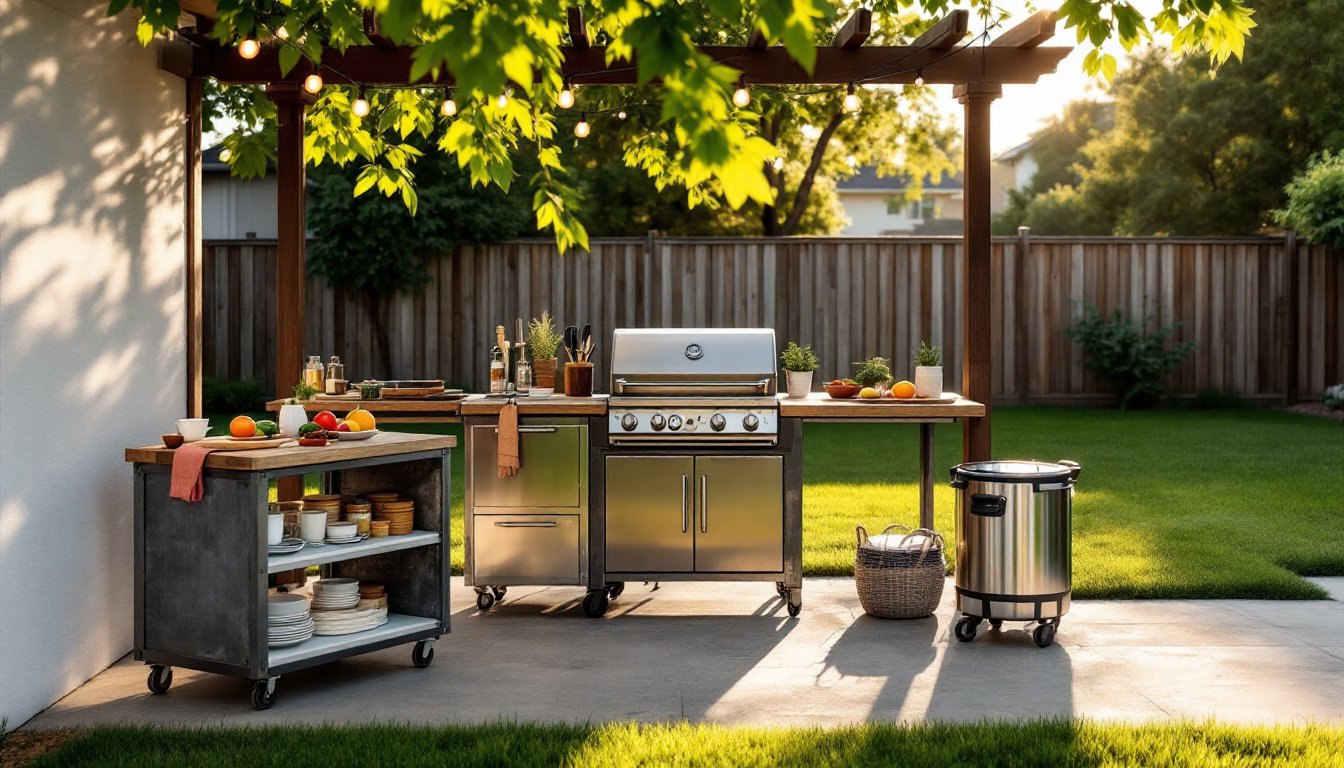
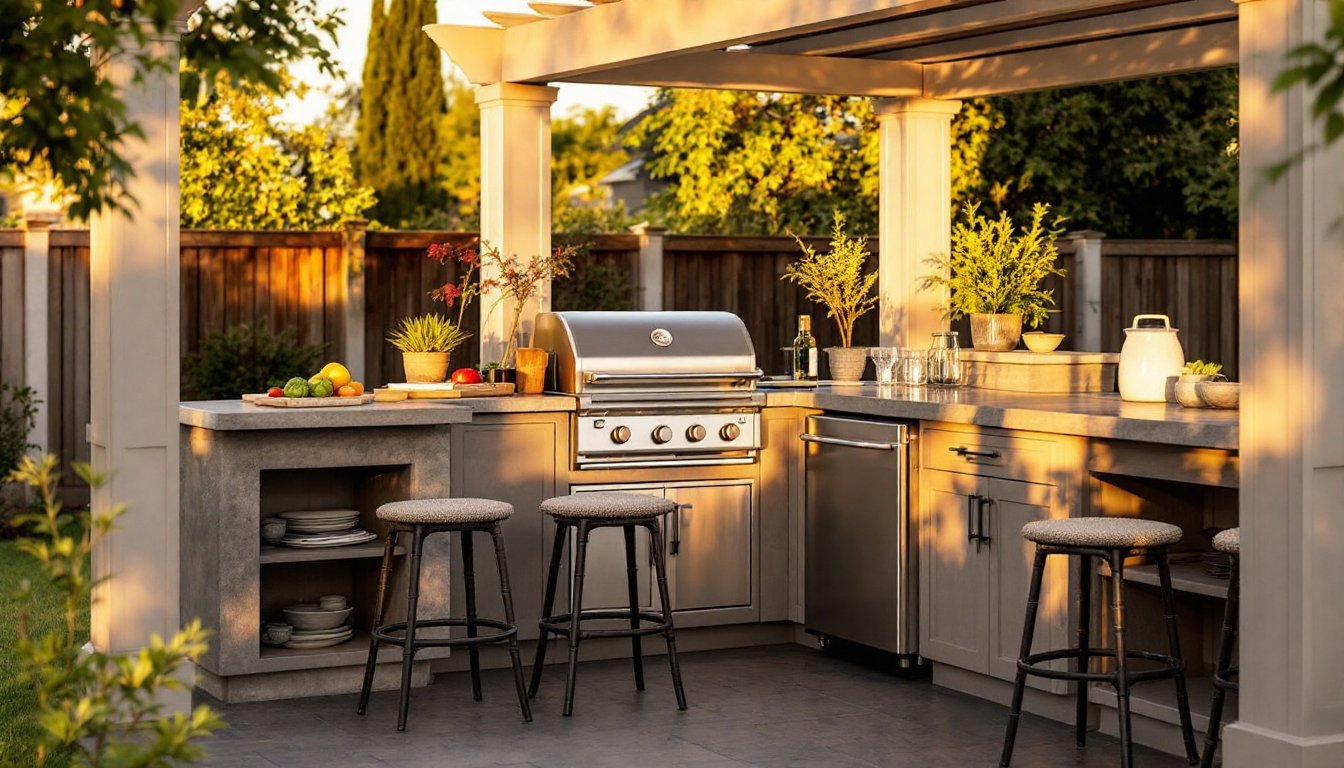
Before you buy a single appliance, measure your actual space and envision how you’ll move through it. An outdoor kitchen that looks great on Instagram but requires you to squeeze past the grill sideways isn’t practical. Start by identifying your cooking zone, prep zone, and cleanup zone. These don’t need to be far apart, a 10-by-12-foot area can work well, but they should flow naturally without trapping you in corners.
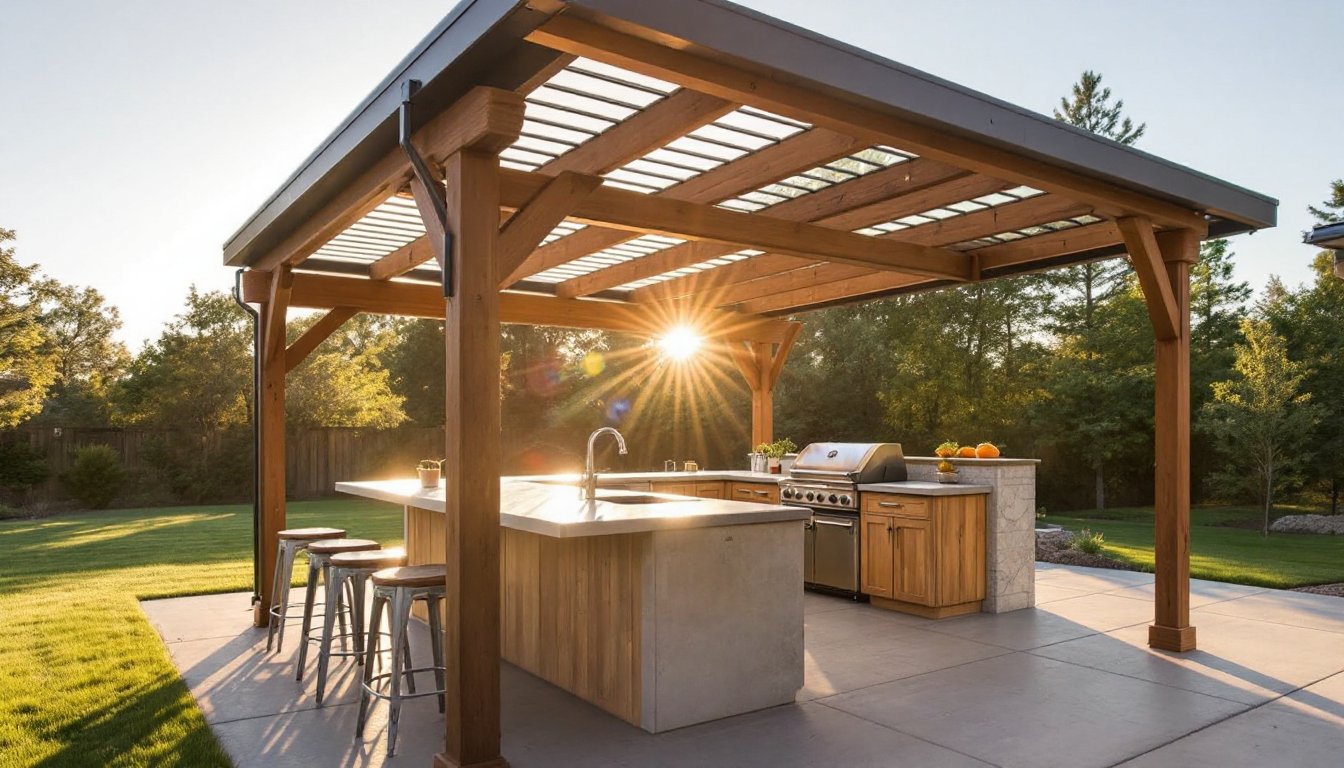
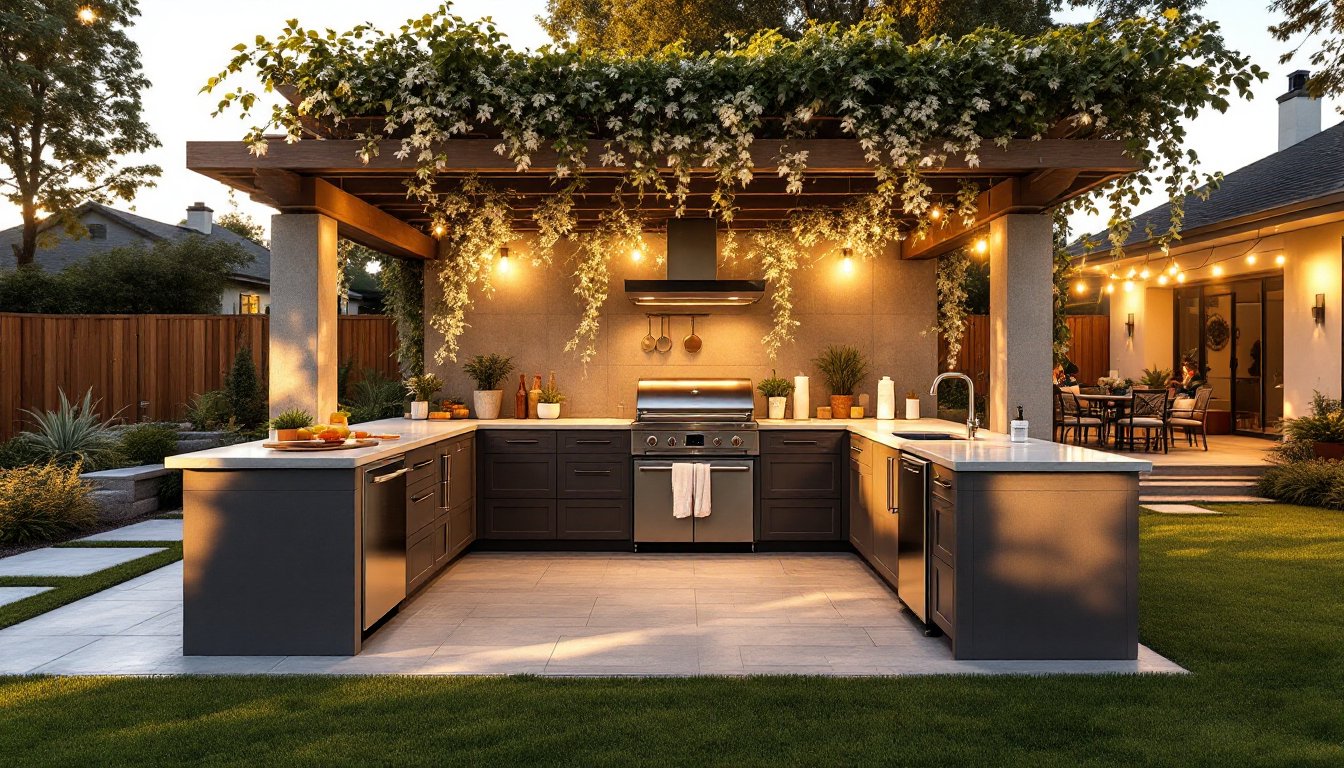
Consider foot traffic, too. Don’t place your kitchen where guests walk directly from the house to the pool or patio edge. A kitchen tucked into one corner, with seating across from it, lets people gather without blocking your work. Think about shade: full sun all afternoon makes cooking uncomfortable and ages materials faster. A pergola or umbrella cover helps protect both you and your equipment.
Also consider utilities. Gas lines, electrical outlets (GFCI-protected, per the NEC for outdoor spaces), and water hookups aren’t afterthoughts, they require planning and often professional installation. Shorter runs mean lower costs and fewer headaches.
Essential Elements Every Outdoor Kitchen Needs
Cooking Equipment and Appliances
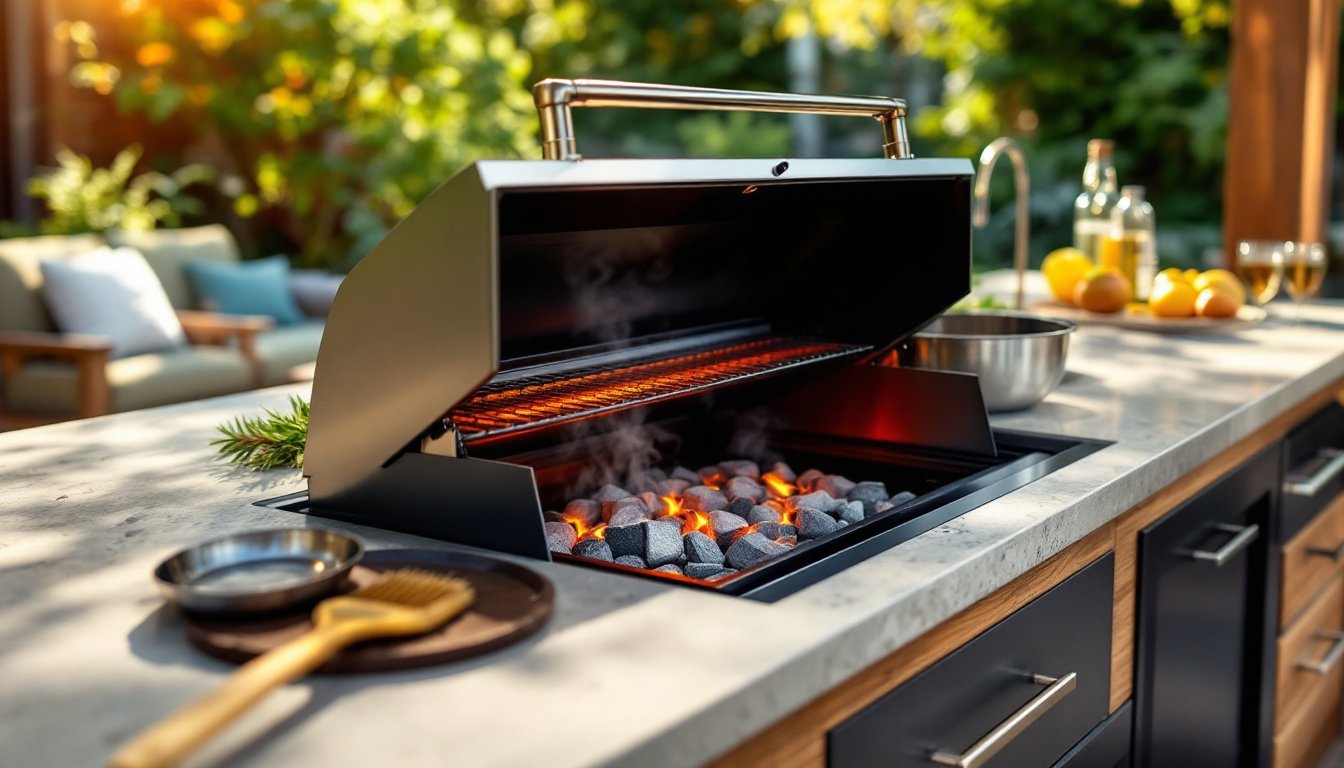
The grill is your centerpiece, but not your only cooking tool. A built-in grill (typically 36–48 inches wide) forms the backbone of most outdoor kitchens, but add a side burner for sauces, a smoker for low-and-slow cooking, or a pizza oven if you entertain frequently. Don’t buy more than you’ll use, oversized equipment eats space and money.
Grill fuel matters too. Natural gas offers convenience and lower per-use costs if a line runs to your property. Propane works anywhere but requires tank swaps and storage space. Charcoal and wood add flavor but demand more active tending. Many serious outdoor cooks keep multiple options on hand.
Refrigeration is often overlooked but essential. A small undercounter fridge (3–5 cubic feet) keeps drinks cold and meats, sauces, and sides chilled while you cook. Without it, you’re making constant indoor trips and losing prep efficiency. Choose stainless steel or marine-grade materials rated for outdoor use.
Storage, Counter Space, and Prep Areas
Counter space fills up fast. Plan for at least 6 linear feet of usable counter between your grill and a prep sink. This gives you room to rest a tray of meat, set down utensils, and prep vegetables without crowding. Granite, concrete, or engineered stone holds up well outdoors and resists staining better than wood.
Storage cabinets below the counter keep grilling tools, potholders, and seasonings organized and weather-protected. Use marine-grade plywood with stainless steel hinges and latches, standard indoor hardware rusts quickly. Drawers with soft-close guides prevent slamming in wind and last longer than basic slide mechanisms.
A prep sink with hot and cold water is a game-changer. You’ll rinse produce, fill pots, wash utensils, and clean hands without dragging everything indoors. Size it for practical use: a 14-by-16-inch bowl works better than a cramped apartment-style sink. Pair it with a commercial-style faucet rated for freezing climates if you live in a cold region.
Budget-Smart Design and Layout Strategies
Most homeowners spend $3,000 to $10,000 on an outdoor kitchen, though costs swing widely based on materials, appliances, and whether you hire contractors or DIY. Start by defining a realistic budget, then allocate: 40% to appliances and equipment, 35% to cabinetry and counters, and 25% to utilities and finishing work.
One smart strategy: phase the build. Install a solid counter and grill setup first, that’s 70% of the functionality. Add refrigeration, a side burner, or a second prep zone later when finances allow. This spreads costs and lets you refine what you actually need.
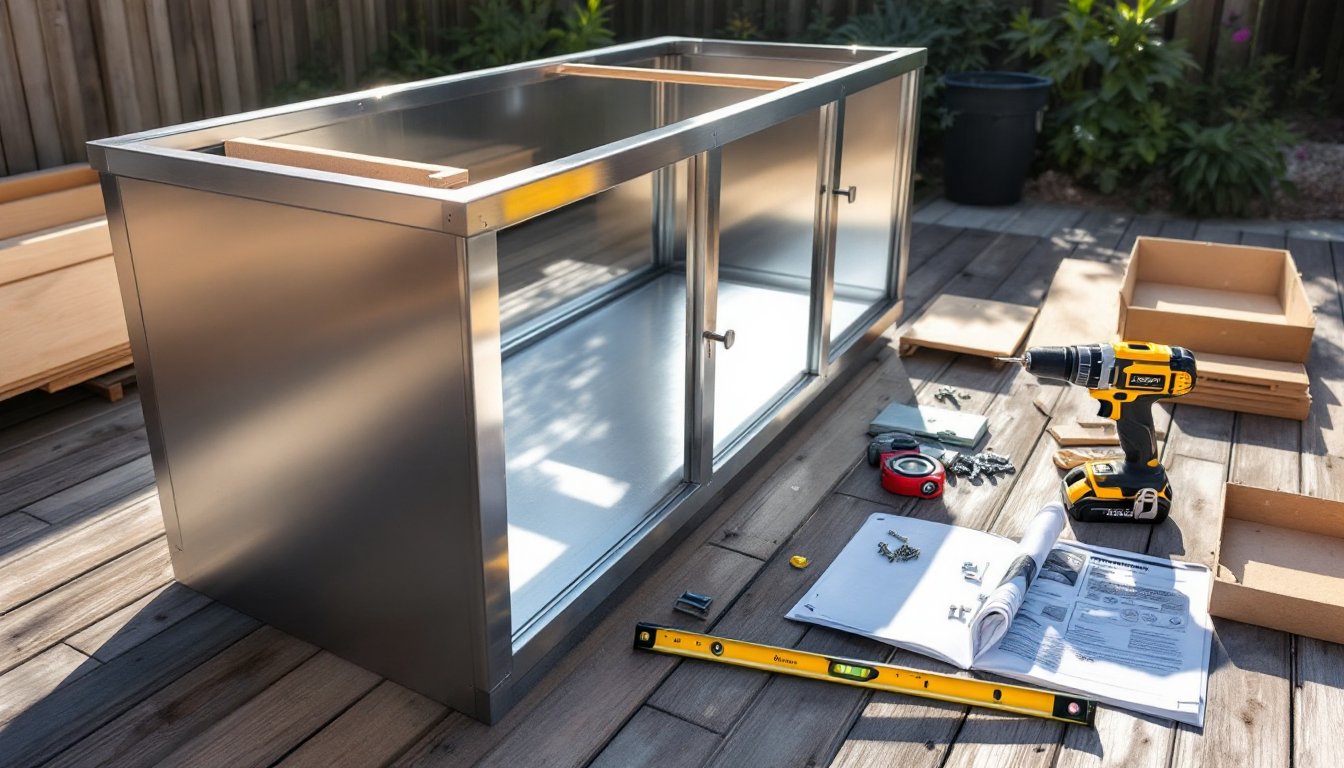
Cabinet design also affects price. Modular stainless steel components cost more upfront but assemble faster and don’t require custom carpentry. Custom-built cabinetry with mixed materials (stainless doors, concrete counters, tile accents) looks unique but demands skilled labor. Prefab modular kits sit somewhere in between, decent quality, reasonable cost, and no contractor markup.
Layout tricks that save money: use existing structures (a patio wall or deck edge) as one side of your kitchen instead of building an island. Run utilities along existing lines rather than trenching new paths. Buy a quality basic grill instead of premium add-ons you won’t use. These moves don’t skimp on durability, they prioritize smart design.
Materials and Durability for Outdoor Conditions
Materials make or break an outdoor kitchen’s lifespan. Sun, moisture, temperature swings, and salt air (if coastal) all take a toll, so every choice matters.
Stainless steel is the workhorse. Use 304-grade for cabinetry and appliances: 316-grade if you’re coastal. Both resist rust better than painted finishes, though they still need occasional maintenance (a stainless wipe-down with mineral oil keeps them looking fresh). Avoid bare carbon steel, it rusts fast outdoors.
Countertop materials vary in durability. Granite and natural stone look premium and handle heat well but are porous and can stain. Seal them annually. Engineered quartz is non-porous, requires less maintenance, and resists stains better, a smart choice if budget allows. Concrete is durable and affordable but can crack in freeze-thaw cycles: seal it every 2–3 years. Stainless steel counters are professional-grade but show fingerprints and dent if you drop a heavy pan.
Cabinetry backing gets overlooked. Outdoor kitchens need marine-grade plywood (Okume or Meranti veneer) with stainless fasteners, not standard interior plywood, which swells and delaminates. Apply a waterproof sealant to all exposed edges.
Appliances must be outdoor-rated. A regular kitchen grill won’t handle weather exposure: buy models with sealed burners, stainless bodies, and drainage designed for moisture. This costs more but saves replacement costs down the road.
Bringing It All Together: Final Touches and Functionality
Layout and materials are set: now focus on livability. A good outdoor kitchen flows, functions in daylight and evening, and stands up to daily use.
Lighting is critical. Overhead string lights or recessed LED fixtures let you cook after sunset without squinting. Install switches near the kitchen so you’re not hunting in darkness. If budget allows, add a separate prep light above the counter (an LED track light works well).
Think about nearby seating and bar stools. A 36-inch counter height is standard: pair it with 24-inch-seat-height stools for comfortable dining. Position seating so guests aren’t crowded behind the cook but can see the action and chat.
Finishing details affect daily function. A trash and recycling bin tucked into a cabinet keeps clutter hidden. A paper towel holder mounted on a post or cabinet face saves trips inside. Hooks for towels and potholders keep essentials within arm’s reach. A small side table or cart for drinks and snacks reduces load on the main counter.
Decorative touches come last: accent lighting, planters, or a weather-resistant rug under the seating area add warmth without compromising durability. Choose sealed or stainless hardware throughout: painted or plated finishes won’t survive long outdoors. Test everything, open drawers, run the water, light the burners, before calling the project done. Small adjustments now beat frustration later.