Table of Contents
ToggleIf your outdoor spaces don’t have reliable Wi-Fi coverage, a 4G security camera could be the practical solution you’ve been looking for. Unlike traditional wireless cameras that depend on spotty router signals, 4G models use cellular networks to transmit footage, making them ideal for remote areas, large properties, or locations where running ethernet cable isn’t realistic. Whether you’re protecting a vacation cabin, monitoring a driveway, or watching a backyard work site, understanding how these cameras work and what features matter most will help you make a smart purchase. This guide walks through everything a DIY homeowner needs to know before installing one.
Key Takeaways
- A 4G security camera uses cellular networks instead of Wi-Fi, making it ideal for remote areas and properties where router coverage is unreliable or non-existent.
- Look for cameras with IP65 or IP67 weather ratings, aluminum/polycarbonate housings, and operating temperatures spanning at least –10°C to +50°C to ensure durability in outdoor conditions.
- Verify 4G carrier coverage at your specific location before purchase, and consider dual-SIM models that automatically switch between networks if one fails.
- Account for ongoing cellular plan costs ($10–$30/month) and data usage when budgeting; a 4G security camera recording at 1080p consumes 1–2 GB per day.
- Proper installation requires testing 4G signal strength beforehand, using weatherproof power supplies, and following manufacturer setup steps to avoid common connectivity and permission issues.
- While 4G security cameras cost $200–$600 upfront, they deliver excellent long-term value for remote locations and properties where traditional Wi-Fi cameras can’t reliably transmit footage.
What Is a 4G Security Camera and Why It Matters for Your Home
A 4G security camera connects to the internet via a cellular network (like LTE or 5G) instead of relying on a home Wi-Fi router. It contains a SIM card slot that works with a cellular plan from a carrier, allowing it to stream live video and send alerts directly to your phone from virtually anywhere. This independence from Wi-Fi makes 4G cameras especially useful for monitoring areas your home network can’t reliably reach.
The key advantage is flexibility. You’re not limited by Wi-Fi dead zones, router distance, or the need to run cables through walls or bury conduit underground. That said, you’ll pay ongoing cellular service fees (typically $10–$30 per month, depending on the carrier and plan). Power is another consideration: unlike some battery-powered Wi-Fi cameras, many 4G models require 12V DC power or mains electricity, so placement must account for outlet or power supply access. Understanding these trade-offs upfront prevents buyer’s remorse after installation.
Key Features to Look For in Outdoor 4G Security Cameras
Network Connectivity and Coverage Options
Not all 4G networks are equal. Check which carriers your camera supports, Verizon, AT&T, and T-Mobile dominate in the U.S., but coverage varies by region. Some cameras use CAT-6 or CAT-M chipsets, which offer lower power consumption and better indoor penetration than standard LTE but slower speeds: others use full LTE-M, which is faster but drains batteries quicker on portable models.
Look for dual-SIM models if you want carrier redundancy: if one network fails, the camera switches automatically to the backup. Many professional-grade outdoor cameras also include Wi-Fi as a fallback, so if a Wi-Fi network becomes available (say, you set up a temporary hotspot), the camera can use it and save cellular data. Recent products reviewed on CNET and Tom’s Guide emphasize that simultaneous connectivity options reduce downtime.
Verify the plan’s data usage too. A 4G camera recording at 1080p continuously can consume 1–2 GB per day: 4K pushes that higher. Choose a plan with sufficient monthly allowance (typically 10–50 GB) or one that prioritizes cloud storage over local buffering to stay within limits.
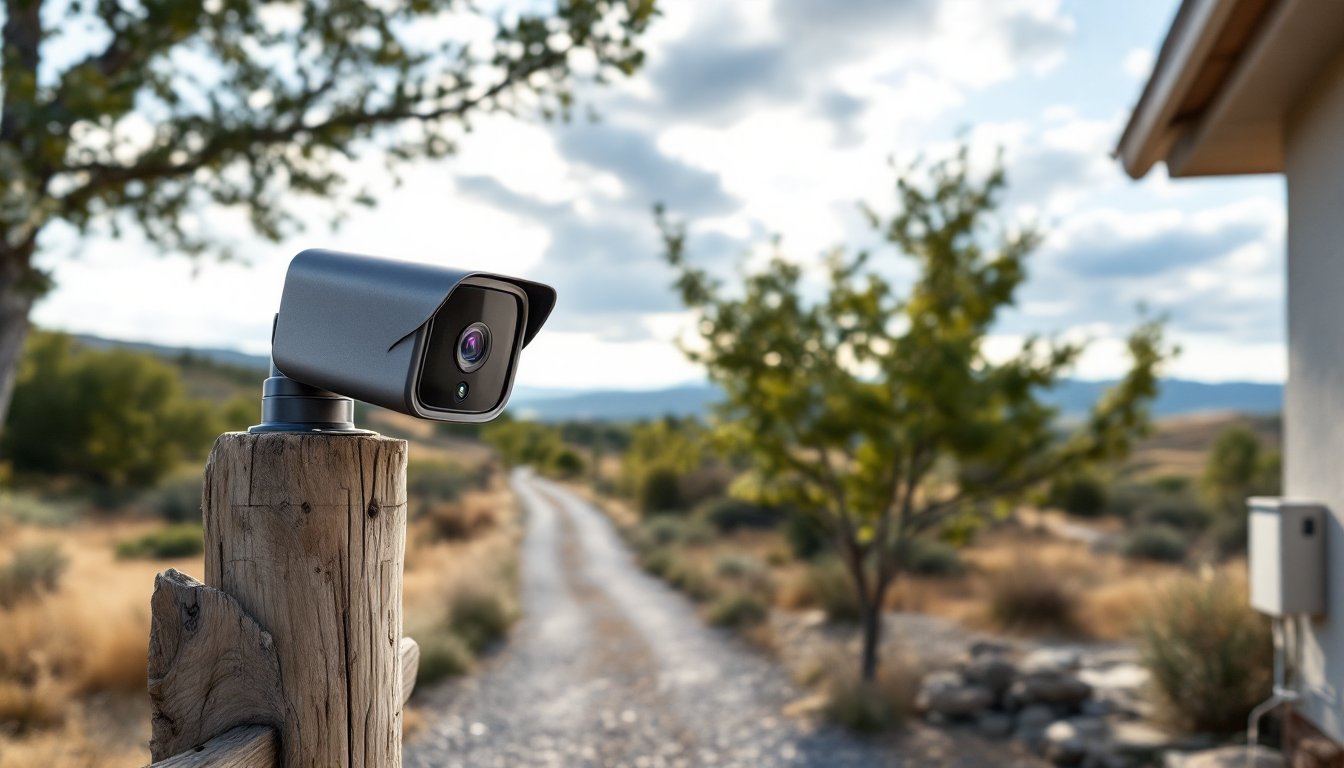
Weather Resistance and Durability Standards
Outdoor cameras must handle temperature swings, humidity, rain, and UV exposure. Look for an IP65 or IP67 rating (a standardized ingress protection code indicating water and dust resistance). IP65 means the camera survives powerful water jets from any angle: IP67 adds brief submersion tolerance. Neither guarantees infinite longevity in coastal salt spray or extreme freeze-thaw cycles, but they’re the baseline you should expect.
Material matters too. Aluminum or polycarbonate housings resist corrosion better than bare plastic, especially in humid or salty environments. Check that the lens has an anti-reflective coating and that any metal parts are stainless steel or powder-coated to prevent rust. Operating temperature ranges should span at least –10°C to +50°C (14°F to 122°F) for most North American climates: if you’re in a cold zone, verify the camera doesn’t lose function in winter. Some models include integrated heaters to prevent condensation on the lens in damp conditions, a worthwhile feature if your location sees frequent fog or dew.
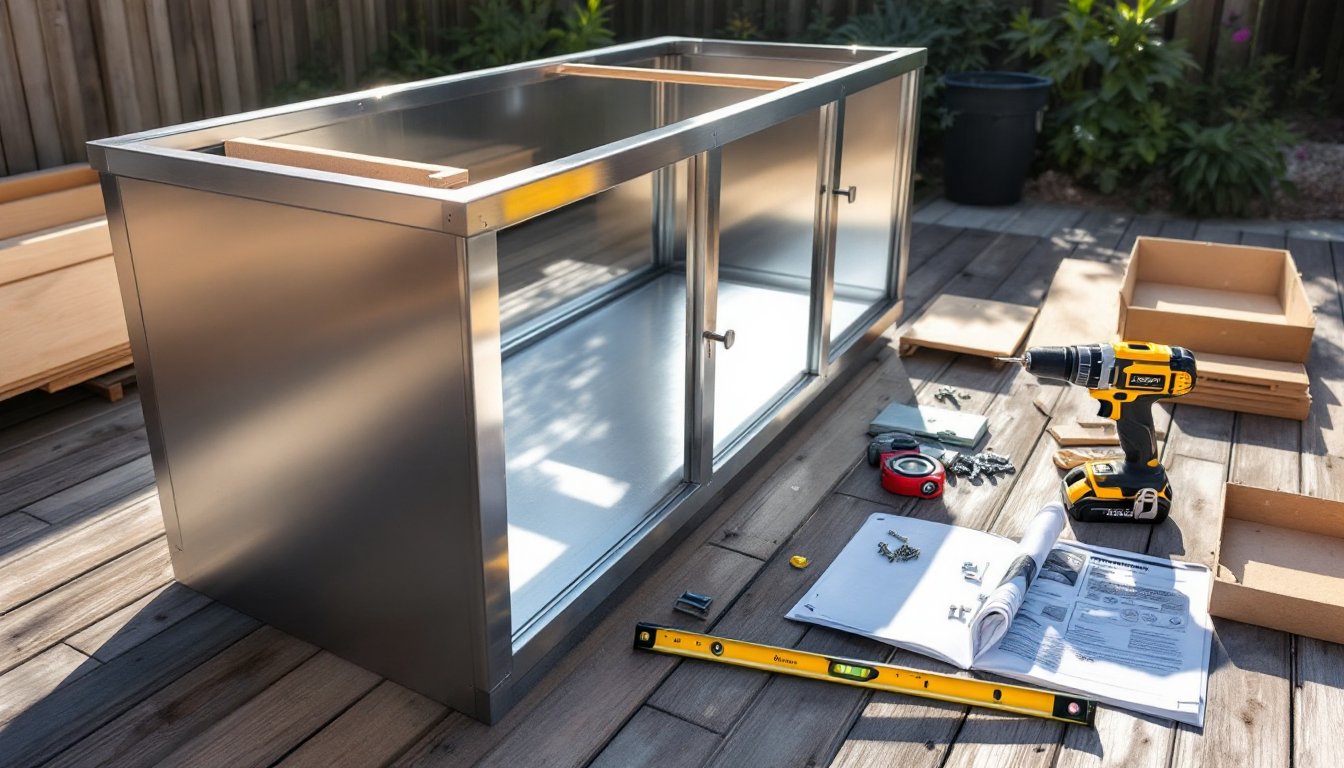
Installation and Setup Tips for DIY Homeowners
Installation difficulty depends on your location and power source. If you’re mounting near an existing outdoor outlet, you’re in good shape: otherwise, plan to run power. 12V DC systems are safer and simpler than 120V mains, so look for cameras compatible with a weatherproof power supply that can be located inside a garage or under an eave.
Before mounting, scout your location with a phone camera to test sight lines and confirm 4G signal strength. Use a signal meter app or contact your carrier to verify coverage, dead zones happen, especially in valleys or areas blocked by buildings. Mark the optimal position and grab a mounting bracket, drill, stainless steel fasteners, and concrete anchors (if you’re attaching to masonry) or wood screws (for siding or fascia).
When drilling into stucco or stone, wear safety glasses and a dust mask: use a masonry bit and go slowly to avoid cracking. For siding, pre-drill slightly undersized pilot holes to avoid splitting wood. Most cameras include a template: use it to ensure proper spacing and level mounting.
Once mounted, insert the SIM card, connect power, and follow the manufacturer’s app to activate the cellular plan and configure Wi-Fi fallback settings. Test video streaming over cellular away from home, go for a drive or use your phone’s mobile data to confirm the connection works. Download a copy of the footage after setup to verify quality matches your expectations. Most issues stem from poor initial signal or misconfigured app permissions, so take time here.
Cost Considerations and Long-Term Value
Camera hardware typically runs $200–$600 for a dependable outdoor 4G model, with premium brands and multi-camera bundles reaching $1,000+. Budget-friendly options under $250 exist but often skimp on weather resistance or resolution, worth avoiding unless it’s a temporary installation.
Cellular plans are the hidden cost. Most carriers charge $10–$30 monthly: some bundle camera plans with phone data, others don’t. A $15 monthly subscription adds $180 per year, so factor that into your long-term math. Over five years, a $400 camera plus $15/month service costs roughly $1,300 total, equivalent to upgrading your security roughly every 18 months if you want current hardware.
Compare cellular plans across carriers at your location, Digital Trends reviews often highlight data-efficient models that keep monthly costs low. Cloud storage subscriptions (typically $3–$10/month for unlimited rolling footage) are optional but recommended if your camera doesn’t have local SD card backup. Weigh the cost against the value: if you’re protecting a high-value property or remote location that’s difficult to monitor another way, 4G security is often worth it. For a suburban driveway with nearby Wi-Fi, a standard Wi-Fi camera might save money.
Conclusion
A 4G security camera bridges the gap between coverage and flexibility, especially for homes and properties where Wi-Fi won’t reach. Success hinges on choosing a camera with solid network support, weather-resistant construction, and realistic power and data plans for your use case. Take time with installation, good mounting and signal testing prevent frustration down the road. The upfront cost plus ongoing service fees add up, but for remote or hard-to-wire locations, a 4G camera delivers peace of mind that’s hard to match.