Table of Contents
ToggleA wireless outdoor camera system should feel invisible until you need it, and that’s where the Blink Outdoor Camera shines for homeowners serious about DIY security. Unlike wired systems that demand running conduits through walls or hiring electricians, a wireless setup lets you install cameras exactly where you need them without the complexity. Whether you’re protecting a back patio, monitoring a driveway, or watching a blind corner, this guide walks you through everything from unboxing to optimization so you can get eyes on your property in an afternoon, not a weekend.
Key Takeaways
- A Blink Outdoor Camera wireless system eliminates professional installation and electrical work, letting homeowners secure their property in an afternoon without running cables or hiring electricians.
- Battery life stretches approximately 2 years with AA Lithium batteries, and motion detection with person recognition filters out pets and vehicles to deliver relevant alerts only.
- Installation takes 20–30 minutes per camera: mount the bracket, insert batteries, connect via the Blink app to your 2.4 GHz Wi-Fi network, and test the feed—no special tools beyond a basic drill required.
- 1080p HD video clarity reads faces from 10 feet in daylight, infrared night vision works in total darkness, and IP65 weatherproofing handles rain and snow without compromising performance.
- Position your Blink Hub centrally at least 1–2 feet from your router to ensure strong Wi-Fi signal and consistent camera connectivity, critical for reliable real-time alerts and two-way audio.
- Extend battery life by dialing back motion sensitivity, disabling two-way audio if unused, and prioritizing person detection over motion-only alerts to reduce power drain.
What Makes Blink Outdoor Cameras a Smart Choice for Your Home
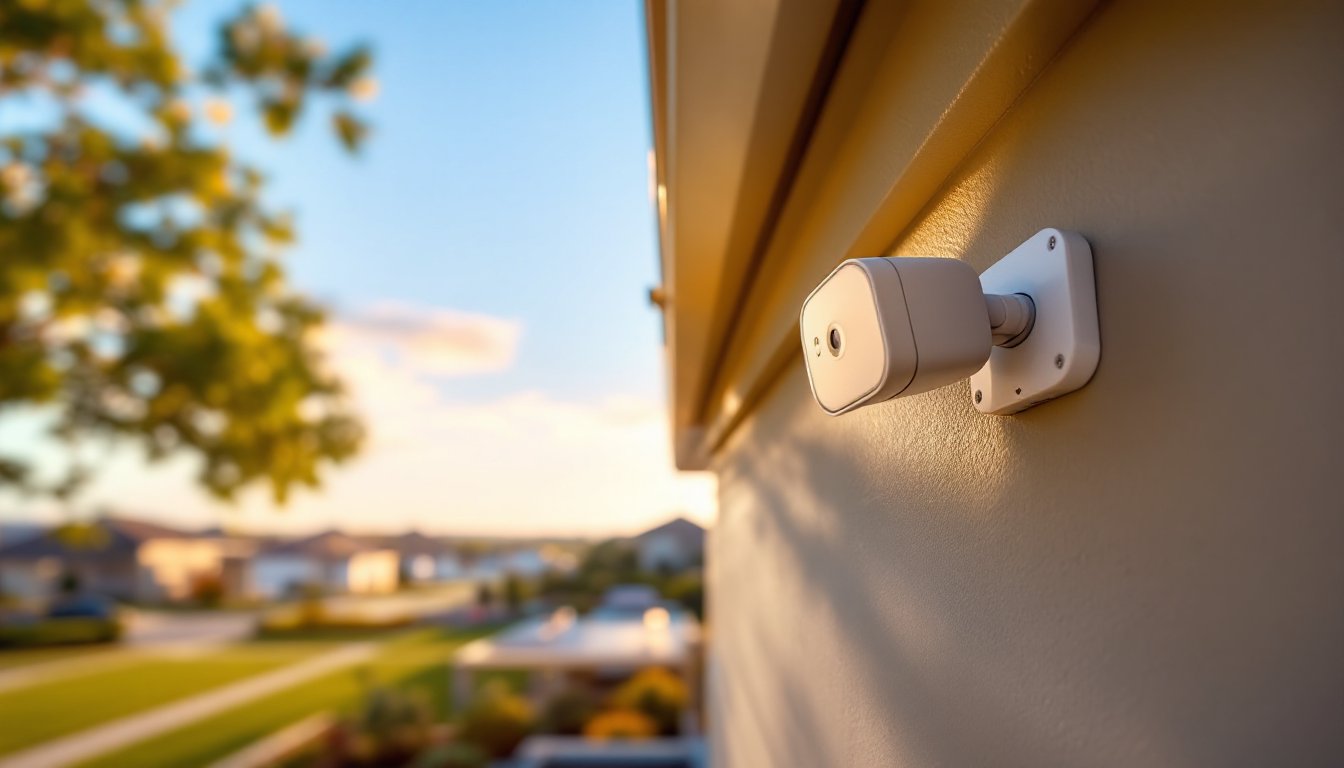
The Blink Outdoor Camera removes friction from home security. It’s battery-powered, meaning no running power cables through conduit or hiring an electrician, just mount it, connect it, and go. Most homeowners appreciate the simple app-based monitoring: real-time alerts, cloud video storage, and two-way audio all managed from your phone.
What sets Blink apart for DIYers is the wireless nature that doesn’t sacrifice reliability. The camera connects via Wi-Fi to a Blink Hub (or syncs directly for some models), eliminating the cable-run headaches of traditional systems. Battery life typically stretches 2 years on standard AA batteries depending on activity, which beats swapping wired system batteries every few months.
Person detection is another practical feature, the system learns to ignore pets and passing cars, so you get alerts when actual people approach your home. Night vision uses infrared LEDs, so you’re covered whether the sun’s up or down. For a DIY homeowner, this means a genuinely useful system that doesn’t require professional installation or ongoing service calls.
Setting Up Your Wireless Blink Outdoor Camera: Step-by-Step
Installation Requirements and What You’ll Need
Gather these before you start:
• Blink Outdoor Camera (or Outdoor 4 model) – comes with mounting bracket
• Blink Hub (required for most features: some models work Wi-Fi direct)
• AA Lithium batteries – two per camera (alkaline works but drains faster)
• Drill or impact driver – for mounting bracket holes
• 3/16-inch drill bit – for pilot holes in siding, soffit, or fascia
• Stainless steel screws (exterior-rated, #8 x 1.25-inch) – optional but better than included fasteners in harsh climates
• Smartphone or tablet – to run the Blink app
• Wi-Fi network – 2.4 GHz band (5 GHz won’t work with Blink cameras)
Location matters before you drill. Choose spots with clear Wi-Fi signal and a good sightline to the area you’re monitoring. Avoid direct sun exposure (it can confuse motion detection) and positions where rain dribs straight onto the lens.
Connecting to Wi-Fi and Your Blink Hub
Step 1: Install Batteries and Mount the Camera
Insert the two AA batteries into the camera (polarity is marked inside). For mounting, hold the bracket against your chosen spot and mark the two screw holes lightly with a pencil. Drill pilot holes using the 3/16-inch bit, this prevents the siding from cracking and helps the screw seat straight. Screw the bracket in using the fasteners (exterior-rated stainless steel is worth it in humid or salty climates). Attach the camera to the bracket until you hear or feel a click.
Step 2: Set Up the Blink Hub
Plug the Blink Hub into a standard outlet near the center of your home, ideally where it has clear Wi-Fi range to both your router and the camera location. The Hub should sit 1-2 feet away from the router to avoid interference. The light on the Hub will cycle through colors as it boots: wait for solid blue, which signals it’s ready.
Step 3: Connect via the Blink App
Download the Blink Home Security app on your smartphone. Create or log into your account. Tap “Add device” and select “Camera.” The app will prompt you to scan the QR code on the camera body (or on the box). Once scanned, the app will search for your camera and guide you to connect it to the Hub. You’ll need your Wi-Fi network name and password: the app uses this to sync the camera to your home network.
The camera and Hub must be on the same 2.4 GHz Wi-Fi band, this is critical. If your router broadcasts a combined 2.4/5 GHz network, either split the bands in your router settings or connect the Hub to a guest network running 2.4 GHz only.
Step 4: Test and Adjust Settings
Once connected, open the camera feed in the app. You should see live video within 10-15 seconds. Test the two-way audio by tapping the microphone icon and speaking, you’ll hear yourself on the speaker near the camera lens. Adjust motion detection sensitivity in the app (lower sensitivity = fewer false alerts from wind-blown leaves). Set alert notifications for people detection if that feature is available in your plan.
Installation typically takes 20-30 minutes per camera. If the camera won’t connect, restart both the Hub and your Wi-Fi router, then retry, most connection issues resolve there.
Key Features and Performance You Should Know About
Recent hands-on reviews show the Blink Outdoor 4 (the latest version) delivers solid HD video in daylight and decent night vision via infrared, no external lighting needed for basic monitoring. The 1080p resolution at 30 fps is standard security-camera clarity: it’s sharp enough to read a face from 10 feet away in good light but not broadcast-quality. Wind-driven rain and heavy snow can degrade the lens temporarily, but the camera is IP65-rated weatherproof, meaning it handles spray and moisture without issue.
Person detection works by identifying human shapes in the frame, filtering out dogs, cats, and vehicle shapes. It’s not foolproof in heavy shadows or at extreme angles, but it cuts false alerts dramatically compared to motion-only mode. Blink Outdoor 4 hands-on testing confirms the detection is reliable for typical porch and driveway use cases.
The infrared night vision shines in total darkness but becomes grainy beyond 25 feet. If you’re trying to ID faces at night from far away, you’d want external floodlighting (which is why the Blink Outdoor 4 Floodlight Camera exists as an upgrade). Cloud storage is included for motion events and clips: the free tier stores 30 days of alerts. Longer retention and full-day recording require a paid subscription, which runs about $10/month per camera.
Two-way audio lets you speak through the camera speaker, handy for telling a delivery driver where to leave a package or warning away an uninvited guest. Audio is clear in calm conditions but picks up wind noise if the camera is exposed to strong gusts.
Maximizing Your Camera’s Battery Life and Reliability
Battery life depends on activity. In low-motion scenarios (backyard corner), you’ll stretch 2 years on a set of AA Lithium batteries. High-traffic areas (front porch) might drain them in 6-12 months because every motion event, video clip, and Wi-Fi sync burns power. Alkaline batteries work but drain 30-40% faster than Lithium and perform poorly in cold weather.
To extend battery life, dial back motion sensitivity (avoid responding to every leaf or shadow), disable two-way audio if you don’t use it, and rely on person detection rather than motion alerts. Lower video quality settings save a tiny bit of power, but the difference is marginal. The app shows battery percentage, so check it monthly if you’re in year 2.
Wi-Fi reliability is key to consistent performance. Position your Hub or camera where the signal is strong (aim for at least 3 bars on your phone at the camera location). Walls, metal gutters, and distance weaken signals fast. If your camera keeps disconnecting, move the Hub closer to it or consider adding a Wi-Fi extender near the camera.
In winter, cold temperatures reduce effective battery capacity, Lithium batteries handle this better than alkaline. Snow can also block the lens: clear it gently with a dry cloth. Check the camera’s position after heavy wind to ensure the bracket hasn’t shifted (vibration can loosen even tight screws over time).
For homeowners in areas with regular power outages, note that the Blink Hub needs power to function. If you lose internet, the camera won’t record or send alerts until service returns. Some users add a battery-backed UPS to the Hub to maintain short outages, but that’s a nice-to-have, not essential.
Conclusion
A wireless Blink Outdoor Camera is a genuine DIY win, no electrician, no conduit, no permit headaches. Installation is straightforward, performance is reliable for typical home security use, and battery life is genuinely long compared to older systems. Follow the setup steps, choose mounting locations with clear Wi-Fi signal, and use Lithium batteries to maximize uptime. This is security that works for you, not against you.