Table of Contents
ToggleIf you’re thinking about adding an outdoor security camera system to your home, you’ve probably noticed that cloud-only options dominate the market. But DVR-based systems, especially those designed for outdoor use, still offer compelling advantages for homeowners who want reliable, local recording and minimal monthly fees. This guide walks you through the practical considerations for choosing and installing an outdoor DVR security system, focusing on what actually matters when you’re protecting your property and keeping your family safe. We’ll cover why DVR systems remain a solid choice, what features matter most, and how to install one yourself without calling in a professional.
Key Takeaways
- A DVR-based outdoor security system eliminates recurring monthly fees and continues recording even during internet outages, making it more cost-effective and reliable than cloud-only alternatives for homeowners prioritizing local control.
- When selecting an outdoor security camera system, prioritize 2K resolution for balanced image quality, IR night vision for darkness, and IP66+ weather rating to ensure durability in harsh outdoor conditions.
- Motion-triggered recording mode reduces storage requirements by 70–80% compared to continuous recording, allowing a single 1TB drive to stretch from hours of footage to weeks or months depending on activity levels.
- Professional installation typically costs $500–$2,000, but DIY setup is achievable over a weekend for four cameras if you’re comfortable with basic wiring, cable routing through conduit, and network configuration for remote access.
- Proper cable protection using weatherproof conduit and caulking around entry points prevents water intrusion and UV damage, while positioning cameras under eaves and ensuring adequate DVR ventilation are critical for system longevity.
Why Choose a DVR-Based Security System Over Cloud-Only Alternatives
A DVR (Digital Video Recorder) system stores footage locally on a hard drive or NAS (Network Attached Storage) device, rather than uploading everything to the cloud. That distinction matters more than you might think.
First, there’s the cost factor. Cloud-only systems often charge monthly subscription fees, sometimes $10 to $30 per camera, just to view or retrieve footage. A DVR system typically has no recurring fees beyond your internet connection. You buy the equipment once, and you own the storage.
Second, DVR systems continue recording even if your internet goes down. Cloud systems depend on a stable connection: no internet means no new footage being uploaded. That’s a real vulnerability if an outage happens during a break-in.
Third, footage on a local DVR stays on your property. You’re not trusting a third-party server with video of your front door, your kids, or your driveway. Privacy-conscious homeowners often prefer this setup.
That said, DVR systems aren’t perfect. They lack the convenience of checking cameras from your phone on-the-go (unless you set up remote access, which requires some networking knowledge). Cloud systems shine there. But if you want lower operating costs, offline resilience, and full data control, a DVR-based outdoor system is worth serious consideration.
Key Features to Look For in an Outdoor DVR Security System
Resolution, Night Vision, and Weather Resistance
Outdoor cameras live in harsh conditions. That means you need to prioritize durability and image quality from the start.
Resolution should be at least 1080p (2-megapixel), though 2K (4-megapixel) or 4K (8-megapixel) cameras provide better detail for identifying faces or license plates. Higher resolution means larger file sizes, so factor that into your DVR storage decisions. Recent reviews from CNET on smart home security systems highlight that 2K resolution strikes a good balance between clarity and storage efficiency for most homeowners.
Night vision is essential. Look for infrared (IR) LEDs that illuminate the scene in darkness, no visible light needed. Some premium models use starlight sensors, which produce color night vision under minimal light. Both work: IR is more common and affordable, while starlight is fancier but costs more.
Weather resistance is non-negotiable outdoors. The camera housing must be IP66-rated or higher (IP67 is better). That means the unit is dust-tight and can handle water jets from any direction. Check the operating temperature range too, if you live somewhere cold, ensure the camera functions in sub-freezing conditions. Metal housings and reinforced connectors outlast plastic, especially in corrosive coastal environments.
Storage Capacity and Recording Options
A DVR’s hard drive is its heart. Outdoor systems typically use 1TB to 4TB drives, but your actual need depends on resolution, number of cameras, and recording mode.
Continuous recording captures 24/7 and fills the drive fastest. Motion-triggered recording captures only when movement is detected, stretching storage life significantly. Most homeowners prefer motion-triggered mode: it cuts storage needs by 70–80% while still catching important events.
Calculate storage roughly: a 1TB drive stores about 60 hours of 1080p continuous video from a single camera. If you have four cameras recording continuously at 1080p, you’ll fill 1TB in roughly 15 hours. That means you’d need 4TB minimum for a full week of footage, maybe 8TB to be safe. With motion-triggered recording, the same 1TB stretches to weeks or months.
Look for DVRs that support SATA hard drives (standard desktop-grade drives are cheaper than proprietary “surveillance drives,” though surveillance-grade drives are optimized for 24/7 recording). Some systems allow hot-swap drives, meaning you can replace a failing drive without powering down, useful for continuous operation.
Also confirm the DVR’s backup options. Can you export clips to USB, or does it rely only on network transfer? If your internet is flaky, USB export is a practical lifeline. Research from Digital Trends on home security systems consistently emphasizes the importance of local backup methods for mission-critical footage.
Installation and Setup Considerations for DIY Homeowners
Installing an outdoor DVR system yourself is achievable if you’re comfortable with basic wiring, networking, and mounting. But let’s be realistic about what’s involved.
Mounting cameras requires planning. Each camera needs a weatherproof power cable (usually 24V AC from the DVR) and a video coax or ethernet cable running back to the DVR indoors. Run cables through conduit (plastic or metal tubing) to protect them from UV, rodents, and physical damage. If you don’t have existing cable runs, you’ll be drilling holes through exterior walls or running cables along eaves, labor-intensive but doable. Use caulking around entry points to prevent water intrusion, and position cameras under eaves when possible to shield them from direct rain.
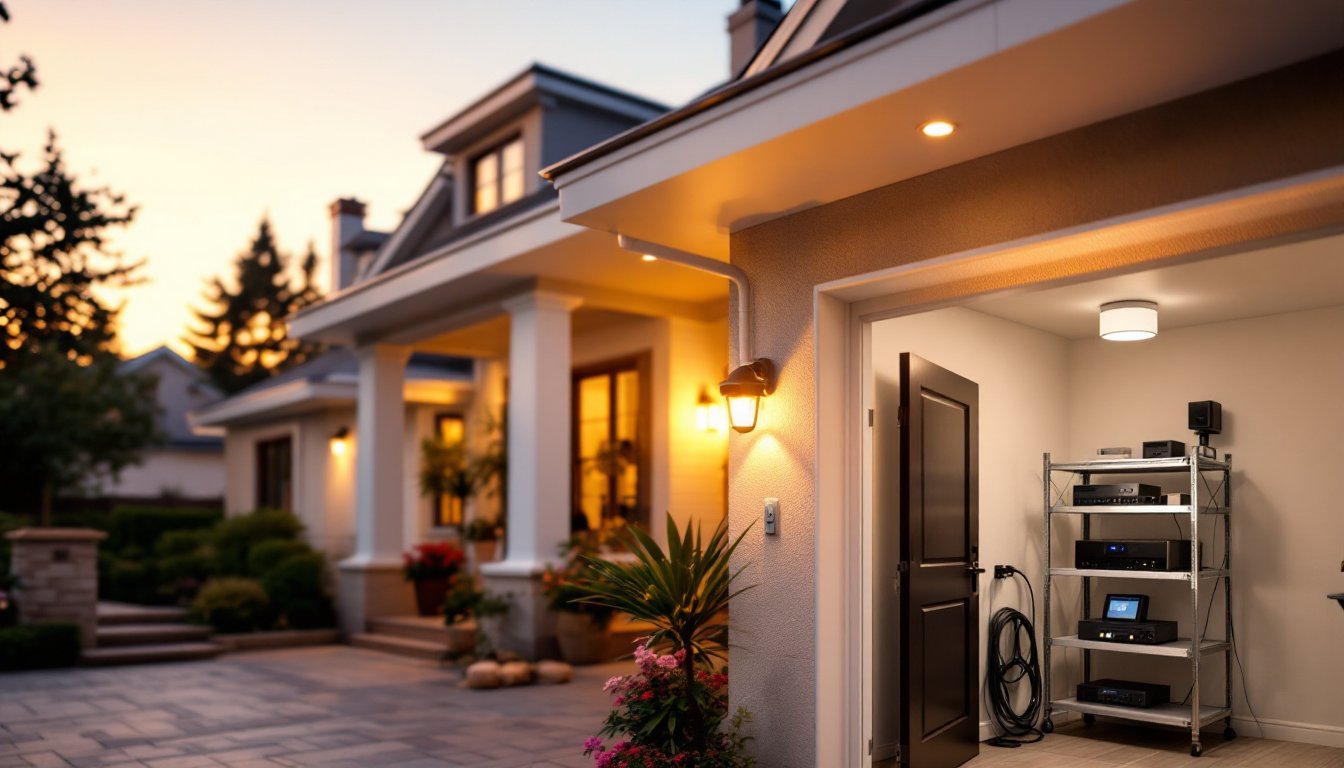
The DVR itself goes indoors, typically in a garage, basement, or utility closet. It needs stable power (preferably on an UPS/battery backup), ventilation to keep the hard drive cool, and network access to your router if you want remote viewing. Don’t stuff it in a hot attic.
Network setup is where DIYers often stumble. If you want to view cameras remotely, the DVR needs to connect to your router via ethernet or Wi-Fi. You may need to enable port forwarding on your router or use a dynamic DNS service if your internet IP address changes, both require some networking familiarity. If you’re not comfortable with that, stick to local-network viewing only (same Wi-Fi network as the DVR). According to Tom’s Guide’s outdoor security camera recommendations, most modern DVR systems include smartphone apps, but remote access functionality varies, check before buying.
DIY timeline: Expect a weekend for a 4-camera system if you’re running new cable and doing the mounting yourself. Add another day if you need to drill through walls or run conduit along siding. Professional installation costs $500–$2,000 depending on cable runs and complexity: that’s worth considering if you’re uncomfortable working at heights or drilling exterior walls.
Safety reminders: Turn off power at the breaker before working with any electrical connections. Use a voltage tester to confirm power is off. Wear eye protection when drilling or using a ladder outdoors. Use fall protection if you’re working on a roof or high eaves, a harness or safety rope isn’t overkill.
Conclusion
DVR-based outdoor security systems remain a smart choice for homeowners who want local control, zero monthly fees, and straightforward operation. Focus on 2K resolution, IR night vision, IP66+ weather rating, and sufficient storage for your needs. Installation is realistic for handy homeowners, but don’t skip conduit, caulking, or power planning. If networking or heights give you pause, hiring a professional beats a half-finished system. Start with a modest setup (two or three cameras), test it thoroughly, and expand later if needed.